Defining Application Details for A Data Export Application
Use Application Details to specify how EPM Integration Agents handles the write-back of data. In addition, you also need to specify credential and JDBC connection information to the on-premises database.
To define application details for an data export to on-premises application:
-
From the Application page, click
 to the right of the data export to on-premises application, and
then select Application Details.
-
From the Application Details page, click the Options tab.
-
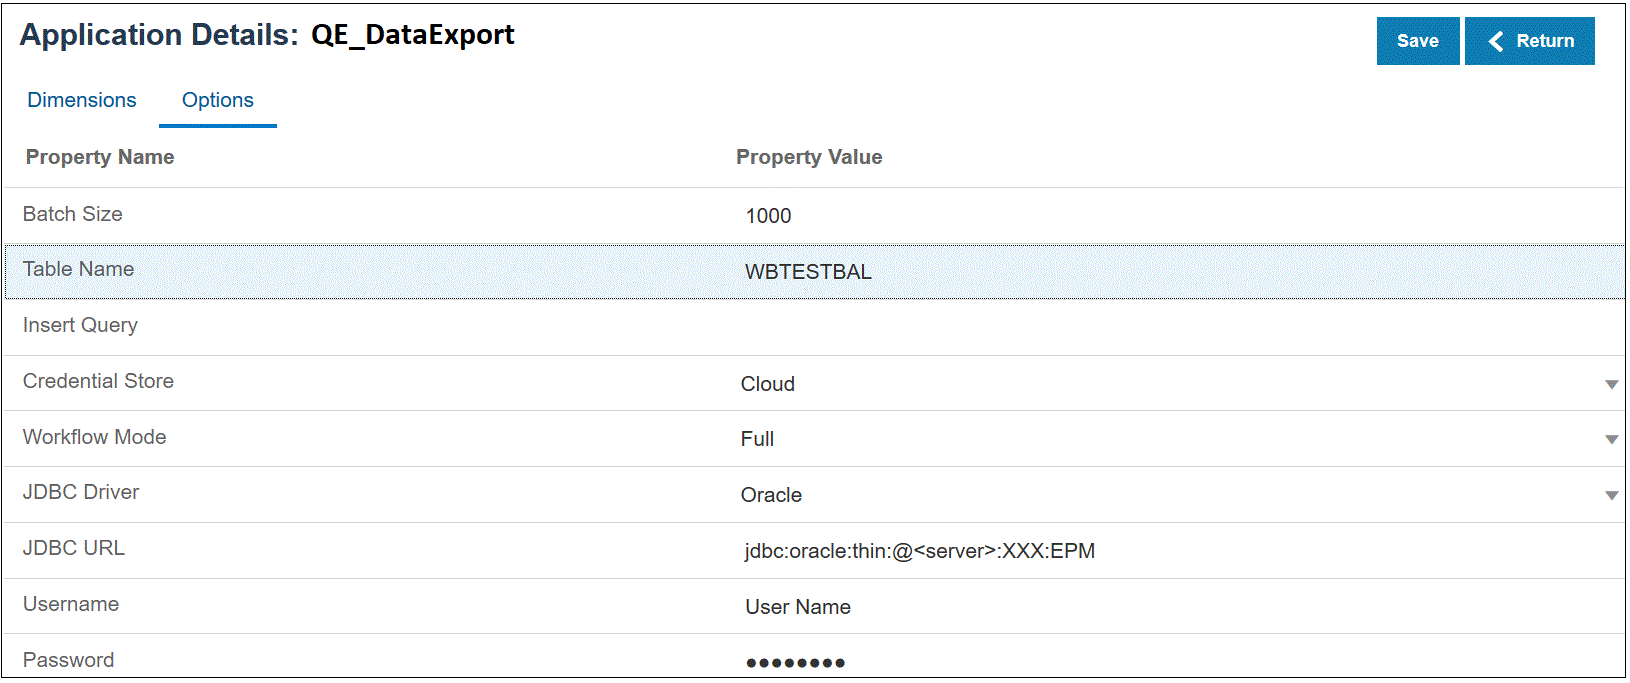
In Table Name, specify the table name to which to load the data.
The name of the dimensions in the data export to on-premises application must match the names of the columns in the table. The system generates the INSERT statement to load the data automatically and inserts text for all fields.
If you specify a table name in this field, do not specify an INSERT statement in the Insert Query field.

-
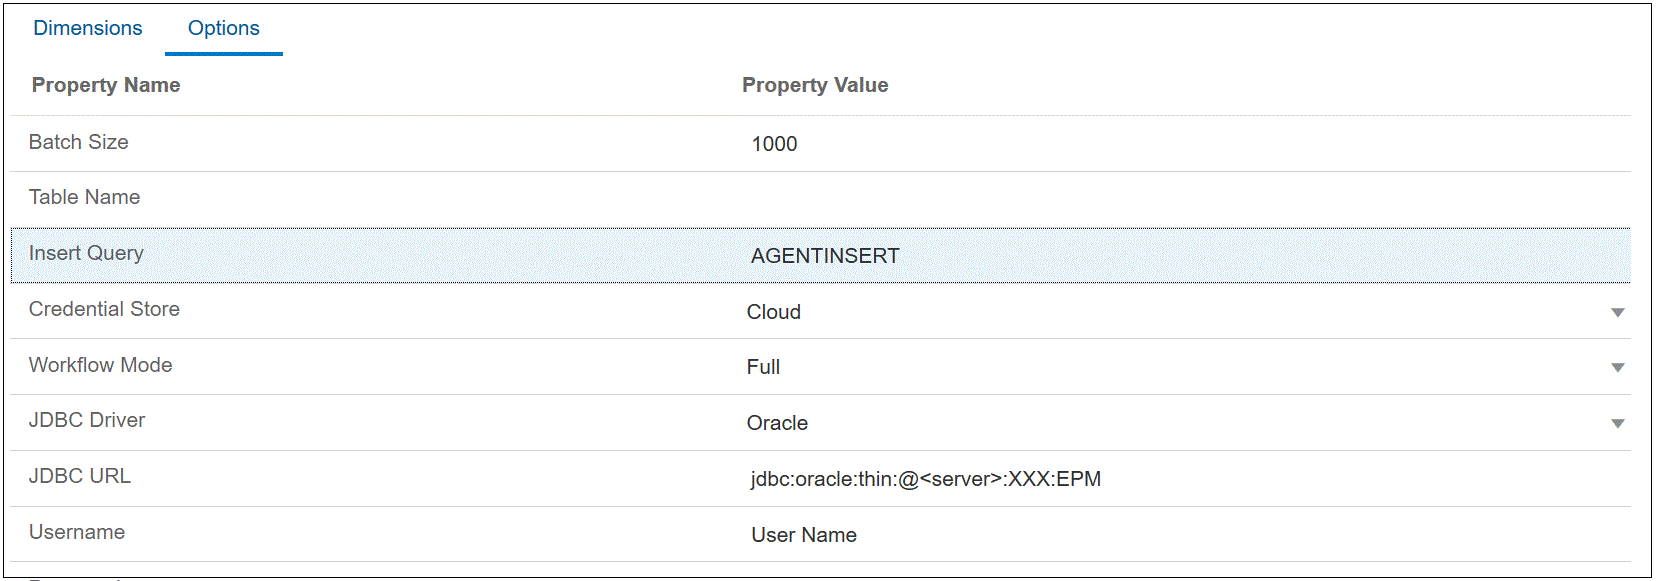
In Insert Query, specify the name of the SQL query associated with the custom INSERT statement created on the Query Definition page.
INSERT query must contain the table and columns for values and the dimension name of the application. Using this method, you can provide a user-friendly dimension name and also use SQL functions like TO_DATE, TO_NUMBER and other functions to perform data type conversions and other string operations. For more information, see Writing Back with a Custom INSERT Query.
If you specify an INSERT query, do not specify a table name in the Table Name field.

-
In Credential Store, specify the type of credential store used by the EPM Integration Agent.
Available types of credential stores include the following:
- Cloud
- File
For the Cloud credential store type, store the username/password/connect string in the application.
For the File credential store type, create a file in the on-premises environment to store the JDBC URL, user name, and password. The file name must be named
appname.credand stored in theconfigdirectory.The file must contain the following lines:
driver=oracle.jdbc.driver.OracleDriver
jdbcurl=jdbc:oracle:thin:@host:port/service
username=apps
password=w+Sz+WjKpL8[
Note:
The password used for both credential store types must be encrypted.
When the type is a "Cloud" store, type the password in the user interface in the usual way. The system encrypts and stores the password.
When the type is a "File" store, you must encrypt the password using the
encryptpasswordutility and store the password in the file. For more information about encrypting your password, see Encrypting the Cloud EPM User Password. -
In JDBC Driver, select the type of JDBC driver to use when connecting to the Database Management System (DBMS).
Available types of JDBC drivers include the following:
- Microsoft SQL Server
- Oracle
-
In Username, specify the on-premises database user name.
-
In Password, specify the on-premises database password.
-
Click Save.