Creating an Oracle Enterprise Scheduler (ESS) Job
To create an ESS job and run an extract in asynchronous mode:
-
In BI Publisher, navigate to My Enterprise, and then select Setup and Maintenance.

-
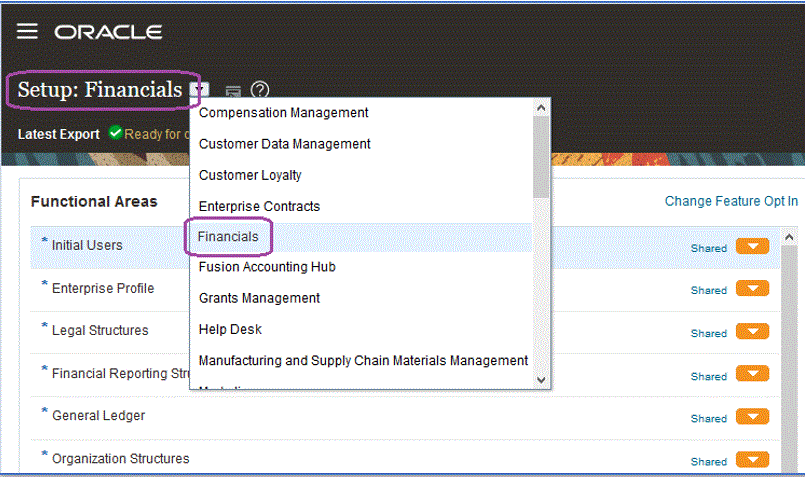
From the Subject Area drop-down, select Financials.
-
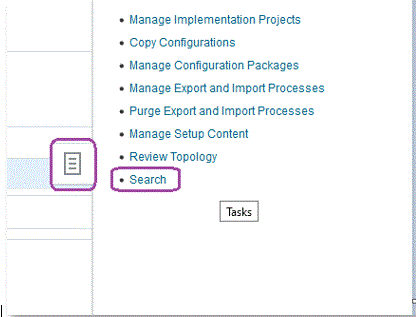
Click Search.
-
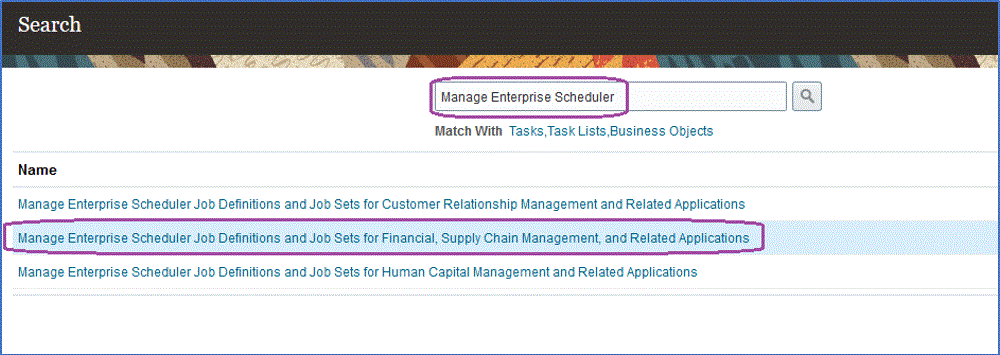
Search for Manage Enterprise Scheduler and then select Manage Enterprise Scheduler Job Definitions and Job Sets for Financial, Supply Chain Management, and Related Applications.
-
On the Manage Job Definitions page, click
 to add or create a new ESS job.
-
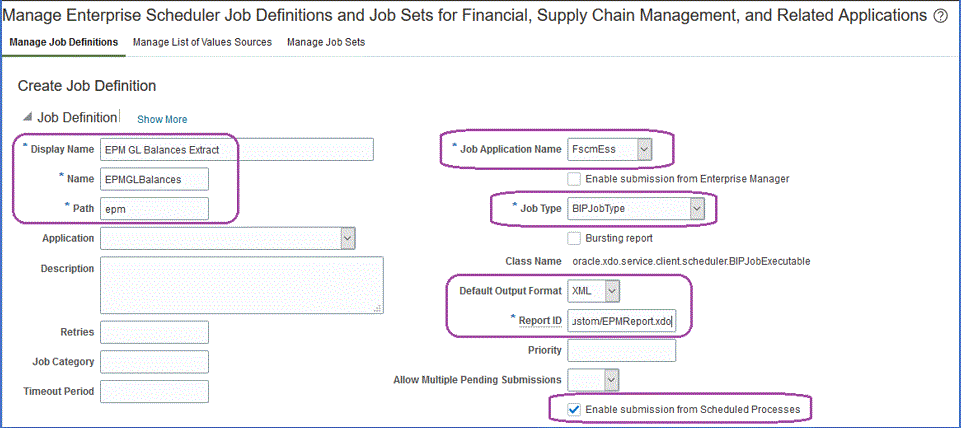
On the Manage Enterprise Scheduler Job Definitions and Job Sets for Financial, Supply Chain Management, and Related Applications page, complete the following fields:
-
Display Name—Enter a user-defined name for the extract. This name is displayed under Scheduled Processes.
-
Name—Specify an alphanumeric name without spaces and special characters.
This name is used for the ESS Job Name in Data Integration application options.
-
Path—Specify the path where to save the ESS job.
This path is created as a subfolder of
/oracle/apps/ess/custom. For example, if you specify epm, then the ESS Job path is/oracle/apps/ess/custom/epm.The path entered here populates the ESS Job Path field in Data Integration application options.
-
Job Application Name—Select FscmEss.
-
Job Type—Select BIPJobType.
This is a mandatory parameter because Data Integration can only trigger ESS jobs of the type – BIPJobType.
-
Default Output Format—Select XML.
The XML output format parameter is output in addition to the CSV format but does not change the CSV format and is not streamed to the Oracle Fusion Cloud Enterprise Performance Management.
-
Report ID—Specify the report path of the custom report defined in the Creating the BI Publisher Report Extract step.
For example, specify
/Custom/MyReport.xdo -
Enable submission from Scheduled Processes—Check to enable.
This option enables you to invoke the job manually and to troubleshoot it in case of a data mismatch.
-
-
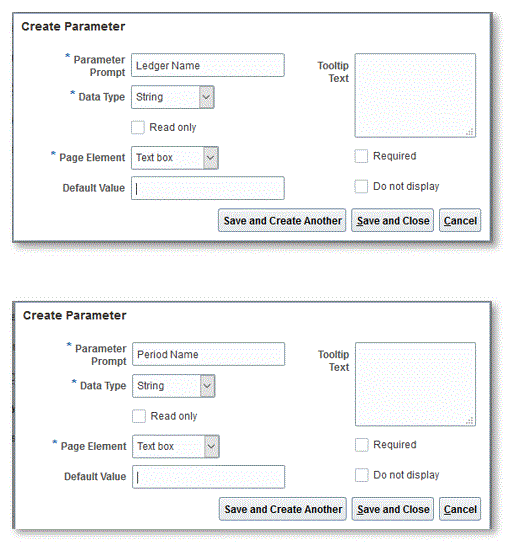
On the Data Model components pane, then Parameters , click Create Parameter page.
-
Create parameters for each of the custom report parameters defined in BI Publisher in the same order that they were created for the report.
-
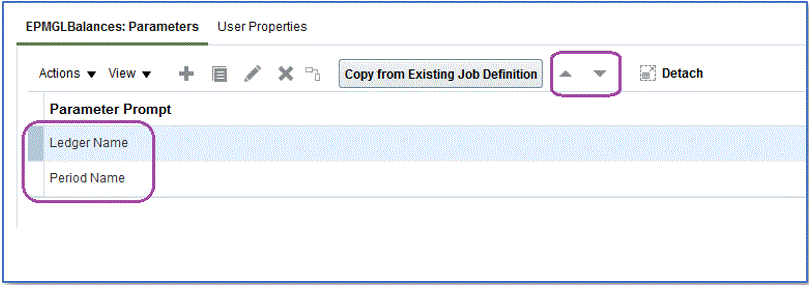
On the Parameters page, reorder parameters using the up/down arrow if necessary.
-
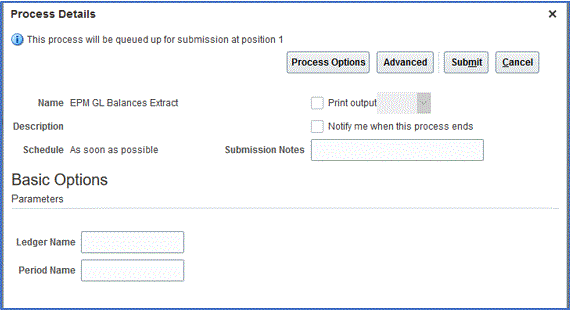
In the Oracle ERP Cloud, view or submit the BI Publisher job by selecting Schedule New Process.

