Creating the BI Publisher Report Extract
In this step you create the Oracle Business Intelligence Publisher report extract used as the data source for the integration with the Oracle Fusion Cloud Enterprise Performance Management.
To create the BI Publisher report extract:
-
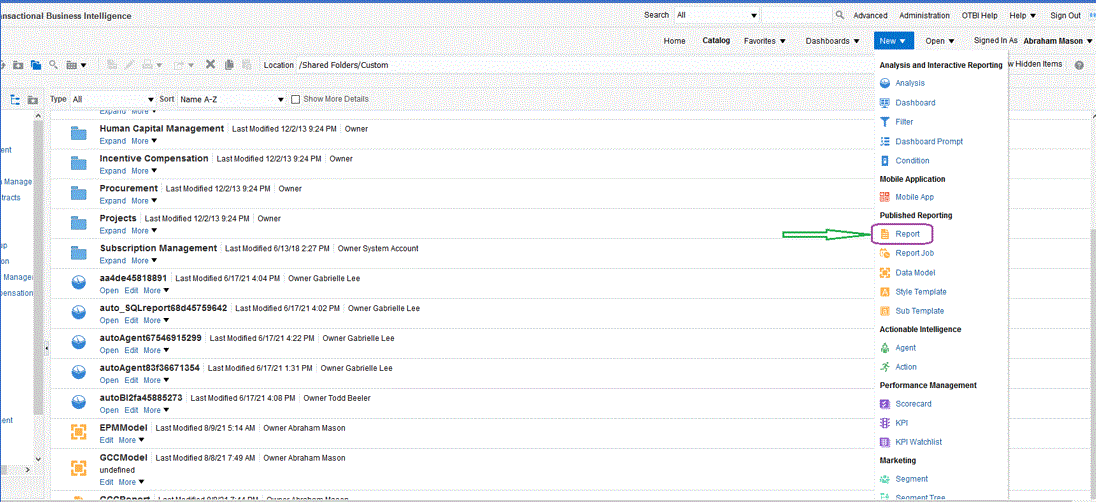
In BI Publisher, select New, then under Published Reporting, select Report menu option to create a new report.
-
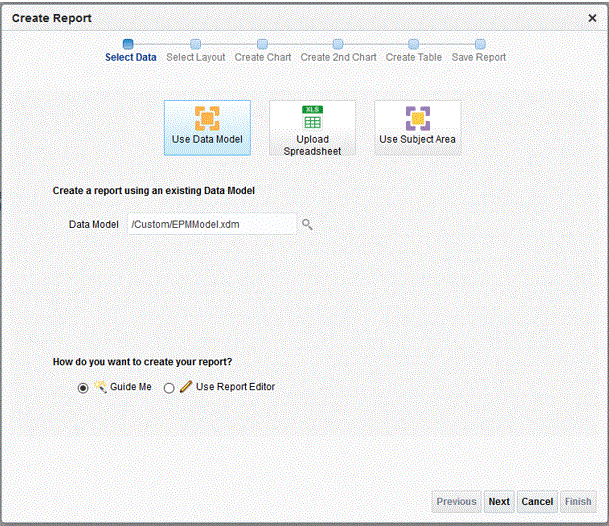
On the Create Report page, click Use Data Model to use an existing data model and then from Create a report using an existing Data Model, select the data model and then click Next.
-
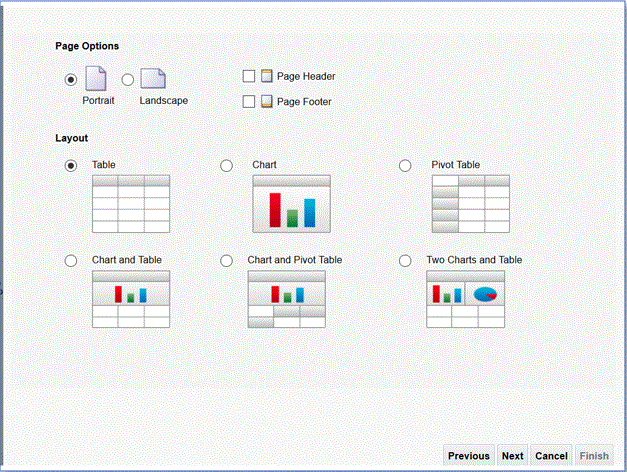
On the following page, leave the default values.
-
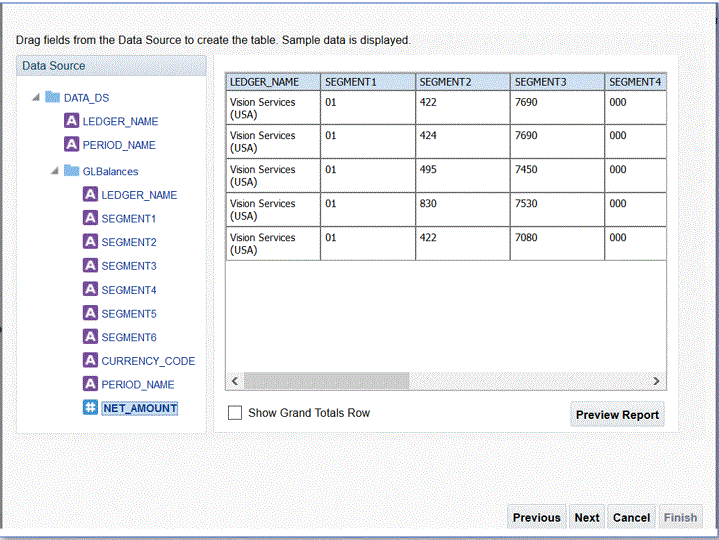
On the next page, uncheck the Show Grand Totals Row field at the bottom of the page.
-
On the same page, drag and drop the columns from the Data Source in the left pane to the layout area in the right page including all columns for the extract.
The displayed sample data is based on the sample data generated when you created the data model.
-
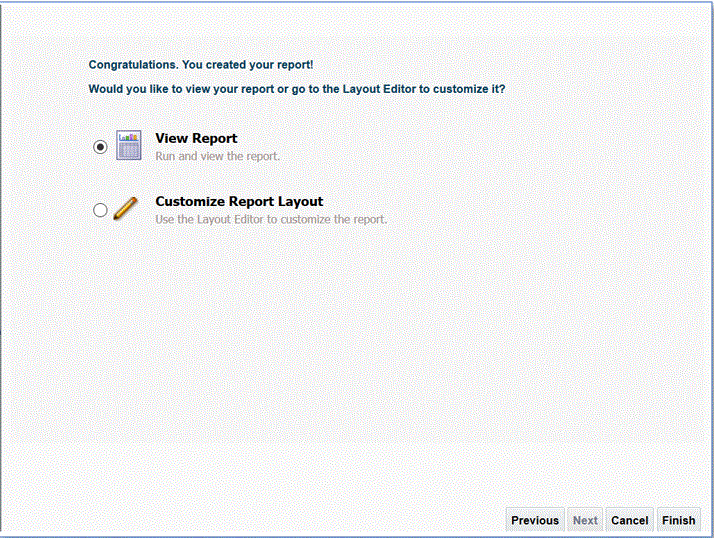
Click Finish.
-
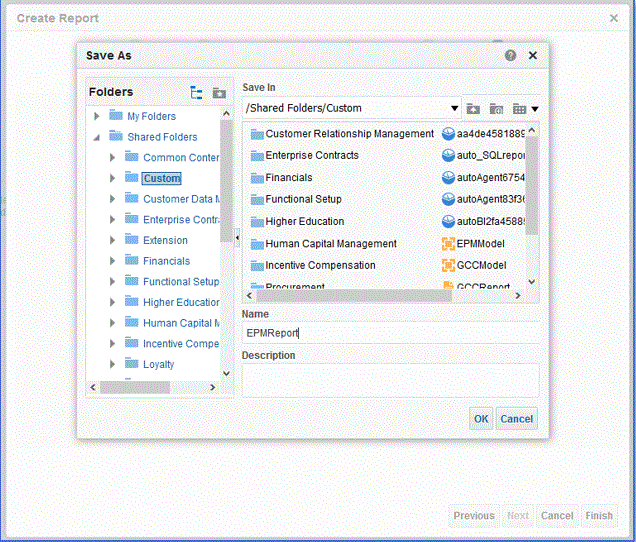
Save the report to the desired location.
In this example, the report definition is saved to /Custom/EPMReport.xdo.
-
After the report is saved, run the report to confirm that the data is displayed correctly. Then provide sample values for the bind parameters if needed.

-
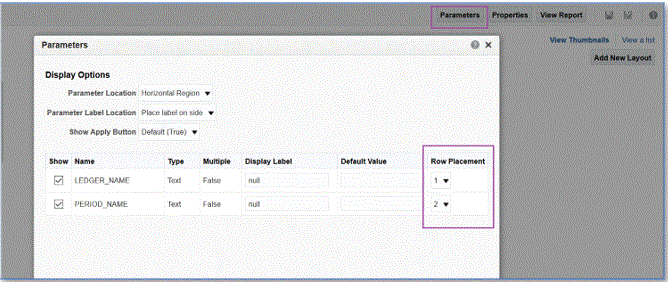
Confirm the row placement order, edit the report, and confirm that the order is the same as the data model.
-
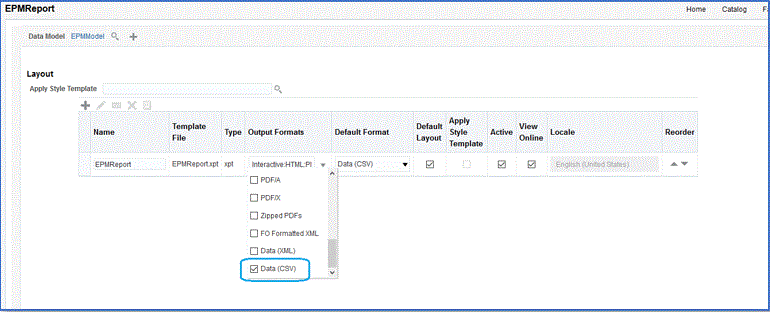
While editing the report, ensure that CSV is included as the default output format for the report.
Note:
When running the extract in synchronous mode, you do not need to set the default output format to CSV because the execution is called with CSV as a parameter. However, when running in asynchronous mode, the custom ESS job needs to have the default format set to CSV.
-
To select CSV as the default output format, click View as List.

-
From Output Formats, check Data (CSV).
