Executing a Snapshot Import Job

During the snapshot data import process, the system first truncates all the setup and data artifacts and then imports them. Additionally, database sequences are reset based on the imported data so that no conflicts occur after the data is restored.

To execute a snapshot import:
  1. Upload the snapshot export ZIP to the inbox in Data Management.

    To upload the snapshot export ZIP to the inbox in Data Management, use the EPM Automate uploadFile command.

    You can also use the File Browser in Data Integration to upload a file to the Data Management inbox.

  2. On the Workflow tab, under System Maintenance Tasks, select Execute Snapshot Import.
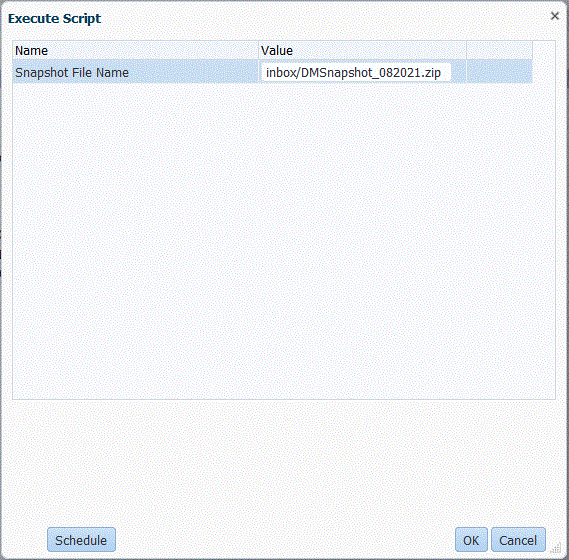
  3. In Snapshot File Name, enter the path and file name of the ZIP to be executed.

    For example, you might type: inbox/DMSnapshot_082021.zip.

  4. Click Execute.

    Only one Execute Snapshot Import job can be executed at a time.

    Image shows the Execute Script page.

  5. Click OK.

    The message: Custom script executed initiated with Process ID: 0.

    You can access the job log from the Process Details page.

    Note:

    The Process ID for the snapshot import is always " 0" only when the file is exported in ALL, INCREMENTAL or ALL_INCREMENTAL modes because each of these three exports contain data artifacts and process details are part of data tables.

    The Process ID is not "0" when only setup data is exported. This is because setup data doesn’t contain data tables (Process details). In this case, the next available sequence in the Process ID is used.

  6. Optional: Click Schedule to schedule the job.

    For information on scheduling jobs, see Scheduling Jobs.