Granting Access to Dimensions

Before you can assign access to dimensions, the user must be assigned access to the application and the dimensions must be created.

The Application Administrator can assign direct permission to users or groups to edit or delete dimensions. The permissions are applied through the application, rather than the Inspect dialog box.

Note:

In addition to applying access to specific dimensions through the application as described in this document, you can also control access using data grants:

  • Create data grants that restrict which portions of a model can be accessed.

  • Set Default Access when you create or modify a dimension to READ from the Default NONE to enable all users to view but not modify the dimension.

For more information on data grants, see Set Up Data Grants.

To grant access to dimensions:
  1. On the Home page, select Application, and then click the application name to display the Application Overview.
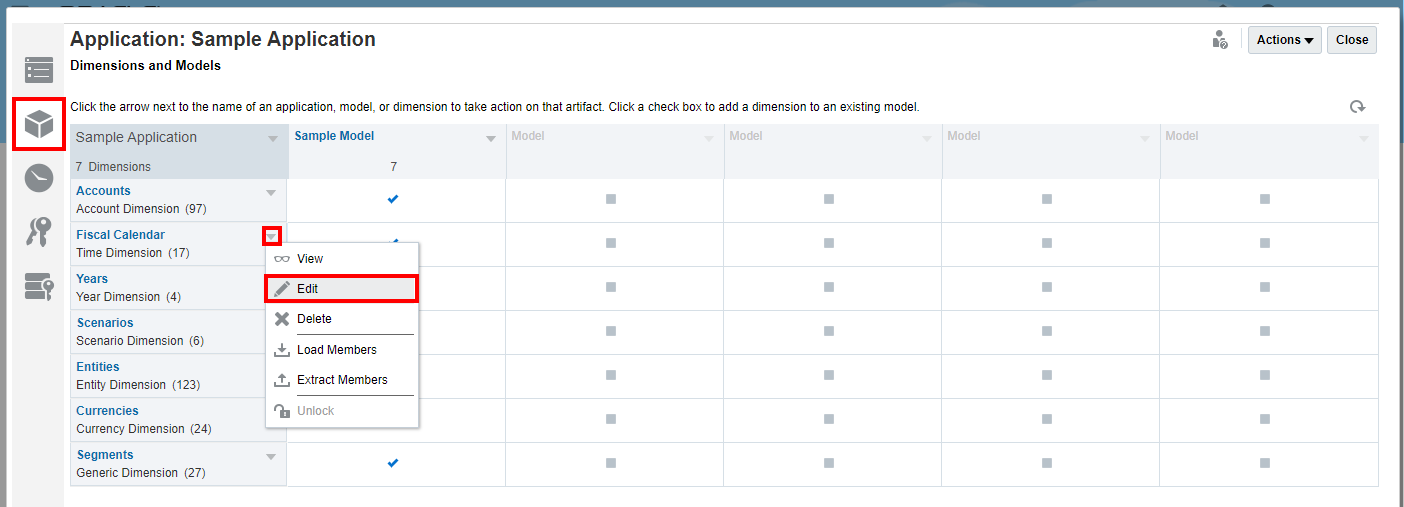
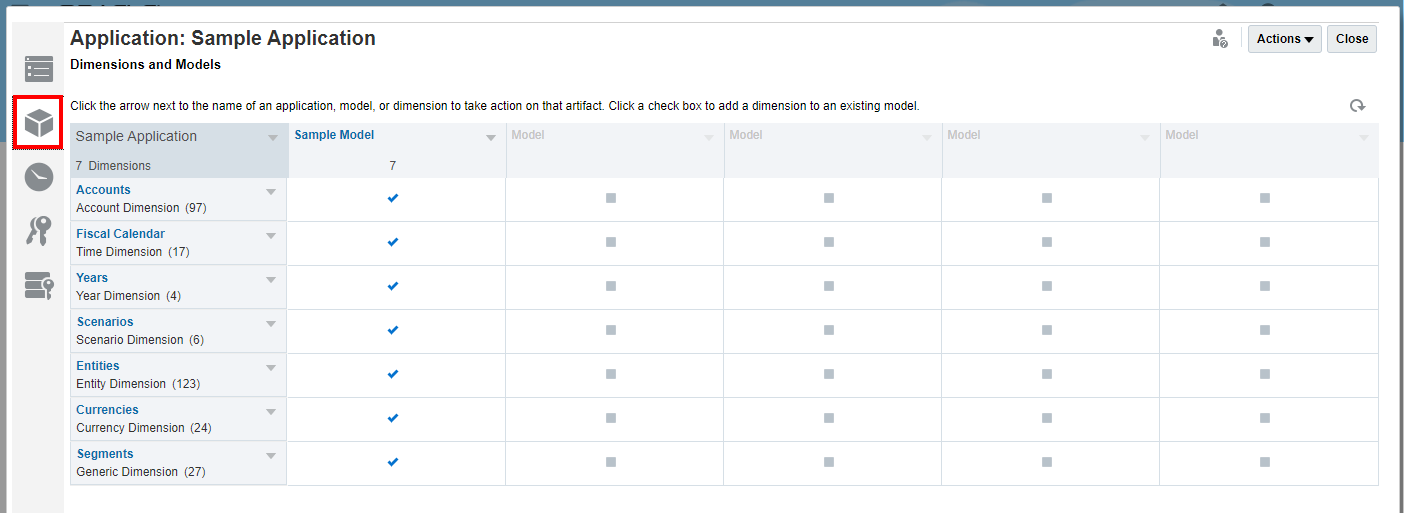
  2. From the application Overview screen, select Dimensions and Models.

    From the Dimensions and Models tab, select the name of the dimension to which you want to grant access.
  3. Click the name of the dimension for which you want to grant access.

    Fiscal Calendar dimension for which you want to grant access
  4. From the Dimension Overview screen, select Access. The name of the selected dimension is displayed at the top of the screen.

    Select the Dimension Access tab for the selected dimension.
  5. Click Add User/Group buttonand select the users to which you want to assign access, as follows:
    1. Select the user type:
      • Users

      • Groups

      • Users and Groups

    2. On the Select User dialog box, enter the first few letters for the user name in the text box, and then click Search Search icon to populate the list of names. To display all users and groups, enter an asterisk "*" as a wildcard in the Search field.
    3. Select the users and groups to which you want to assign access, and then click OK.
  6. From the Access tab Access tab, select Administer to enable the user or group to view, modify, or delete the dimension.
  7. Optional: Select Remove to delete the selected user or group from the list. Highlight the name, and then click X to remove the name and any associated permissions.
  8. Click Close.