Granting Access to an Application
After an application is created by the Application Administrator, you must assign access to that application. You can grant permission directly from the Application icon on the Home Page, or from the Library Inspect dialog box.
Only direct permissions are available for an application.
Caution:
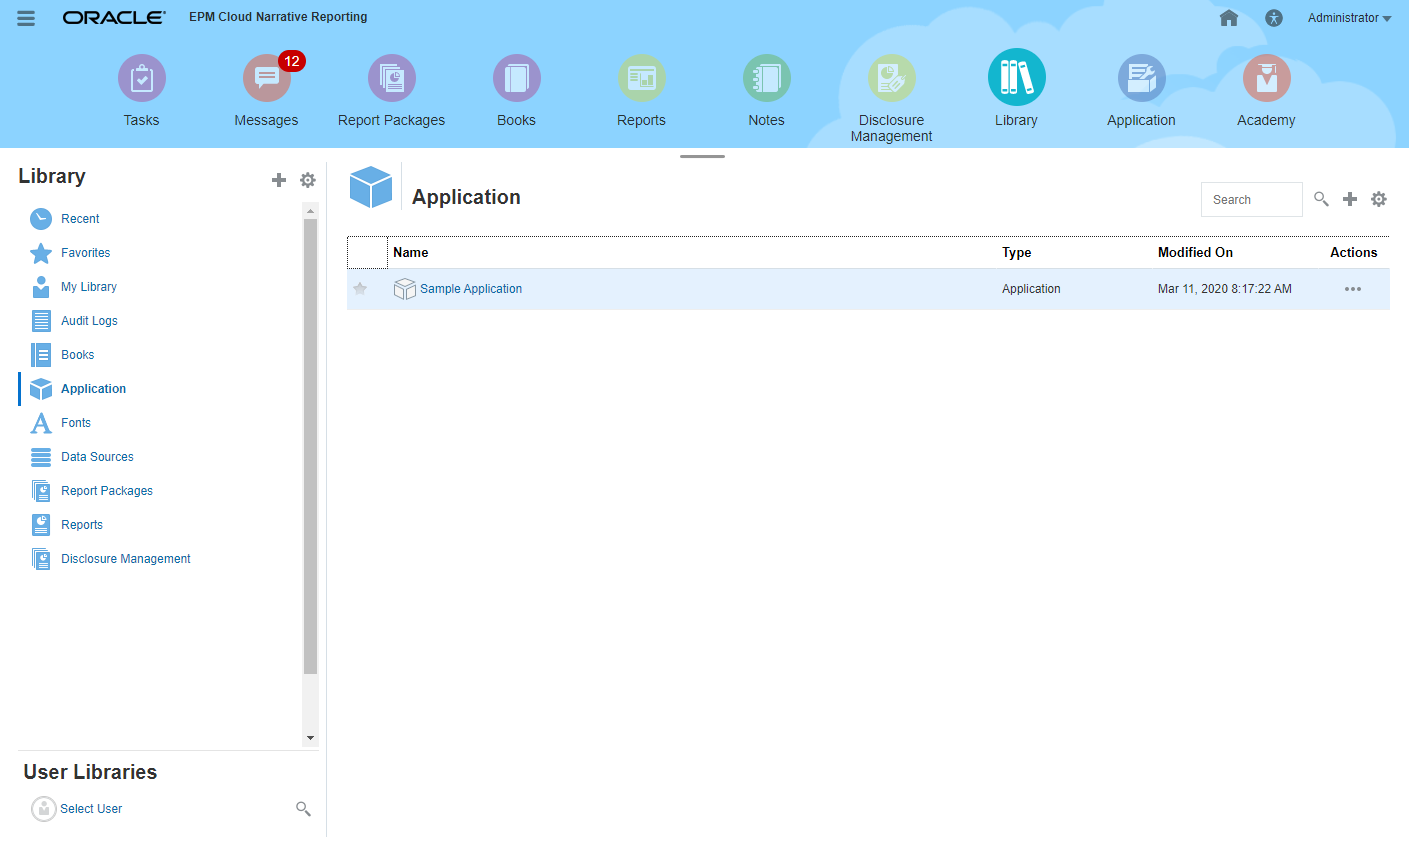
If you apply access to the Application system folder listed under the left column of the Library using the Inspect option without opening the application, the associated permission is applied to the system folder and not to the application itself.
Available Permissions
The following permissions are available for the application:
-
Administer—Allows the user or group to perform the following tasks within the application, to enable the ongoing management of all application artifacts:
-
See and manage all models in the application
-
Edit and delete any artifact in the application
-
Import and export all application artifacts (models, dimensions, and data grants)
-
Add, edit, and remove users and groups
-
-
Use—Allows a user to see the Application in the Library. The level of access which the user is allowed is also governed by any additional permissions restricting the user, such as:
-
View permissions applied to any artifact
-
Write permissions applied to a folder artifact
-
Additional permissions applied to the model, data and metadata
-
Granting Access to an Application from the Home Page
To grant access to an application from the Home Page:
-
From the Home page, select Application, and then click the application name.

-
From the Overview screen in Application, select Access
 .
.
The creator of the application is displayed as the Administrator.

-
Click
 and select the users to which you want to assign access, as follows:
-
Select the user type:
-
Users
-
Groups
-
Users and Groups
-
-
On the Select User dialog box, enter the first few letters for the user name in the text box, and then click Search
 to populate the list of names. To display all users and groups, enter an asterisk "*" as a wildcard in the Search field.
-
Select the users and groups to which you want to assign access, and then click OK.
-
-
From Access
 , click the check box under the appropriate columns, or select Grant Permission from User or Group Actions
  to assign the level of access for each user or group:
-
Select Administer to enable the user or group to perform ongoing management of all application artifacts.
-
Select Use to allow a user to see the Application in the Library. The level of access which the user is allowed is also governed by any additional permissions restricting the user.
-
-
Optional: Select Remove to delete the selected user or group from the list. Highlight the name, and then click X to remove the name and any associated permissions:
-
Click Close.
Granting Access to an Application from the Library
To grant access to an application from the Library:
-
On the Home Page, select Library, and then, in the left pane, select the Application system generated folder.
-
Select the application in the Content pane, then Actions arrow next to application , and then select Inspect.

-
From Properties on the Inspect dialog box, select Access
 .
.
The creator of the application is displayed as the Administrator.
-
Click
 and select the users to which you want to assign access, as follows:
-
Select the user type:
-
Users
-
Groups
-
Users and Groups
-
-
On the Select User dialog box, enter the first few letters for the user name in the text box, and then click Search
 to populate the list of names. To display all users and groups, enter an asterisk "*" as a wildcard in the Search field.
-
Select the users and groups to which you want to assign access, and then click OK.
-
-
From the Access tab
 , assign the level of access for each user or group by clicking the check box under the appropriate columns, or select Grant Permission from User or Group Actions
  :
:
-
Select Administer to enable the user or group to perform ongoing management of application artifacts.
-
Select Use to allow a user to see the Application in the Library. The level of access which the user is allowed is also governed by any additional permissions restricting the user.
-
-
Optional: Select Remove to delete the selected user or group from the list. Highlight the name, and then click X to remove the name and any associated permissions.
-
Click Close.