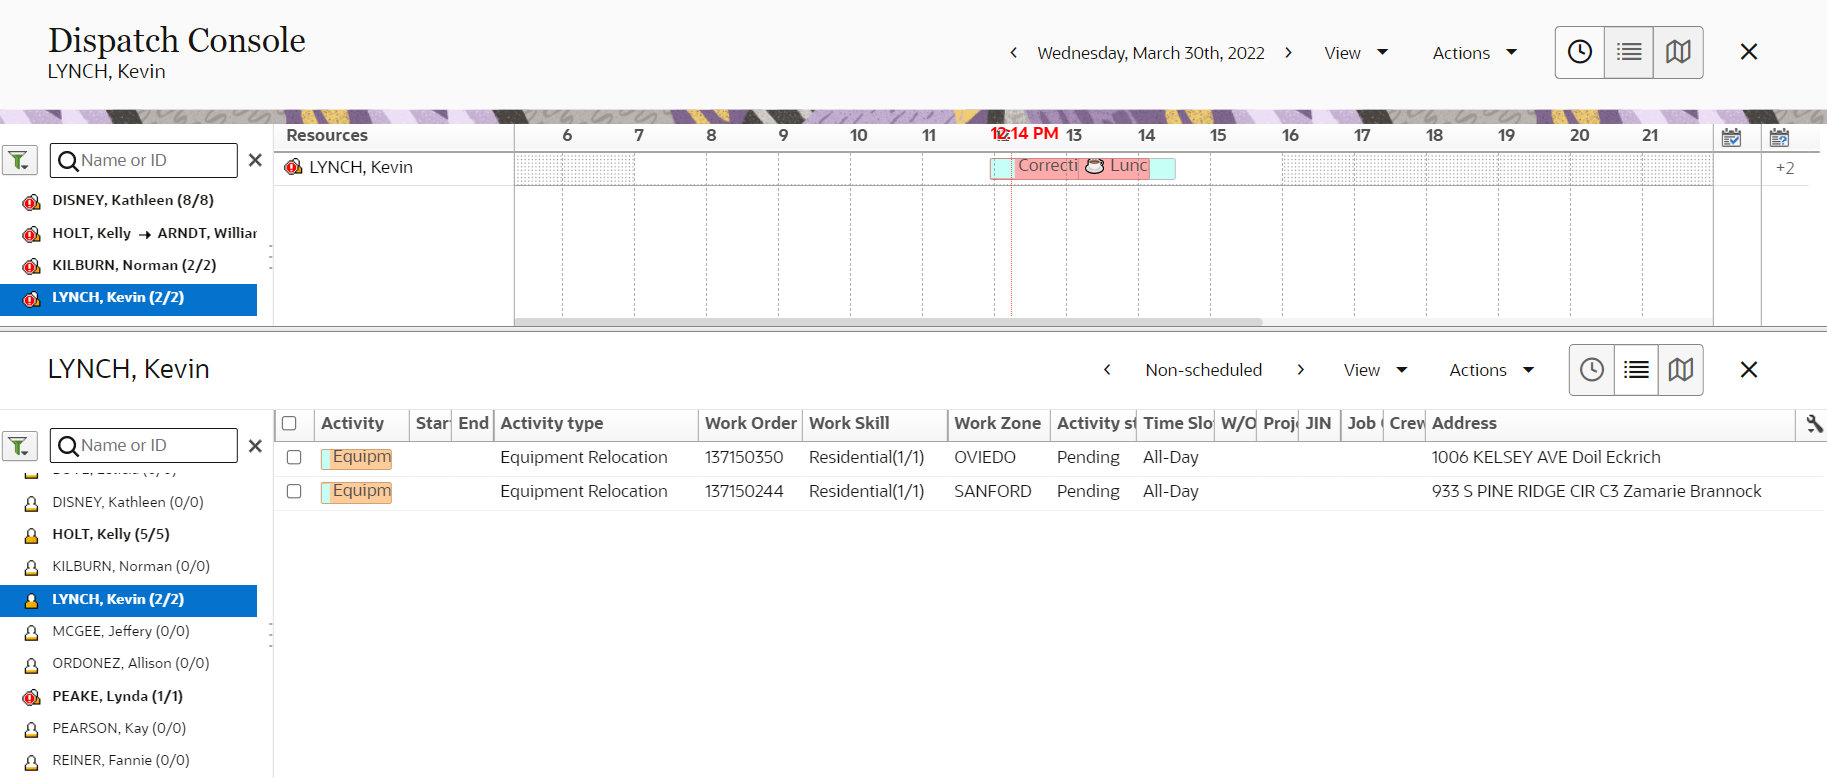
Dispatch Console Split View
To view day-level or week-level details and at the same time, drill-down the details for a specific entity, you can do so using the lower work area panel. In the lower work area panel, you can see the details of an entity selected either in the upper panel or in the resource tree.
You can drill down to display the route information for any resource, bucket, or group selected in the upper panel. For example, if you select a resource in the upper panel, you can see the scheduled or non-scheduled activities for that resource in the lower work area.
As you can access the Resource Tree directly from the lower work area, you can use it to search and display information independent of the display in the upper panel. This way, you can have a detailed comparison of the resource availability in two panels.
Navigate to Time view.
Select an entity from the Resource Tree.
View the resources displayed in the upper panel.
Select a resource from the upper panel.
Click [+]. The resource's schedule is displayed in the lower work area.
Optional: Drag the display in the lower work area to the upper panel.
Optional: Repeat steps 2-4 in the lower work area to select and view the schedule of a second resource in the bottom panel.
Optional: Compare the two panels to identify the resource that meets your requirements.
This is how the two panels of the Dispatch Console are displayed: