Working with Screens
The Screens page specifies dialog boxes, context menus and other elements visible to a certain user type. They also support the context layout editor, in which the content, arrangement, and visibilities of each context are set.
The Screens page contains the list of all contexts available in Oracle Fusion Field Service.
The Screens page is active when the Access -> Web Application option is selected for the user type. The same settings also influence the availability of the configuration sections and require the related button to be configured within the main menu. If the Access -> Web Application option is deselected for the user type, the Application page section is collapsed and inactive.
All contexts are split into these sections that correspond to their location in the application:
| Groups | Description |
| Main | This group includes all the pages from the main menu |
| Activity | This group contains all the activity-related pages |
| Inventory | This group contains all the inventory-related pages |
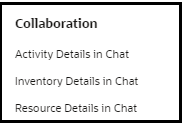
| Collaboration | This group contains all the pages related to set up collaboration |
| Forms | This group contains all the pages related to configuration of Forms history page |
| Resource, User | This group contains all the pages related to configure resources and users |
Some large groups are further divided into sub-groups that logically group similar pages together. For instance, all action page such as, Start activity, Complete activity are grouped under the same sub-group. The same is effective for booking pages and so on.
Below is a screenshot of the Screens page:
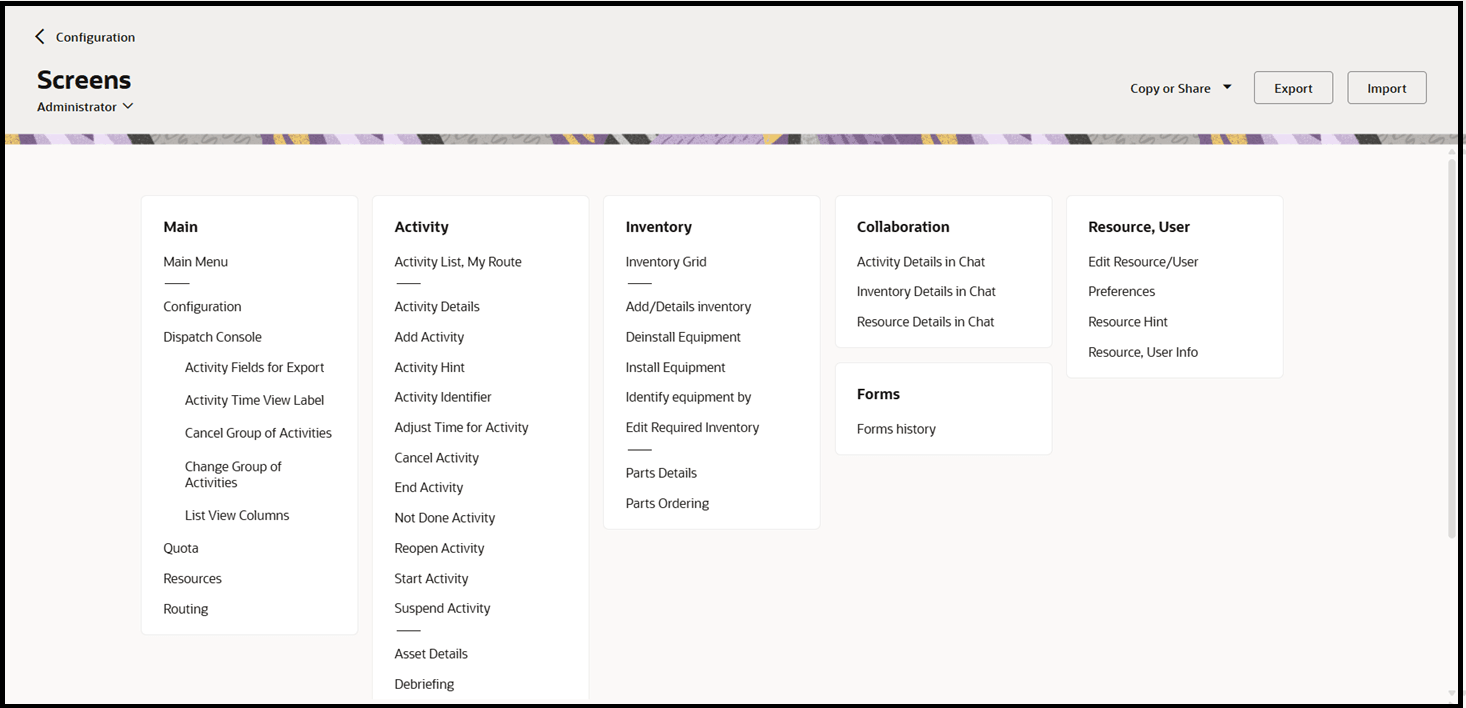
You can also see that the standard plugins are available under Screens tab and listed under these sections:
- Activity → Asset Details, Debriefing
- Inventory → Parts Ordering
When configuring pages for a user type, the Context layout structure page provides an indicator to show that a property is configured. When you add an item to the Layout structure column of the page, it appears in red until you add visibility to the field. After you define a visibility for the item, it is no longer highlighted in the Layout structure column.
The hierarchy of contexts starts from the Main menu items context defining the main menu items available or unavailable for the current user type. The configuration of the Main menu items context defines the menu bar elements visible or hidden for a particular user type. Each menu bar element opens a certain page and, therefore, provides access to its functionality. If a certain page has been made available for a user type, all users of such type have access to the entire functionality implemented on that page. Similarly, if a page has been made unavailable for a user type, all users of such type cannot use the functionality implemented on that page.
Click any of the any of the available links within the groups to open the Context layout structure page, where you can define the fields and actions of the context and their visibilities for the user type. If another user type uses the same or a slightly modified layout of the same page or window, you can copy a context layout to it. The Context layout structure page includes a Copy to User Type button, which opens a list of all user types in the application.
For the form type contexts, the link leads to the Visual Form Editor page, where you can edit context layouts in an easier and more transparent manner. You can delete the default Read/Write visibility on the sections and tabs in the Visual Form Editor. Additionally, Read/Write visibility is not added after migration. When the visibility condition for a property is mandatory and the property value is cleared, the value is set to null and the visibility is selected.
If you have shared the configuration for the current user type with one or more other user types, such user types are preselected in the Copy to User Type list. If the user type selected in the list shares its configuration with other user types, such user types are automatically selected as well. The current context layout is applied to the selected user types. In this case it replaces the previous context layout settings, if any.
When a context layout is copied for another user type, only the current context is copied, while the rest of the configuration remains unchanged. When a context layout is copied, two separate identical context layouts are created. You can edit each layout independently without affecting the other one. However, if the destination configuration is shared with other user types, the current context layout is copied to all user types sharing the same configuration.
Context layout copying is confirmed with the message, Layout has been successfully copied. Closing the Context layout structure page returns the user to the Screens page.
The Collaboration includes all contexts related to the Collaboration module, as shown in this screenshot: