Message Scenarios Page
The Message Scenarios page lets you define and modify all elements of a message scenario.
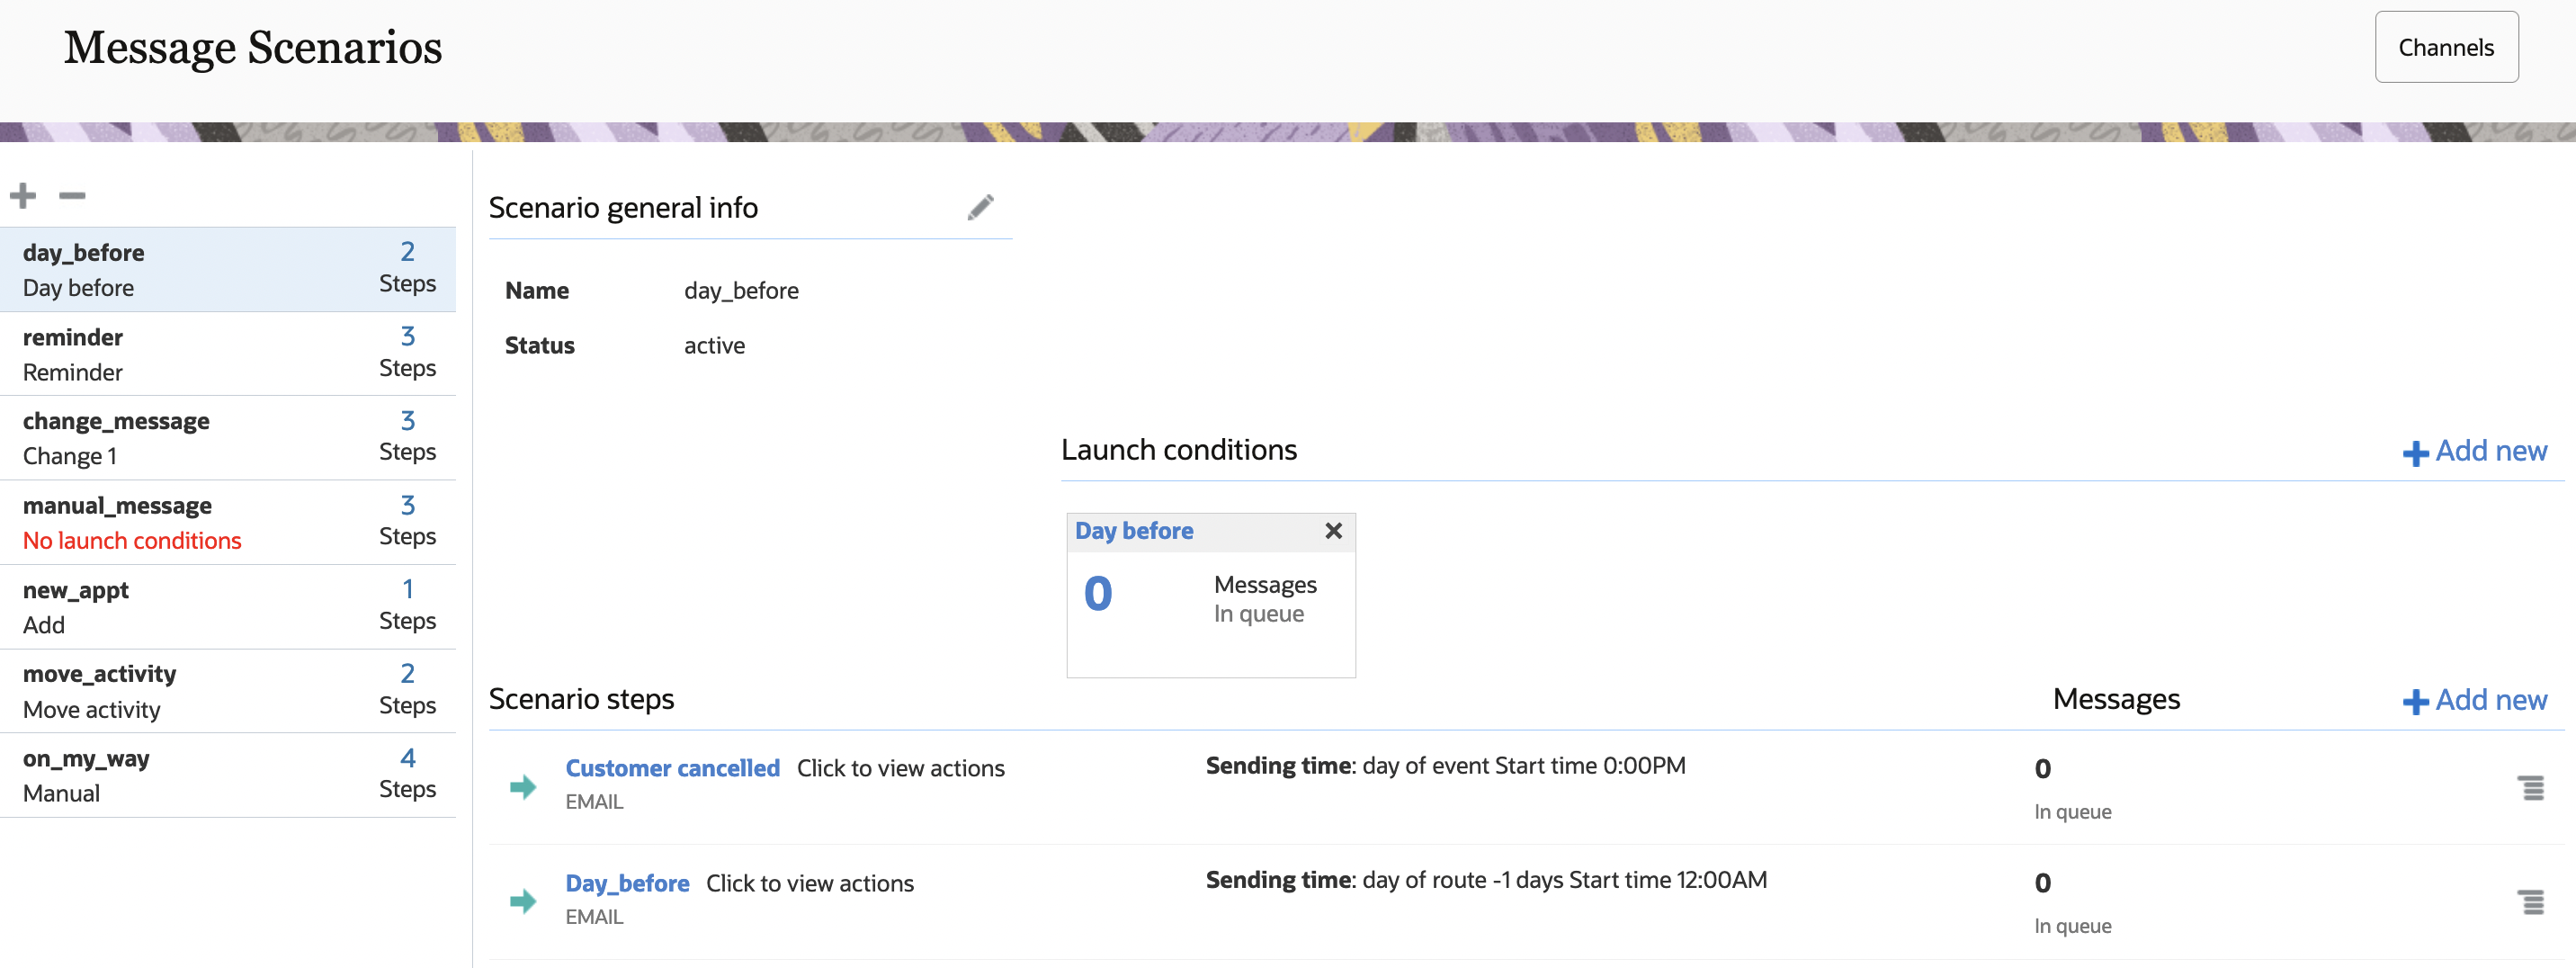
The left side of the page contains the message scenario list, and the right side includes three sections: the Scenario general info section that displays the information that was entered when the scenario was created, the Launch conditions section that triggers the scenario steps, and the Scenario steps section that defines the actions to take when the message scenario is invoked.
If one or more message scenarios include Email steps with a Reply address domain that isn’t DKIM-enabled for the subscription, a warning message appears on the Message Scenarios page. The list of message scenarios marks only the scenarios that contain at least one affected Email step.
You can review affected scenarios to find the scenarios that require changes. Open each affected scenario, review the scenario steps marked with the warning, and update the Reply address in the affected Email steps.
The list of message scenarios on the left panel of the Message Scenarios page shows all of the configured message scenarios, including the name, label, number of steps, and an error message, if applicable. The scenario you select is highlighted in the list. You can add message scenarios by clicking the plus sign at the top of the list, and remove them by clicking the minus sign.
Active—The start date is in the past, and no end date is set.
Active from [start date]—The start date is in the future, and no end date is set or the end date is in the future.
Active till [end date]—The start date is today or in the past, and the end date is in the future.