Configure Email Sender Name and Address
After creating a template, configure the campaign email sender’s name and address.
-
Set the ORA_FND_BPM_FROM_EMAIL_ADDRESS_ENABLED profile option.
-
From the Fusion home page, go to the Setup and Maintenance work area.
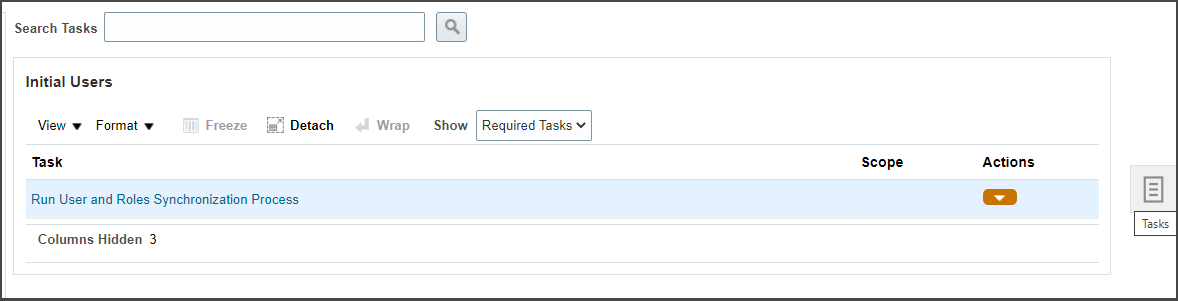
Click the Tasks icon and in the menu, click Search.
-
Search for the Manage Administrator Profile Values task and open it.
-
On the Manage Administrator Profile Values page, Profile Option Code field, enter ORA_FND_BPM_FROM_EMAIL_ADDRESS_ENABLED.
-
Click Search.
-
In the ORA_FND_BPM_FROM_EMAIL_ADDRESS_ENABLED: Profile Values region, Profile Value field, select Yes.
-
Click Save and close.
-
-
Enter the email sender’s name and address.
-
Go back to the Setup and Maintenance work area.
-
Click the Tasks icon and in the menu, click Search.
-
Search for the Manage Task Configurations for Financials task and open it.
-
On the BPM worklist page, search for the DynamicDiscountCampaignOffer task.
-
Click the task to open it and click the Edit task icon.
-
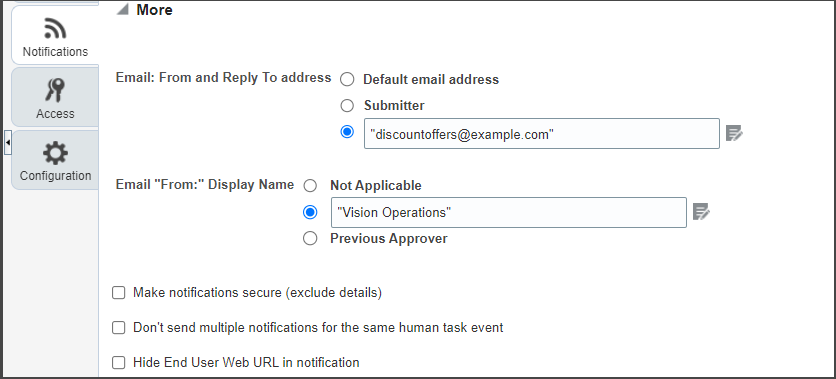
In the task, click the Notifications tab.
-
Click More to view the additional fields.
-
In the Email: From and Reply To address field, enter the sender’s email address in quotes.
In the Email “From:” Display Name field, enter the sender’s display name in quotes.
-
Verify that the Make notification actionable check box is selected.
-
Click the Save icon to save your changes and click the Commit task icon to commit your changes.
-