How do I configure search for other attributes on the Contact Search page?
This topic applies only to Fusion Service with the Classic User Experience.
In the Classic User Experience Add Contact page, when searching for potential contacts to
add to a service request record, the default filter used to search is based on what's in
the Account field. To add more fields, such as a custom field, you can configure the Add
Contact dialog box to display the custom or other default fields.
Note: For this example, we'll look at adding a custom field, but the
procedure is the same for ready to use fields.
- Sign in to Fusion Service as a user who can create a new sandbox.
- In Application Composer, expand the Standard Objects node, then expand the Contact object.
- Click Pages.
- In the Reusable Regions area of the Applications tab, click the Actions drop-down list and select Duplicate.
- In the Duplicate Layout dialog box, enter a name in the New Layout Name field and then click Save and Edit.
- In the Edit Search and Search Dialog Layout page, click the Search Region click the Edit (pencil) icon.
- From the Available Fields list, find the custom field you want available for search, then use the arrow to move the field to the Selected Fields area.
- Click Save and Close.
- In the navigator, expand the Service Request object, and click Pages.
- In the Details Page Layouts area, duplicate the Standard layout, give it a new name, then click Save and Edit.
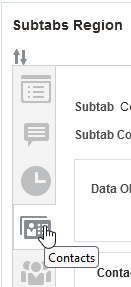
- In the Details Layout page, click the Contact subtab icon, as shown:
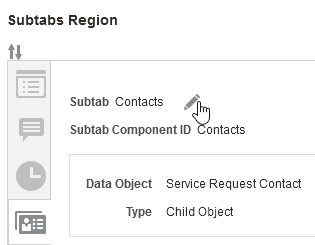
- Click the Subtab: Contact Edit icon (pencil) as shown:
- On the Subtab layout page, click the Edit icon in the Configure Summary Table: Buttons and Actions area, click the Edit icon (pencil).
- In the Configure Default Values for Search and Select Dialog page, make sure you see the new contact page and the custom field. You can change any of the fields to have a default value, including the custom field.
- Click OK, then exit Application Composer.
- Now, to verify that the default value of your custom field is reflected in the
UI, do the following:
- In Fusion Service with the Classic UI, open a Service Request for editing.
- Click the Contacts subtab, and then click Add Contacts.
- Verify that the Add Contacts dialog shows the custom field with the default value that was configured.