Overview of Extending Wrap Up
Here's a short overview on what you can do to extend the Wrap up UI.
Overview of Extending the Wrap Up UI
- Open the Oracle Cloud Application page containing the component you want to extend.
- Click the Settings and Actions menu and select Edit Page in Visual Builder to open the page in the VB Studio Page Designer.
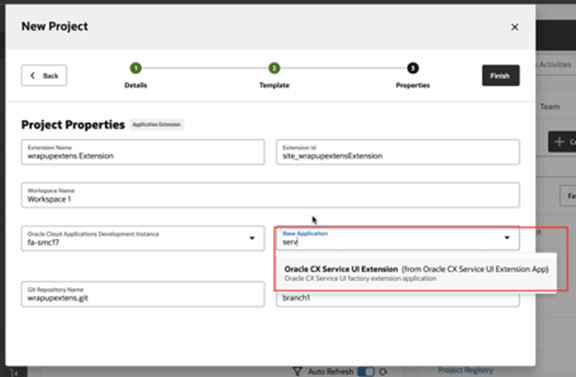
- Create a project or Open project with base application as: Oracle
CX Service UI Extension APP.
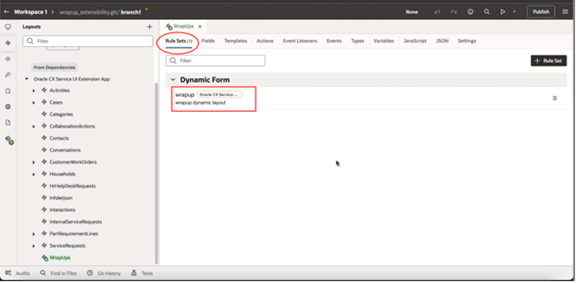
- Click the Layouts subtab, then from the Dependencies list click WrapUps.
- In the Dynamic Form list, select the Wrapup dynamic
layout.
- In the Rule Set field, click the
Parameters tab.
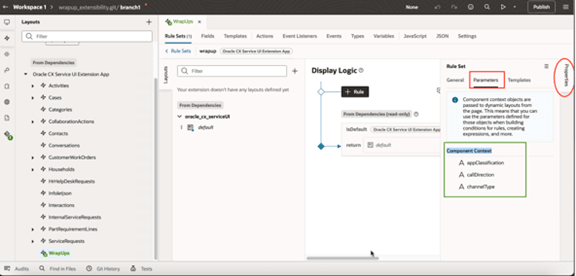
- The Wrapup component has the following three contexts:
- appClassification
- callDirection
- channelType
- Hover each context to highlight it, then hover of the
? symbol to view possible values for each
component context.
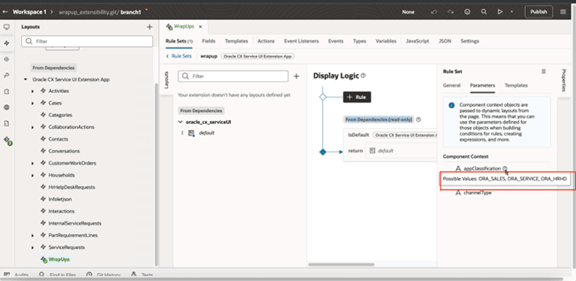
-
Possible values are:
- appClassification: Possible Values: ORA_SALES, ORA_SERVICE, ORA_HRHD
- callDirection: Possible Values: ORA_SVC_INBOUND, ORA_SVC_OUTBOUND
- channelType: Possible Values: ORA_SVC_PHONE, ORA_SVC_CHAT
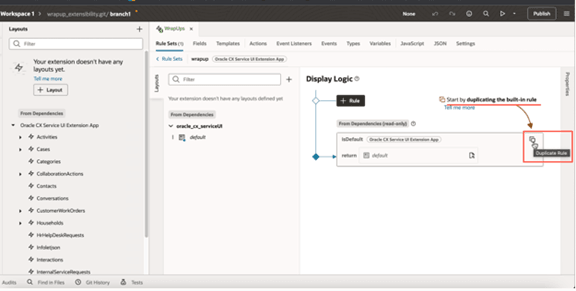
- In the Display Logic area, click the
Duplicate Rule icon to clone the default
rule.
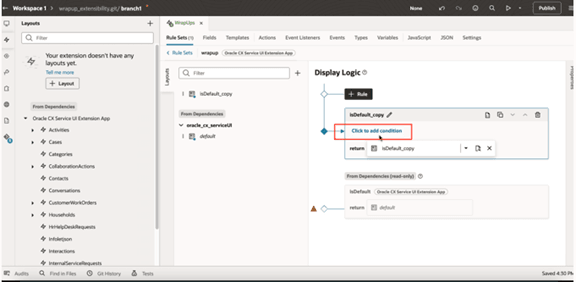
- Enter a name for the duplicate rule then click the
Duplicate button to create a copy of rule and
layout.Note: Default layouts from dependencies are read-only, you can’t edit them.
- In the the newly copied layout, select Click to add
condition to add conditions for when to use this rule and
layout.
- You can add conditions as shown here:
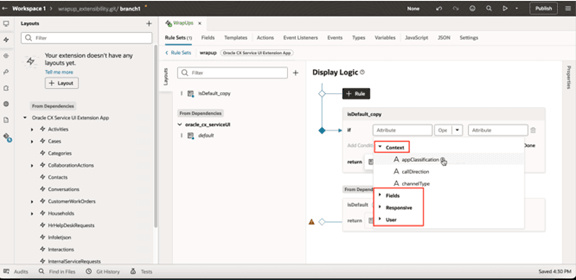
- And you can add them based on the following:
- Context
- Fields
- Responsive
- User
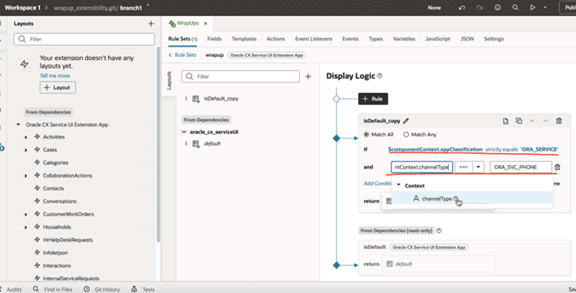
- You can give multiple conditions, or you can add multiple rules based on
your requirement.
- Now we’ll create rules, so go to the Layouts area, click the + Rule button. For more information on create a rule, refer to Create a Rule in a Rule Set.
Further Extending You Can Do
For further information on extending the application, refer to these topics:
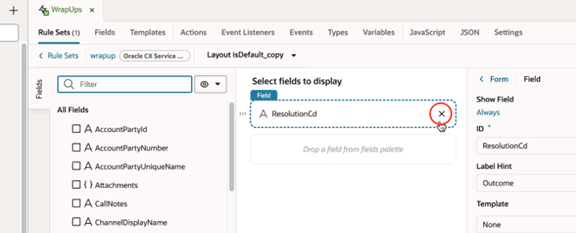
- To add additional fields to the layout, see How do I add, hide, or rearrange fields?.
- To delete a field, hover over the field, and click the
Delete button.
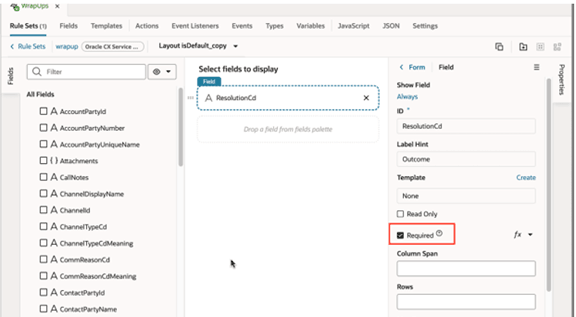
- To mark a field as mandatory, click the the Required
checkbox in the properties for the given field.
- To make fields conditionally required or read only, see How do I make a field read only or required?. Use the example with the following inputs:
- First, make a field required conditional by using Function fx option of the Required flag.
- Then enter the required key and value. Here are some examples:
- [[ $componentContext.callDirection == 'ORA_SVC_OUTBOUND' ]]
- [[ $user.userName == 'ctiautouisvr3' ]]
- [[$fields.ResolutionCd.value() === ‘ORA_SVC_DS_PROVIDED_INFO’]]
- Now, to display the field conditionally, select the Show field option in the properties section of a field.
- Click Always to enter a condition.
- Save to view the updated Show field condition.