Walkthrough of Developing a Decision Service Project
This topic is a basic walkthrough of developing a decision service project in Intelligent Advisor Hub. During the walkthrough we will create a very simple project with one rule containing one output and two inputs.
This walkthrough assumes that the project is being worked on by two users: a user with the Manager role and a user with the Author role in Intelligent Advisor Hub.
The process of developing a decision service project is as follows:
- The manager creates a decision service project
- The manager defines the contract
- The author creates the rules
- The author binds the field text used in the rules to the inputs and outputs in the contract
- The author commits the project
- The author tests the rules
These steps are walked through in greater detail below.
- The manager creates a decision service project. To do this they:
- In Intelligent Advisor Hub, navigate to the Projects Page.
- Click Create. In the Create project window, select:
- Under Project type, select Decision service
- Under Template, select Blank.
- Under Workspace, select Default Collection.
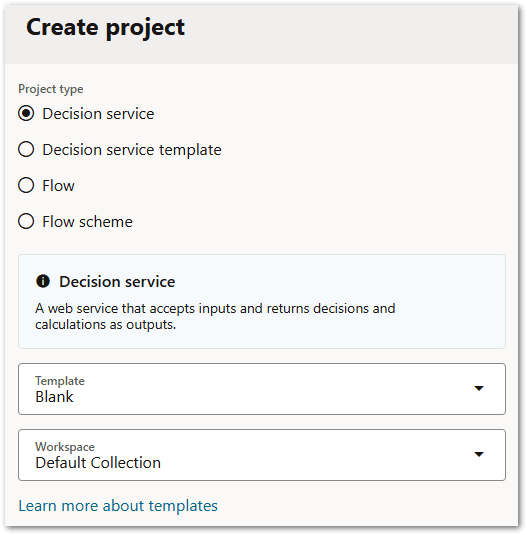
- Click Create. The new project opens.
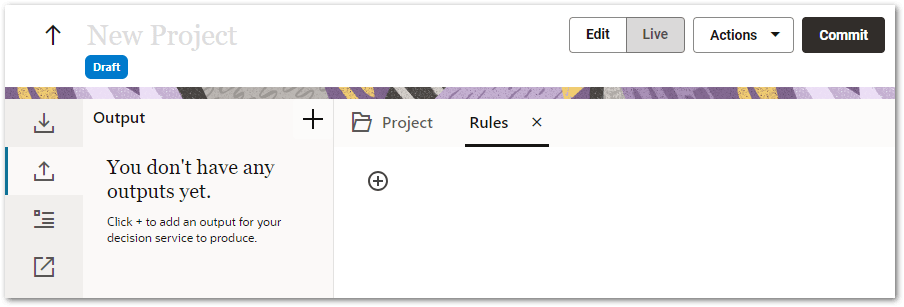
- Rename the project by clicking in the New Project text in the project header and typing "Eligibility".

- Click Enter. The project header shows that the change has been automatically saved.

- The manager defines the contract. To do this they:
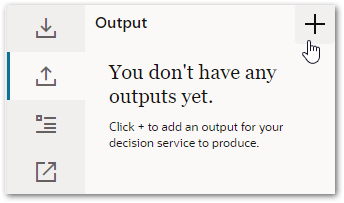
- Define the outputs:
- Select the Output tab in the contract editor and click the plus icon.
- In the drop-down list, select Boolean as the output type.
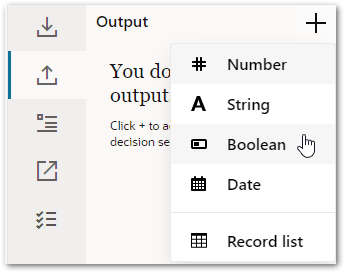
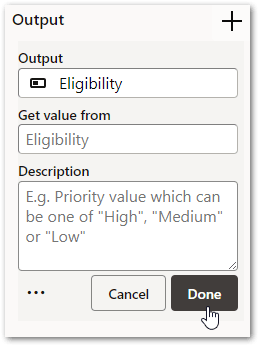
- In the Output field, type "Eligibility" and then click Done.
The Output tab shows the new output. It is shown in red to indicate that a problem has been detected with the project. If the manager hovers over the field they can see that the problem is that a value for the field cannot be determined. In other words, Intelligent Advisor doesn't know how to calculate a value for the field.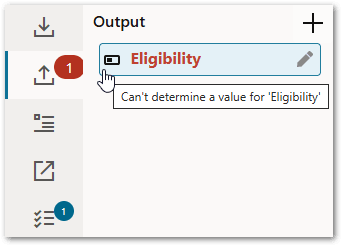
This is expected because a rule is required to prove the output. (This will be created by the author in Step 3.) This error is also automatically added as a task (to resolve) in the Tasks list.
- Select the Output tab in the contract editor and click the plus icon.
- Define the inputs:
- Select the Input tab and click the plus icon.
- In the drop-down list, select Boolean as the input type.
- In the Input field, type "Unemployed" and then click Done.
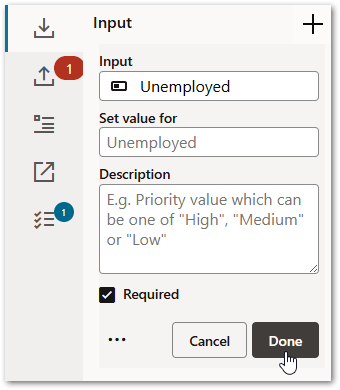
The Input tab shows the new input. Required inputs are shown with an asterisk.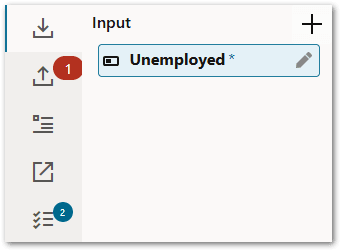
Note that a warning has been added to the Tasks list because this new input is not used yet. (The rule that uses this input will be created by the author in Step 3.) - Click the plus icon and select Number as the input type.
- In the Input field, type "Age" and then click Done.
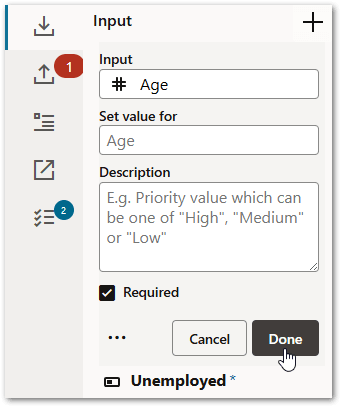
The Input tab now shows the two inputs that have been created. The project header shows that the changes to the project have been automatically been saved. Another warning has been added to the Tasks list, this one for the 'Age' input that is not yet used by the rules.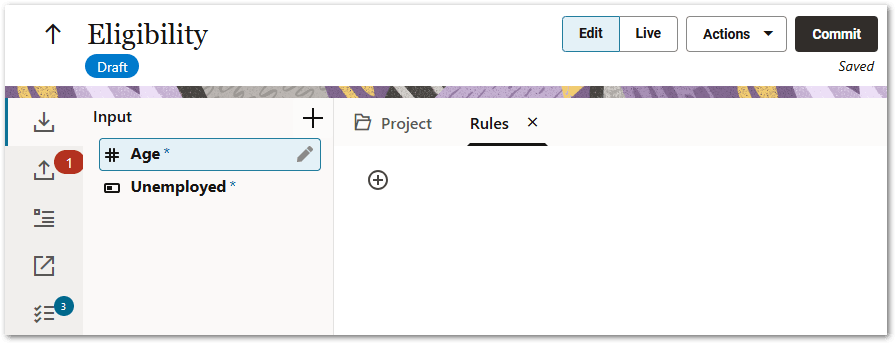
The manager is now ready to hand the project over to the author who will create the rules that use the output and inputs that they have defined.
- Define the outputs:
- The author creates the rules. To do this they:
- Navigate to the Projects Page.
- Click the Eligibility project name. The project opens.
- In the rule editor, click the plus icon and select Normal.
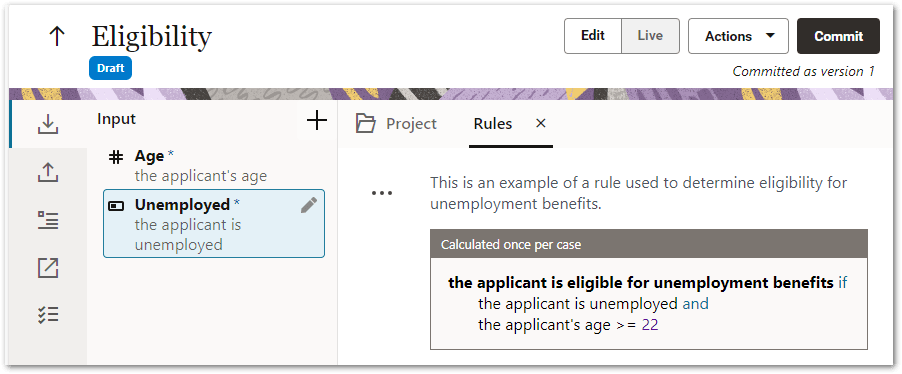
- In the text box provided type "This is an example of a rule used to determine eligibility for unemployment benefits."

- Click Enter.
- Click the plus icon and select Empty rule block.
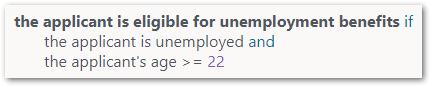
- In the rule block, type "the applicant is eligible for unemployment benefits if". This is the field being set by the rule. The "if" has been automatically identified as a keyword and is shown in blue text. At this point the "if" is underlined and an error has been detected. If the author clicks on the error number in the margin they can see that the problem is that there is a missing condition for the trailing 'if'.
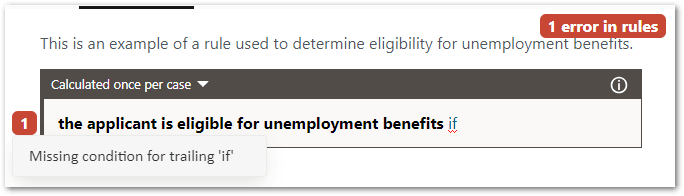
Two additional tasks have been added to the Tasks list: one for the missing condition error, and one for the unused value warning for the 'the applicant is eligible for unemployment benefits' field. Click Enter.
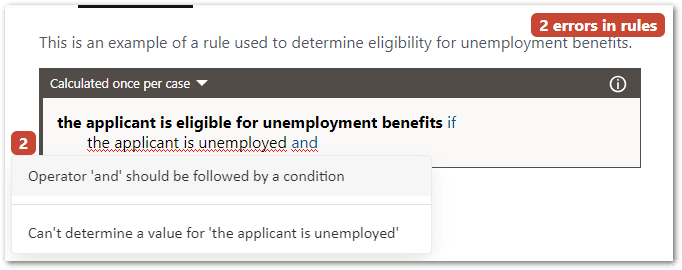
On the second line of the rule, type "the applicant is unemployed and". This is the first rule condition. The "and" has been automatically identified as a logical connector and is shown in blue text. At this point both the "the applicant is unemployed" and the "and" are underlined and two errors have been detected. If the author clicks on the error number in the margin they can see that the problems are that the operator 'and' should be followed by a condition and that a value cannot be determined for 'the applicant is unemployed'. (This error is also added to the Tasks list.)
- Click Enter.
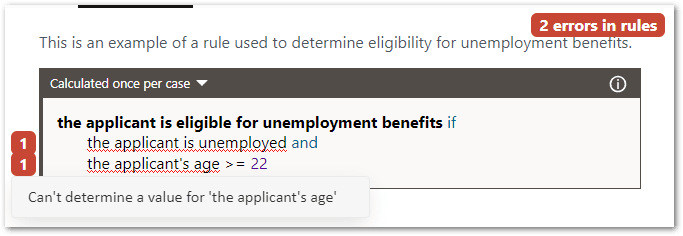
- On the third line, add a second condition "the applicant's age >= 22". The "22" has been automatically identified as a value and is shown in purple text. At this point the previous error about the operator 'and' needing to be followed by a condition has been removed as this error has been resolved by the addition of the second condition. A new error has been detected for "the applicant's age". (This error is also added to the Tasks list.) Clicking on the error number in the margin shows that the problem is that a value cannot be determined for 'the applicant's age'. The errors about values not being able to be determined is expected at this stage because the field text used in the rules needs to be bound to the inputs defined by the manager in the contract. (This will be done by the author in Step 4.)
If you check the Tasks list, you can see that at this stage there are 3 Errors and 3 Warnings in the Eligibility project. These will be resolved in the next step.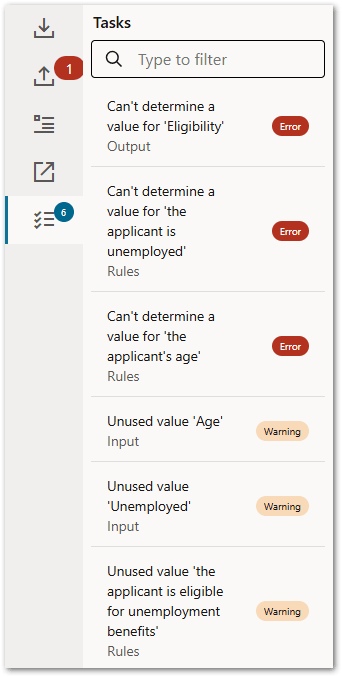
- The author binds the field text used in the rules to the inputs and outputs in the contract. (Note that this step only needs to be done if the author is using different text for the fields in the rules to the input and output names defined by the manager in the contract.) To do this they:
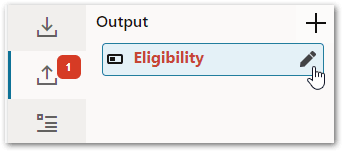
- On the Output tab in the contract editor, select the Eligibility output and click the pen icon to edit it.
- In the Get value from field, delete the default text "Eligibility" and type "the". In the drop-down list of suggestions, select "the applicant is eligible for unemployment benefits".
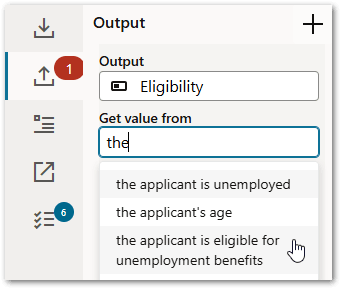
At this point the error shown on the Output tab disappears as the error has been resolved. You will notice that two of the tasks in the Tasks list have also disappeared (the 'Can't determine a value for 'Eligibility'' error and the 'Unused value 'the applicant is eligible for unemployment benefits'' warning). - On the Input tab in the contract editor, select the Age input and click the pen icon to edit it.
- In the Set value for field, delete the default text "Age" and type "the". In the drop-down list of suggestions, select "the applicant's age".
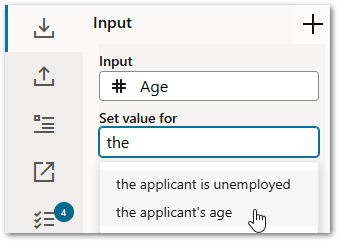
At this point the error shown next to "the applicant's age >= 22" line in the rule block disappears as the error has been resolved. You will notice that two more of the tasks in the Tasks list have also disappeared (the 'Can't determine a value for 'the applicant's age'' error and the 'Unused value 'Age'' warning). - On the Input tab in the contract editor, select the Unemployed input and click the pen icon to edit it.
- In the Set value for field, delete the default text "Unemployed" and type "the". In the drop-down list of suggestions, select "the applicant is unemployed".
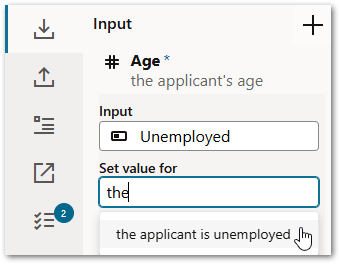
At this point the error shown next to "the applicant is unemployed and" line in the rule block disappears as the error has been resolved. All of the remaining tasks in the Tasks list have now been addressed too.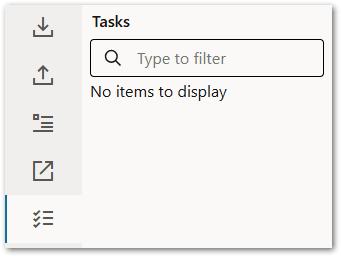
- On the Output tab in the contract editor, select the Eligibility output and click the pen icon to edit it.
- The author commits the project. To do this they:
- Click the Commit button. You can add any comments if you wish in the Commit dialog, then click OK. A new numbered version is created.
- Click the Commit button. You can add any comments if you wish in the Commit dialog, then click OK. A new numbered version is created.
- The author tests the rules. To do this they use the Live view. For more information, see Test Decision Service Rules.