Branch a Project Into a Namespace
A project can be branched in Intelligent Advisor Hub into a namespace. Namespaces allow projects and deployments to keep their existing names, but all dependencies are resolved within their namespace, ensuring isolation between multiple streams of development/deployment for a given project/deployment.
For example, you could branch a project into a namespace to have separate streams for the currently released version and the next version under development, both with the same project name.
Note that where there are dependent resources (for example, a decision service reference or an inclusion) these projects must also be branched into the same namespace, otherwise the branched project containing the dependent resources will behave as though those resources do not exist.
Projects and deployments not explicitly in a namespace are considered to be in an implicit top-level namespace for the purposes of isolation from other namespaces.
Namespaces are created by branching a project into a new namespace. An alternative to branching a project into a namespace is to branch a project to create a new project with a different name.
Branch a web-authored project into a namespace
Note: This feature only applies to Intelligent Advisor Cloud Service.
To branch a decision service, flow, flow scheme or template project into a namespace:
-
In Intelligent Advisor Hub, navigate to the Projects Page. Note that to branch a web-authored project you need to have:
-
Permission to view the web-authored project that you want to branch
-
Manager permission in at least one workspace
-
Manager permission for the workspace that they are branching the project into
-
-
Select the tab for the type of project that you want to branch. You can then either:
-
Click the menu next to the project name and select Branch, OR
-
Click the project name and in the Actions menu for the project, select Branch.
Note that you can only branch from a committed version of a project. If you want to branch from an historical version of the project, access the version history for the project to open the version that you want to branch. Then in the Actions menu, click Branch.
-
-
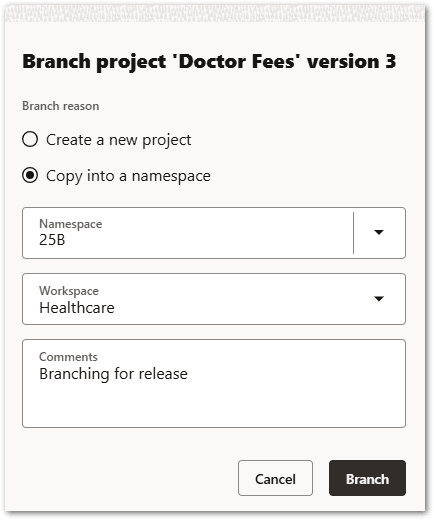
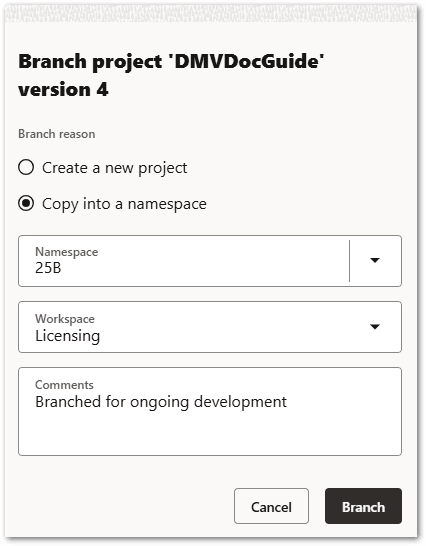
In the Branch project dialog:
-
Select the Copy into a namespace option.
-
In the Namespace field, either select an existing namespace or enter the name for a new namespace.
-
In the Workspace drop-down menu, choose the workspace for the new project.
-
In the Comments field, add any notes about the new project.
-
-
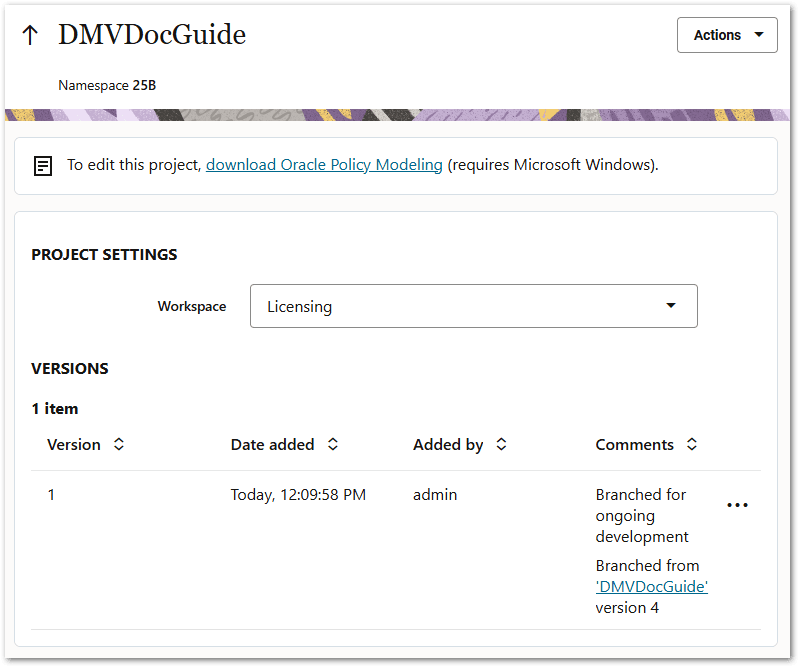
Click Branch. The project is duplicated, and the new branched project opens. The new project has the same name as the original and the namespace is shown below the project name.

The Version history shows which project and version this new project was branched from.
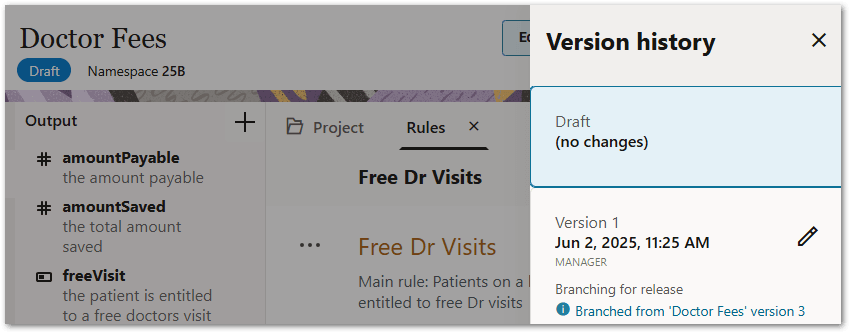
There is also a link that navigates to the original project. When you view the original project, you can see in the Version history that a branch occurred, and a link is provided to navigate to the branched project in the namespace.
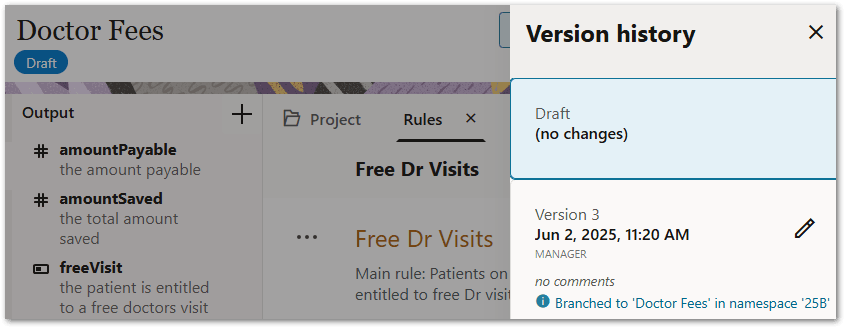
Note that there can be multiple "Branched to" listings if an original project has been branched multiple times.
Branch a Policy Modeling project into a namespace
To branch a Policy Modeling project into a namespace:
-
In Intelligent Advisor Hub, navigate to the Projects Page. Note that to branch a Policy Modeling project:
-
The Hub needs to have collaboration features enabled, and
-
You need to have the Author role.
-
-
Select the Policy Modeling tab. You can then either:
-
Click the menu next to the project name and select Branch, OR
-
Click the project name and in the Actions menu for the project, select Branch.
Note that this will branch the project from the latest version. If you want to branch a different version of the project, click the menu next to the version that you want to branch and click Branch.
-
-
In the Branch project dialog:
-
Select the Copy into a namespace option.
-
In the Namespace field, either select an existing namespace or enter the name for a new namespace.
-
In the Workspace drop-down menu, choose the workspace for the new project.
-
In the Comments field, add any notes about the new project.
-
-
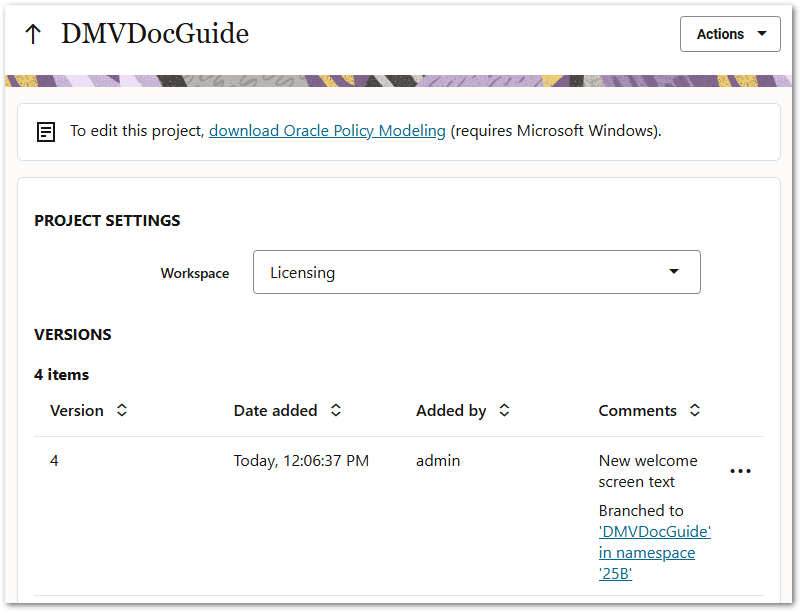
Click Branch. The project is duplicated, and the new branched project page opens. The new project has the same name as the original and the namespace is shown below the project name.
-
The Comments field shows which project and version this new project was branched from. There is also a link that navigates to the original project page. When you view the original project, you can see that the project page has been updated to show that a branch occurred, and a link is provided to navigate to the branched project.