App Configuration
This topic explains how apps are configured and provides sample code for its implementation. App configuration is the step after an app has been installed and now needs to be configured for use. The two app endpoint URLs involved are the app Configuration URL and Save Configuration URL.
In this topic:
Learn more by watching the video
Overview
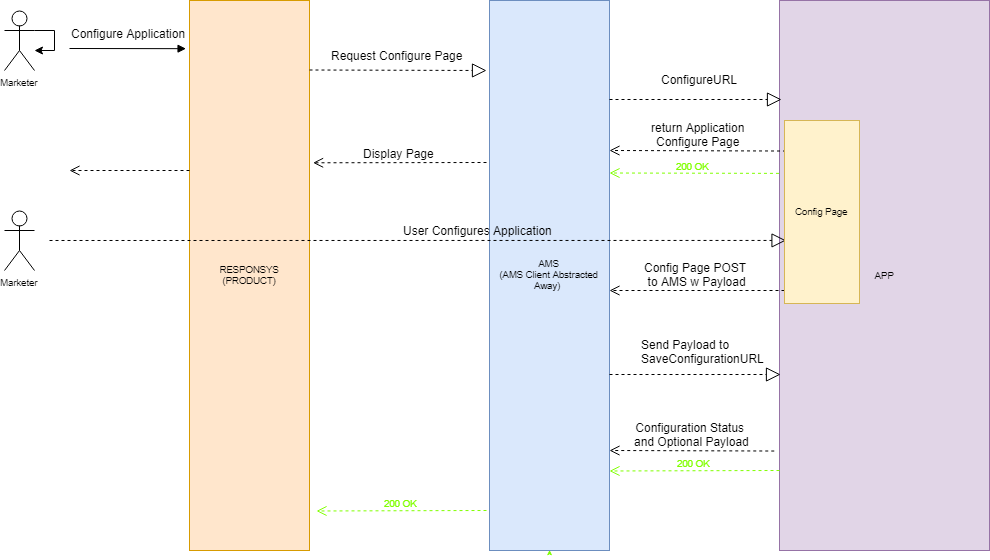
The purpose of app configuration is for marketers to prepare an app to be used. Marketers configure their apps and save their configuration changes.
The workflow resembles these steps:
-
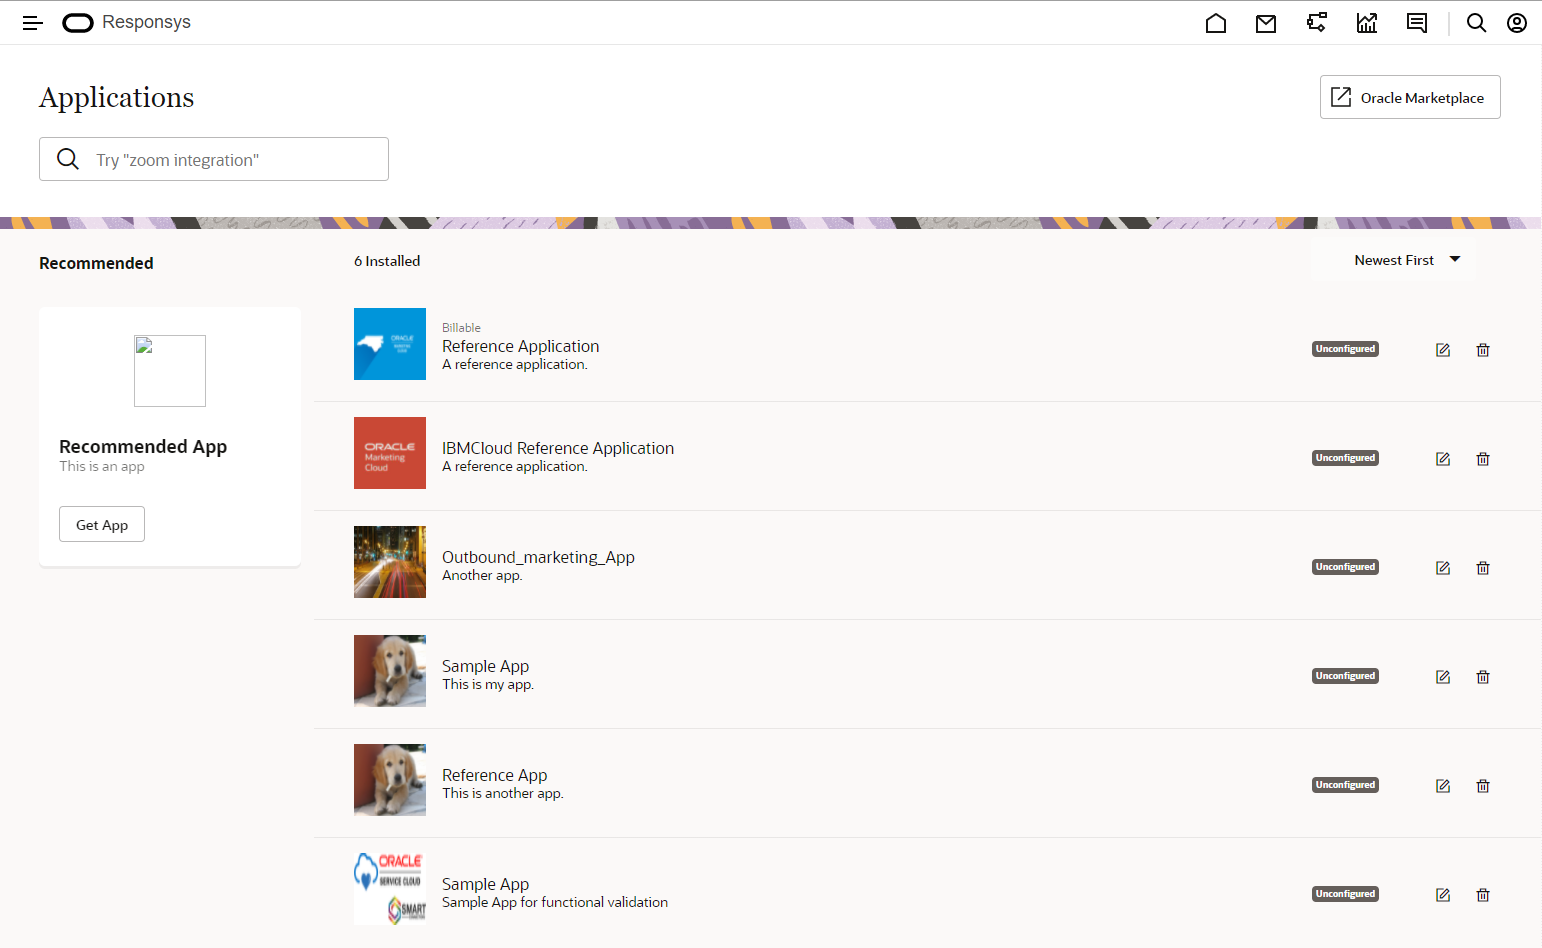
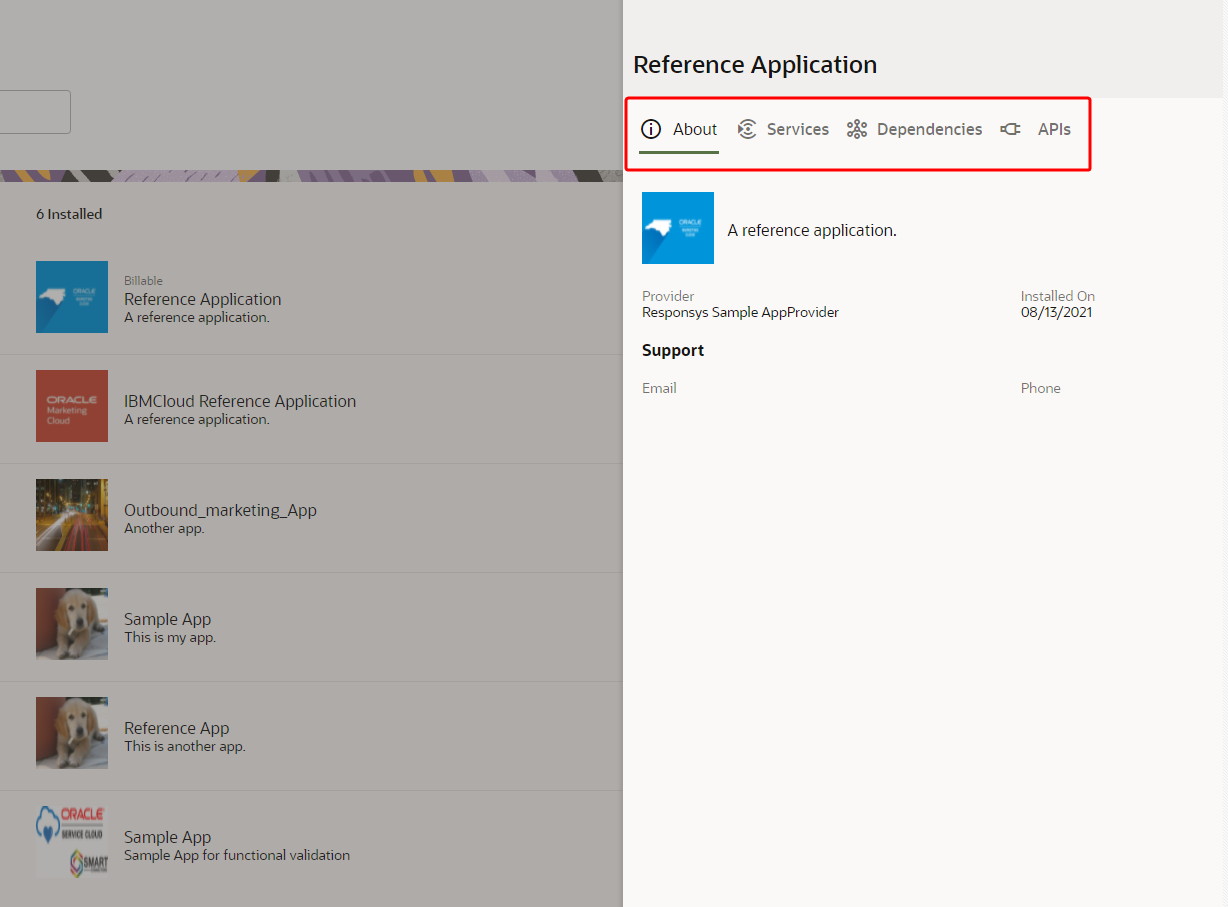
Within a CX product (Responsys for example), a marketer navigates to the app manager, selects an app, and clicks Configure to configure the app.

- Responsys calls AMS requesting the app's configuration page.
-
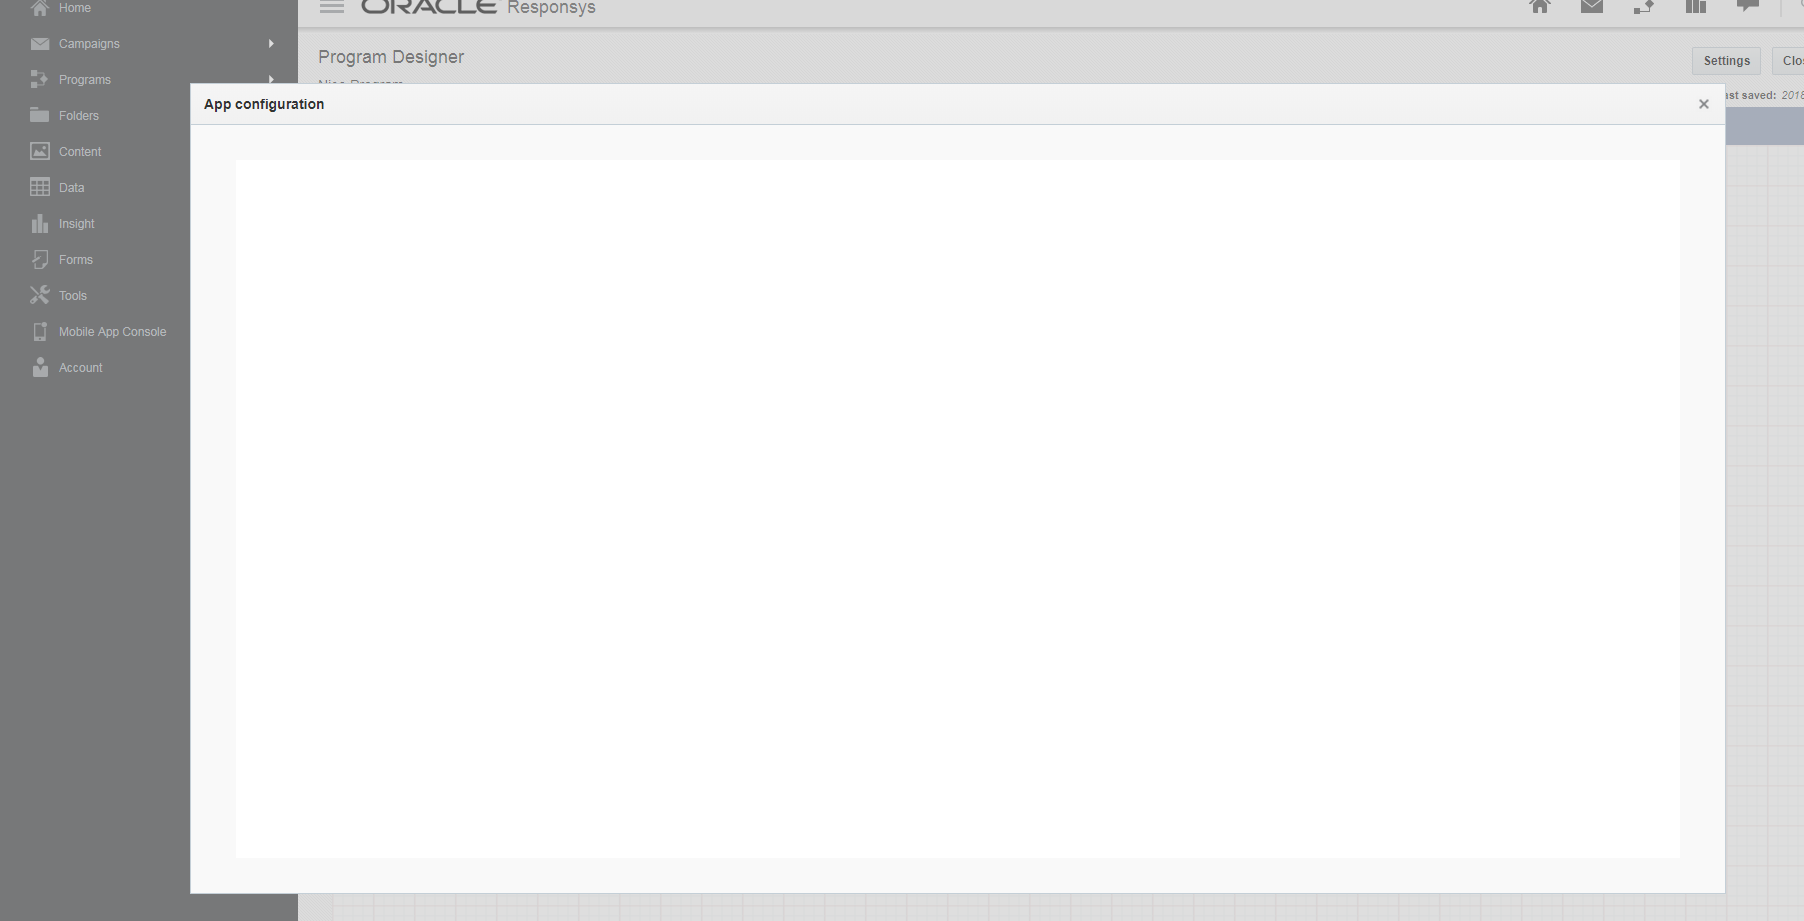
AMS call's the app's Configuration URL endpoint to retrieve the configuration page, and display the page as an iframe.
This is an example of a blank app configuration page.

Note: The app's Configuration URL endpoint along with all of the app's endpoint URLs are defined by the app developer when they create the app in AMS.
- The marketer uses the configuration page to configure the app, and then clicks a save button to save their changes.
- AMS calls the app's Save Configuration URL endpoint.
- The app responds to AMS. The content of the response should contain a configuration status to indicate whether or not the configuration is successful. Optionally, a payload can also be sent back to, and handled by the application's configure page.
The following diagram outlines the entire workflow.
Configuration URL endpoint
The Configuration URL endpoint displays the app's configure page and allows the marketer to configure the application.
AMS calls the app's Configuration URL endpoint with the following request:
POST <application-base-url><application-configure-url>
Authorization: Bearer <JWT>
{
    "applicationInstall": {
        "uuid": "some-application-install-uuid",
        "status": "UP",
        "deleted": 0,
        "application":{
            "baseUrl":"http://<application-baseUrl>/api/appInstalls",
            "configureUrl":"/configure",
            "description":"test app",
            ...
        }
    },
    "locale": "en-US"
}
Tip: The JWT Token in the Authorization Header is generated by following the AMS to App token generation. For more information about this call, including authentication details, see the endpoint API reference.
In the above payload, the applicationInstalluuid is important to note because that is the unique ID of the application. The locale represents the language setting the user has selected in the CX product. Possible values are defined by the IETF BCP 47. Locale tags can contain dashes or underscores. For example, en-CA or en_CA.
Apps' response to the Configuration URL request
An app's Configuration URL endpoint should respond to AMS with HTML content that can be displayed as an iframe. It is up to the developer to determine the actual contents of the configure page. However, there is a contract for the configure page to send a postMessage back to AMS with the results of the configuration.
Configuration URL Sample App Code
Below is a possible implementation of the Configuration URL endpoint. Mustache templates are used to generate HTML pages.
Sample App Implementation: Configuration URL Endpoint - Controller
//AppInstallController.java
@RequestMapping(value = "/configure", method = RequestMethod.POST)
public ModelAndView configureAppInstall(@RequestBody AppInstallCallDTO body,
    Map<String, Object> payload, @RequestHeader(value = "Authorization") String authorizationHeader) throws JSONException {

    String installUuid = body.getApplicationInstall().getUuid();
    AppInstall install = appInstallService.getEntity(installUuid);

    if(install == null) {
        throw new EntityNotFoundException("App Install Not Found => " + installUuid);
    }


    payload.put("appHostName", hostConfig.getHostname() + hostConfig.getPort());
    String apiKey = install.getConfigValue("apiKey") != null ? install.getConfigValue("apiKey") : "";
    payload.put("apiKey", apiKey);

    return new ModelAndView("installConfigure", payload);
}
Sample App Implementation: Configuration URL Endpoint - UI
//installConfigure.html
<form method="POST" class="mx-auto col-md-8" id="configuration-form">
    <h3 class="text-center" style="padding-top: 10px;">Enter the following app configuration: </h3>
    <div class="d-flex flex-row justify-content-around" style="padding-top: 5px;">
      <label class="col-sm-2 col-form-label col-form-label-xs">Open Weather Api Key:</label>
      <input class="form-control" type=text required id="apiKey" name="apiKey" value="{{apiKey}}">
    </div>
    <br>
    <div align="right">
        <input class="btn btn-info mb-2" type="button" id="ams-submit" onclick="saveForm()" value="Save" />
    </div>
</form>

<script>
    var appConfigSubmitter = new AmsAppConfigurationSubmitter();
    appConfigSubmitter.attachMessageListener();

    function saveForm() {
        var form = $("#configuration-form");

        // Get json from form fields with jquery magic
        var jsonObject = {};
        $(form).serializeArray().forEach(function(item){
            jsonObject[item.name] = item.value;
        });

        // Submit json to AMS
        $(".result").html("<div class=\"alert alert-info\" role=\"alert\">Saving...</div>");

        appConfigSubmitter.sendRequest(jsonObject, function(data) {
            if(data.httpStatusCode === 200) {
                $(".result").html("<div class=\"alert alert-success\" role=\"alert\">The install is successfully configured.</div>");
                statusMessageCommunication.postMessageSaveStatus("approved");
            } else {
                $(".result").html("<div class=\"alert alert-danger\" role=\"alert\">Failure save configuration: " + data.payload +"</div>");
                statusMessageCommunication.postMessageSaveStatus("refused");
            }
            console.log(data);
        });
    }
</script>
After the marketer has finished entering the input on the configure page and clicks Save, the app must send a postMessage to the parent AMS iframe.
Sample App Implementation: PostMessage
//configure.js
class BaseAmsCommunication {
    ...
    attachMessageListener() {
        var messageHandlerFunction = this.handleMessage.bind(this);
        window.addEventListener("message", messageHandlerFunction, false);
    }
    ...
    sendMessage(message) {
        window.parent.postMessage(message,'*');
    }
    sendRequest(messageOptions, handleMessageResponse, requestId, isProxyRequest, destinationUrl, requestType) {
        this.receivedMessage = false;
        this.handleMessageResponse = handleMessageResponse;
        var message;
        if(isProxyRequest === true){
            message = {amsAction : this.amsAction, requestId : requestId, destinationUrl : destinationUrl, requestType : requestType};
        }
        else {
            message = {amsAction : this.amsAction, requestId : requestId};
        }
        message = Object.assign(message, messageOptions);
        this.sendMessage(message);
        ...
    }
    handleMessage(event) {
        if(event && event.data) {
            console.log("Received Event From AMS", event);
            var data = event.data;
            if(data.requestId == this.amsAction || data.configurationStatus){
                this.receivedMessage = true;
                var response = this.parseResponse ? this.parseResponse(data) : data;
                this.handleMessageResponse(response);
            }
        }
    }
}

class AmsAppConfigurationSubmitter extends BaseAmsCommunication{
    constructor() {
        super();
        this.amsAction = "saveappconfig";
    }
    sendRequest(jsonValues, handleSubmissionResponse) {
        super.sendRequest({payload: jsonValues}, handleSubmissionResponse);
    }
}
Note the following:
- Notice that
this.amsAction = "saveappconfig"will POST to the App's Save Configuration URL. Whereas tthis.amsAction = "save"tells AMS to POST to the Service Instance's Save Configuration URL. These are different. Application configuration uses the former AMS action. - The Sample App is sending a payload in JSON, which is why the app can parse the JSON at the Save Configuration URL endpoint. AMS doesn't do any formatting to the payload.
- The configure page should also implement a listener for the response of the Save Configuration URL. This is to display configuration Success or Failure to the user.
Save Configuration URL endpoint
After the user has finished configuring the app, AMS will POST to the app's Save Configuration URL endpoint with the results from the user's configuration for the app. The purpose of this endpoint is to take the configuration that the user has set and save it within the app. When AMS POSTs to the app's Save Configuration URL endpoint, the payload includes:
- An
installUuid. Used to tie the configuration changes with the unique ID of the install. - (Optional) A
payload. Can be of any form chosen by the app developer. The content sent in postMessage from configure page.
AMS calls the app's Save Configuration URL endpoint with the following payload:
POST <app-baseUrl><app-saveConfigurationUrl>
Authorization: Bearer <JWT>
{
    "installUuid": "some-install-uuid",
    "payload": {
        // Defined by developer. Whatever is sent in postMessage from Configure Page.
    }
}
Tip: The JWT Token in the Authorization Header is generated by following the App to Product token generation. For more information about this call, including authentication details, see the endpoint API reference.
Apps' response to the Save Configuration URL request
The app's Save Configuration URL endpoint should respond with a configurationStatus, which would be one of the following: UNCONFIGURED, CONFIGURED, or ERROR. Optionally, a payload can also be sent back to and handled by the application configuration UI.
Save Configuration URL Sample App Code
Below is a possible implementation of the Save Configuration URL endpoint.
Sample App's Response Payload to Save Configuration URL Request
{
  "configurationStatus": "CONFIGURED"
}
Sample App Implementation: Save Configuration URL Endpoint
Below is a possible implementation of the Save Configuration URL endpoint for the Sample App.
//AppInstallController.java
@RequestMapping(value = "/saveConfigure", method=RequestMethod.POST)
public AppInstallConfigurationChangeStatusDTO saveConfigureAppInstall(@RequestBody AppInstallSaveConfigDTO body) throws JSONException, IOException {
    String installUuid = body.getInstallUuid();
    AppInstall install = appInstallService.getEntity(installUuid);

    if(install == null) {
        throw new EntityNotFoundException("App Install Not Found => " + installUuid);
    }

    install.setConfig(objectMapper.writeValueAsString(body.getPayload()));
    appInstallService.updateEntity(install);

    AppInstallConfigurationChangeStatusDTO status = new AppInstallConfigurationChangeStatusDTO();
    status.setConfigurationStatus(AppConfigurationStatusType.CONFIGURED);

    return status;
}
Sample App Implementation: Response DTO
//AppInstallConfigurationChangeStatusDTO.java
@Getter
@Setter
public class AppInstallConfigurationChangeStatusDTO {
    private AppConfigurationStatusType configurationStatus;
}

//AppConfigurationStatusType.java
public enum AppConfigurationStatusType {
    ERROR, CONFIGURED, UNCONFIGURED;
}
App to App Communication using postMessage
Apps can fetch new information from itself (the app) based on user action, then render the response on the application's configure page. This is achieved using postMessage to send amsAction=application and pass along a relativeUrl, request method, and request body, which are sent to AMS. AMS validates the request and sends this request to the app. The app can reply with a JSON payload, which it can handle on the configuration page.
Sample App Implementation
Below is a possible implementation of the app to app postMessage workflow. The app takes user input (in this example, the OpenWeather API key) to fetch new information to be rendered on the configuration screen (here, to get the current weather).
Sample App Implementation: App to App communication via postMessage, destinationURL endpoint - Controller
//AppInstallController.java
@RequestMapping(value = "/testRetrieveCurrentWeatherByCityName", method=RequestMethod.POST)
public ResponseEntity<String> retrieveCurrentWeather(
            @RequestBody AppInstallProxyCallDTO body) throws UnsupportedOperationException, IOException{

    // use API key to get back current weather of city from OpenWeather
    String url = "http://api.openweathermap.org/data/2.5/weather?q="+ body.getCity() + "&units="+ body.getUnits() + "&APPID="+ body.getApiKey();
    HttpResponse response = httpClient.invoke("GET", url, new HashMap<String, String>());

    String responseBody = new String(EntityUtils.toByteArray(response.getEntity()), StandardCharsets.UTF_8);
    return new ResponseEntity<>(responseBody, HttpStatus.valueOf(response.getStatusLine().getStatusCode()));
}
Sample App Implementation: App to App communication via postMessage - Configure page UI
//installConfigure.html
<form method="POST" class="mx-auto col-md-8" id="test-form">
    <h3 class="text-center" style="padding-top: 15px;">Test your API key by entering the following info: </h3>
    <div class="d-flex flex-row justify-content-around" style="padding-top: 5px;">
      <label class="col-sm-2 col-form-label col-form-label-xs">City:</label>
      <input class="form-control" type=text required name="city">
    </div>
    <div class="d-flex flex-row justify-content-around" style="padding-top: 5px;">
      <label class="col-sm-2 col-form-label col-form-label-xs">Unit:</label>
      <select class="form-control" id="units" name="units">
        <option value="metric" id=" degrees Celsius" selected>Celsius</option>
        <option value="imperial" id=" degrees Fahrenheit">Fahrenheit</option>
        <option value="standard" id=" degrees Kelvin">Kelvin</option>
      </select>
    </div>

    <br>
    <div align="right">
        <input class="btn btn-secondary mb-2" type="button" id="ams-cancel" onclick="closeForm()" value="Close" />
        <input class="btn btn-info mb-2" type="button" id="ams-submit" onclick="testForm()" value="Test" />
    </div>
    <br>

</form>

<script>
    var appProxySubmitter = new AmsAppProxySubmitter();
    appProxySubmitter.attachMessageListener();

    function testForm() {
        var form = $("#test-form");

        var jsonObject = {};
            $(form).serializeArray().forEach(function(item){
                jsonObject[item.name] = item.value;
            });
            jsonObject["apiKey"] = document.getElementById("apiKey").value;

            $(".result").html("<div class=\"alert alert-info\" role=\"alert\">Testing...</div>");
            var relativeUrl = "/testRetrieveCurrentWeatherByCityName";
            var httpMethod = "POST";
            appProxySubmitter.sendRequest(jsonObject, relativeUrl, httpMethod, function(data) {
                if(data.statusCode === 200) {
                    var results = JSON.parse(data.responseBody);
                    var unit = $("#units").children(":selected").attr("id");
                    $(".result").html("<div class=\"alert alert-success\" role=\"alert\">Success! Current temperature: " + results.main.temp + unit +"</div>");
                }else if(data.statusCode === 401) {
                    $(".result").html("<div class=\"alert alert-danger\" role=\"alert\">Failure: Invalid API Key.</div>");
                }else if(data.statusCode){
                    $(".result").html("<div class=\"alert alert-warning\" role=\"alert\">Failure. Response from OpenAPI: " + data.responseBody +"</div>");
                }
        });
    }

</script>
After the marketer has finished entering the input on the configure page and clicks "Test", the app must send a postMessage to the parent AMS iframe.
Sample App Implementation: App to App PostMessage
//configure.js
class BaseAmsCommunication {
    ...
    attachMessageListener() {
        var messageHandlerFunction = this.handleMessage.bind(this);
        window.addEventListener("message", messageHandlerFunction, false);
    }
    ...
    sendMessage(message) {
        window.parent.postMessage(message,'*');
    }
    sendRequest(messageOptions, handleMessageResponse) {
        this.receivedMessage = false;

        this.handleMessageResponse = handleMessageResponse;
        var message = {amsAction : this.amsAction, requestId : this.amsAction};
        message = Object.assign(message, messageOptions);
        this.sendMessage(message);
    }
    sendRequest(messageOptions, handleMessageResponse, requestId, isProxyRequest, destinationUrl, requestType) {
        this.receivedMessage = false;

        this.handleMessageResponse = handleMessageResponse;
        var message;
        if(isProxyRequest === true){
            message = {amsAction : this.amsAction, requestId : requestId, destinationUrl : destinationUrl, requestType : requestType};
        }
        else {
            message = {amsAction : this.amsAction, requestId : requestId};
        }
        message = Object.assign(message, messageOptions);
        this.sendMessage(message);
        ...
    }
    handleMessage(event) {
        if(event && event.data) {
            console.log("Received Event From AMS", event);
            var data = event.data;
            if(data.requestId == this.amsAction || data.configurationStatus){
                this.receivedMessage = true;
                var response = this.parseResponse ? this.parseResponse(data) : data;
                this.handleMessageResponse(response);
            }
        }
    }
}

class AmsAppProxySubmitter extends BaseAmsCommunication{
    constructor() {
        super();
        this.amsAction = "application";
    }
    sendRequest(jsonValues, destinationUrl, requestType, handleSubmissionResponse) {
        super.sendRequest({payload: jsonValues}, handleSubmissionResponse, "application", true, destinationUrl, requestType);
    }
}
Note the following:
- Notice that
this.amsAction = "application"withdestinationUrl="relativeUrlToApp"andrequestType="GET || POST || PUT || DELETE"tells AMS make a call of [requestType] to the app's destination URL. - The app is sending a payload in JSON, which is why the app can parse the JSON at the destinationUrl endpoint. AMS doesn't do any formatting to the payload.
- The configure page should also implement a listener for the response of the destinationUrl. This is to display the payload to the user.