Linking accounts to contacts
You can link accounts to contacts by mapping a specific contact field to a specific account field in your instance of Eloqua. Any significant activity of a contact that is linked to an account can be then associated with that account. Linking is also particularly useful when creating segments, as you can quickly construct a targeted audience based on companies (accounts) relevant to a campaign.
When you link a contact field and account field in Eloqua, the association between any contacts and an account is established only when the values in each of the linked fields are identical. For example, if you link the Company contact field with the Company Name account field in your instance of Eloqua, then a correct association will only be reflected in your records when the values for these fields match.
Example: Once linked, if you have an account with "Acme Corp" in the Company Name account field, all contacts with "Acme Corp" in their Company contact field will be linked to the account.
However, if one of those contacts has instead "Acme Corporation," "Acme," or anything that isn't identical to the Company Name account field, then that particular contact will not be associated with the account (until the discrepancy is fixed). As always, it is pivotal that the values in your records are accurate.
Account linkage is systemic, meaning that the relationship between the specified contact field and account field is applied across your entire instance of Eloqua. Since multiple contacts will be paired with a single account, you are required to use a unique identifier in the account field that you select for the linkage. In other words, if you have more than one account with the exact same value for a field, that field will be rejected by dependency check prior to linkage.
Important: Once you have mapped two types of fields in Eloqua, that mapping cannot be undone.
To link an account to contacts:
-
Navigate to Audience
 > Tools, then click Account Linkage.
The Account Linkage page then opens.
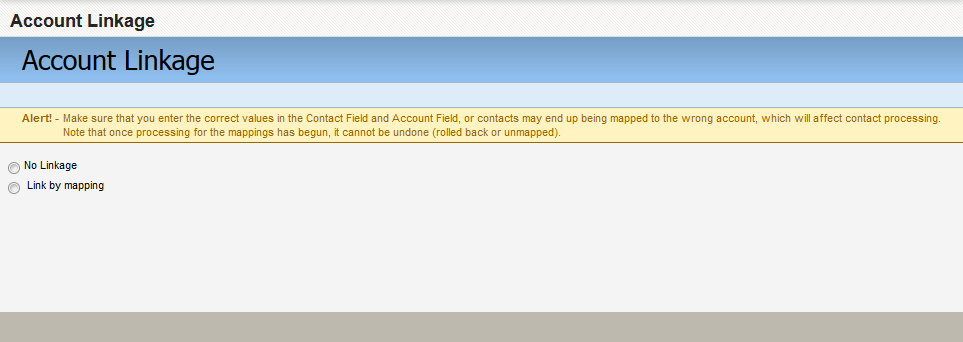
-
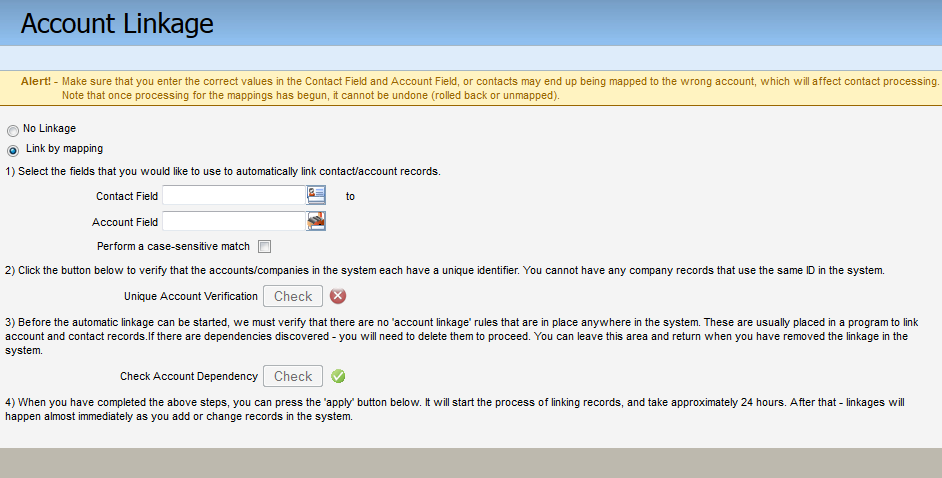
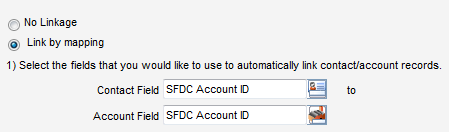
Select the Link by mapping option. Additional options then appear as a result of this selection.
-
Select the desired contact field:
- Click the Contact Field search button
 .
. -
Locate the contact field. You can type the name of a field into the Search field, and then click Search.
Alternatively, click View All to get a list of all contact fields in your database, or click Create New to create a new field altogether.
- Click the contact field in the search results below.
- Click OK.
- Click the Contact Field search button
-
Select the desired account field:
Important: The account field will need to have a unique value for that field, without any duplicate examples in your database. In other words, if you have two accounts with "Acme" for their Company Name field, then Company Name will be rejected as an invalid field to link.
Tip: In the event that you have a CRM integration set up, a field called CRM Account ID will exist for both contacts and accounts. The CRM Account ID is unique to each account, but shared for every contact derived from an account. Therefore, if you link CRM Account ID contact field and CRM Account ID account field, then contacts that enter your database from that CRM will automatically sync with their corresponding account.
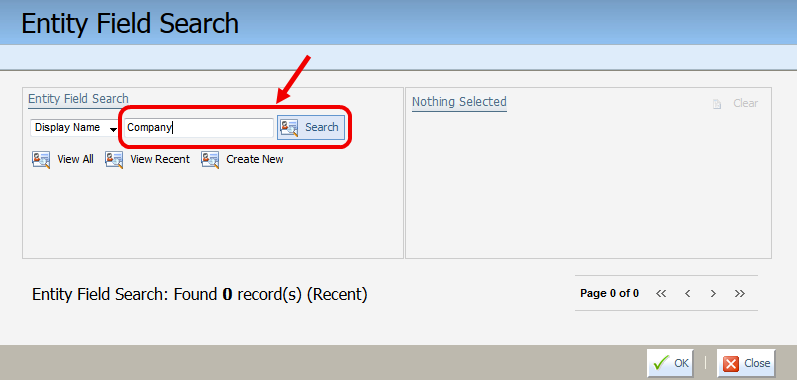
- Click the Account Field search button
 . The Entity Field Search menu then opens in a new window.
 - Locate the account field. You can type the name of a field into the Search field, and then click Search. Alternatively, click View All to get a list of all account fields in your database, or click Create New to create a new field altogether.
- Click the account field in the search results below.
- Click OK.
- Click the Account Field search button
-
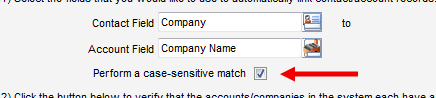
(Optional) Select or deselect the option to perform a case-sensitive match. This may be helpful in cases where companies have unconventional or alternating casing in their names.
-
(Automatic) Eloqua then runs a Unique Account Verification. This process checks to ensure that you do not currently have any accounts which use the same values in the selected account field.
A green check mark
 signifies a successful validation.
A red
 signifies a failed validation. If verification fails, click Show to see the list of duplicates in a new window, then make any adjustments as needed.
- (Automatic) Eloqua then runs a Check Account Dependency. This process searches for any conflicting program steps that automate account linkage through a program built in the program builder or program canvas. A green check mark signifies a successful check, while A red signifies a failed check. If the dependency check fails, you will need to navigate to those programs and remove those program steps.
- Click Apply in the lower-right corner when both checks are successful.
The system mapping process initializes, and can take up to one full day to complete.