Emails in Oracle Guided Campaigns
Important: Oracle Guided Campaigns is only available if you have purchased licenses. For Standard and Enterprise Eloqua trims, you are entitled to 5 and 10 free licenses respectively. If you require additional licenses, or are on Eloqua Basic, please contact your account representative for more information.
In the Oracle Guided Campaigns campaign creation process, you can choose an existing email, or choose to create a new email to use in the campaign.
The new email is created using an email template already created in Oracle Eloqua.
Using an existing email:
-
In the emails step of your campaign, you can choose an Email from your list of existing emails.
-
If you know the folder in Eloqua that houses your email you can choose from the folder drop-down to narrow your choice of emails.
-
If you know the name of your email in Eloqua, you can use the search box to search for the appropriate email.
-
If you know the name of your email, type your search term in and press Enter to filter your email list.
-
If you know the ID from Eloqua you can see that in the email list, to aid your email selection.
-
-
Select your email by clicking on it to highlight it, and choose Select.
-
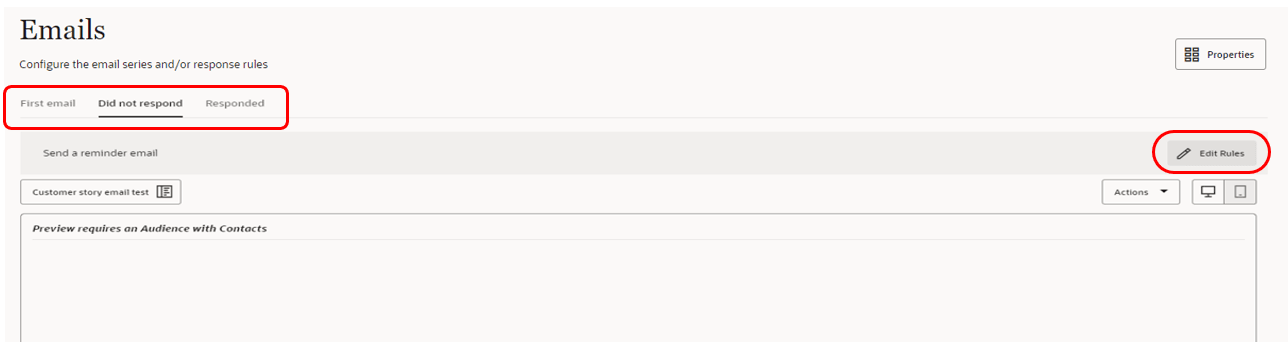
Use the tabs at the top to add any additional emails for your campaign and to enable the rules button for those emails.
-
If applicable, configure the rules that govern the sending of your follow-up email.
Creating a new email:
- Open the email selection window and choose Create New Email.
- Name your New Email.
- Click Continue.
This will open the Eloqua Design Editor in a new browser tab. Learn more about editing emails in Oracle Eloqua.
Once your email is complete and you have saved it, you can close the tab and return to Oracle Guided Campaigns.
Adding dynamic signatures:
If your email contains Signature layouts, you can configure what users details are populated into the signature layout.
-
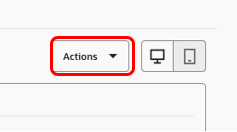
Click on the Actions drop-down button to open your Actions menu.
- Choose Select Signatureto customize the user population.
-
Choose Select Signature to customize the user.
-
From the popup, choose if you want a dynamic rule to select the signature details, or if all emails should come from a single user.
Note: Dynamic Rules will have been created in Oracle Eloqua by your administrator.
-
Press Select to confirm.
Previewing and testing your email
Previewing your email:
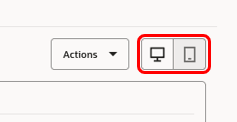
Oracle Guided Campaigns gives you the ability to preview your email in both desktop, and mobile modes. This allows you to validate that your emails look as good as you would want across various devices sizes.
To change the preview mode, use the device preview buttons to toggle between desktop & mobile modes.
Testing your email:
-
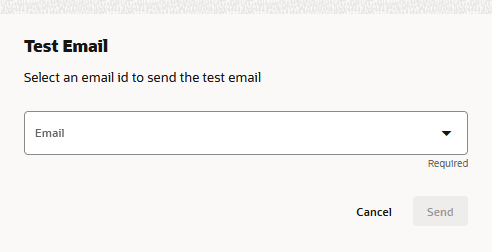
To send a test of your email choose Actions > Test Email.
-
From the popup, choose the users that you wish to send your test to. You can select up to 10 contacts.
-
Click Send.