Uploading HTML emails or templates
You can upload an HTML file or a ZIP file that contains your HTML as well as any associated content (images). If you have created an email outside of Oracle Eloqua using HTML, you can upload the file to Oracle Eloqua then edit the content in the Source Editor.
Before you begin:
- Make sure your code adheres to the code requirements for HTML email uploads.
- Do not use JavaScript. It is not supported on most email clients and Oracle Eloqua will prevent uploading HTML emails that contain
<script>tags. - You can upload an HTML file or a ZIP file. If you upload a ZIP, Oracle Eloqua will extract the files during the upload process.
- The maximum file size you can upload is 5 MB.
-
Files uploaded will be scanned for malware before the upload process will complete. Any files with malware detected will not be uploaded.
To create new emails or templates using the HTML upload wizard:
-
Navigate to Assets
 , then click Emails.
 - Choose the upload action:
- In the classic UI, click Upload an Email. In the wizard, choose if you are uploading an email or a template.
- In the Redwood experience, click Actions > Upload an Email. If you are uploading a template, choose Templates from the page selection, and then click Upload Template.
- On the Upload HTML step, choose the file you want to upload. You can upload an HTML file or ZIP.
- For a Zip upload, on the Zip contents step, review the contents of the Zip. You can choose where images should be stored. The excluded list lists files that will not be uploaded.
Classic UI

Redwood experience

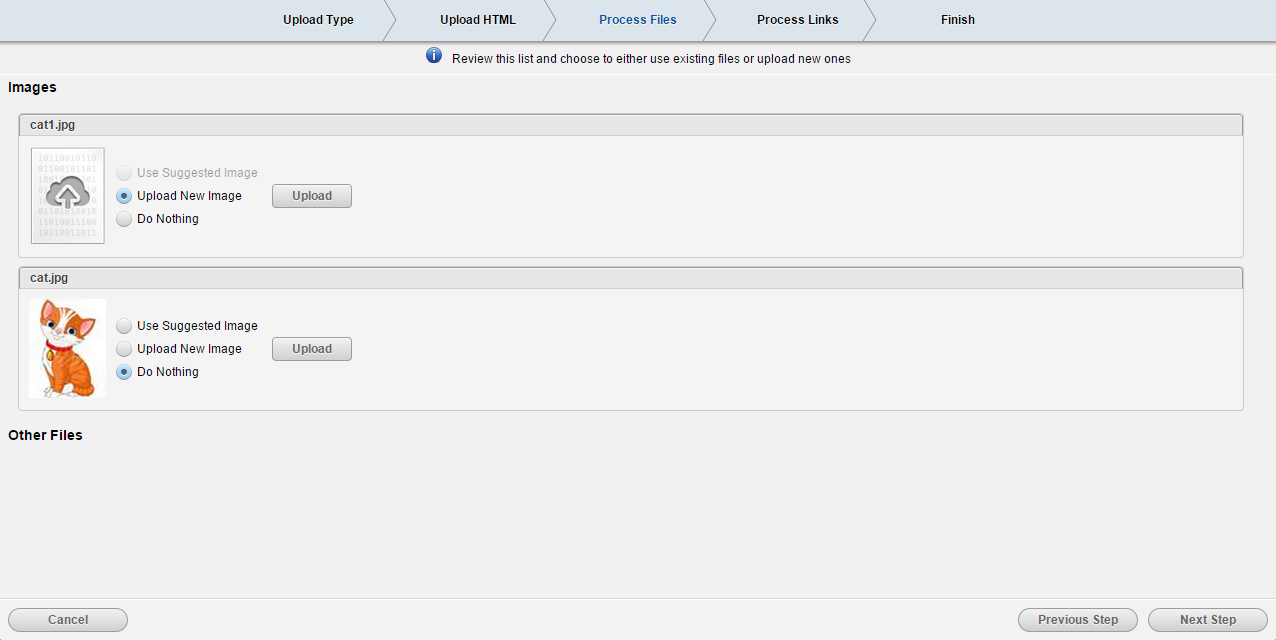
- On the Process files step,e review the list of images and other files and choose to either use existing files or upload new ones.
Classic UI
Redwood experience

For each image, you can choose an action. We will update references to the images during the upload so that they refer to the images in the image library.
- Use Suggested Image: If an image is available in Eloqua with the same name as the image referenced in the HTML code, we will suggest using that existing file.
- Upload New Image: If want to you want to upload a new image to replace one referenced in the HTML code, choose this option. Then upload the new file.
- Do Nothing: Choose this option if you do not wish to change the image shown in the thumbnail. We will upload this image to Eloqua during the upload process.
-
On the Process links step, review the links found in the HTML code. Choose the links you want to track with a redirect or click Track All.
Classic UI

Redwood experience

-
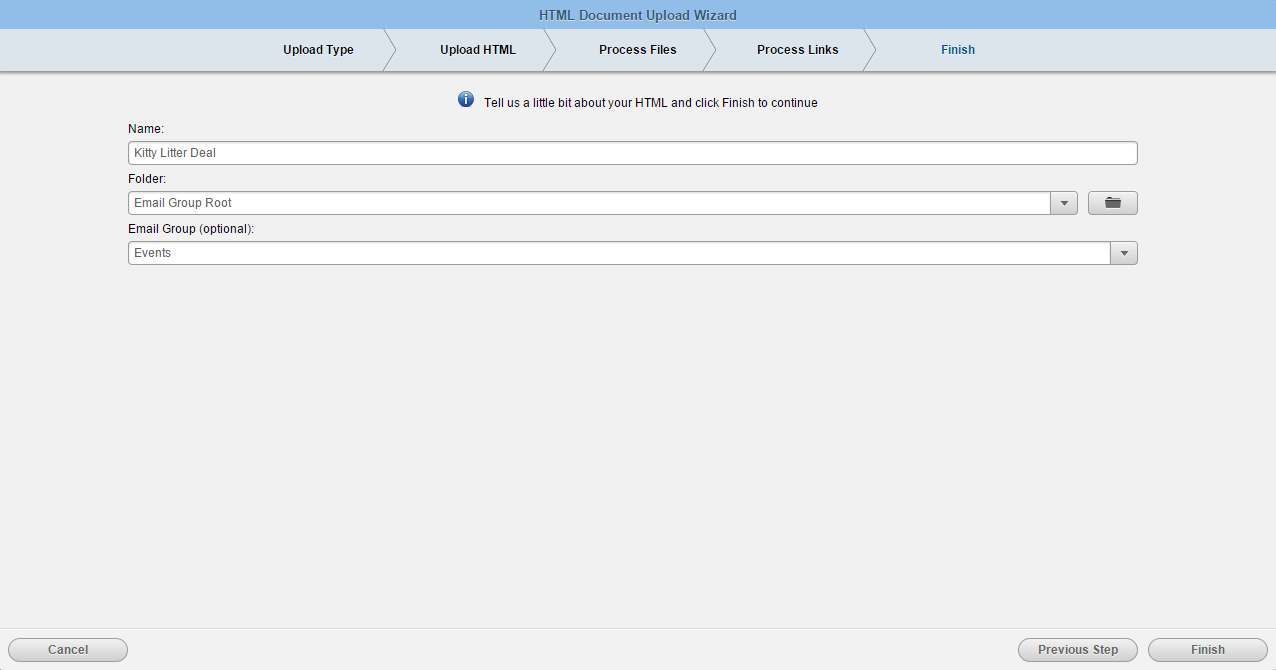
On the Finish upload step, give the final details about the email or template.
Classic UI
Redwood experience

-
Click Finish to complete the upload process.
If there are any issues with the uploaded email or template, you will have to resolve them and try to upload again.
After the upload completes, the new email or template is opened in the editor. Learn more about the editing HTML emails using the Source Editor.
Using the Classic Email Source Editor