Embedding Engage as a tab or button in Salesforce Lightning
Note: If you are using Salesforce Classic, see Embedding Engage as a tab or button in Salesforce Classic.
This section will walk you through making Engage seamlessly available to Sales users inside Salesforce.
There are two ways Engage can be deployed within Salesforce:
Embedding Engage as a tab in Salesforce Lightning
Prerequisites:
-
Build an allowlist of the domains that will be hosting embedded Engage pages. Learn more in the Configuring Engage topic.
- Determine the Oracle Eloqua login URL you want to use. You can use the simplified login URL or a specific legacy URL based on the desired login method. Learn more. In this topic, we refer to the simplified login only.
To embed Engage as a tab in Salesforce Lightning:
- Log in to Salesforce.
- Navigate to Setup.
- Locate the Quick Find search box, and search for Tabs
Alternatively, you can click User Interface > Tabs.
- Under the Web Tabs section for your Salesforce, click New.
- Click Next through the default tab settings.
Note: Engage is responsive and can work within any layout. Additionally, you may want to set the height of your tab to more than 800px to better accommodate the reporting available to users in Engage.
- Once you are at Step 3: Enter the URL Details, in the Button or Link URL section input one of the following URLs based on your preferred configuration :
- Simplified login URL:
https://login.eloqua.com/siteLogin?SiteName={CompanyName}&ReturnUrl=/apps/embed/salesTools/engage/compose - To use the legacy URLs, see Legacy login URLs.
- Simplified login URL:
- Save your changes. You should now be able to click on the Engage tab and be logged in seamlessly to Engage. Ensure you are logged in to Salesforce from your dedicated Salesforce domain and not the standard login.salesforce.com.
Embedding Engage as buttons on Salesforce Lead and Contact Page layouts
There can be multiple Engage buttons on the Lead/Contact page layout within Salesforce. The following steps will walk you through modifying the two most common buttons.
Prerequisites:
-
Build an allowlist of the domains that will be hosting embedded Engage pages. Learn more in the Configuring Engage topic.
- Determine the Oracle Eloqua login URL you want to use. You can use the simplified login URL or a specific legacy URL based on the desired login method. Learn more.
To embed Engage as buttons on Salesforce Lead and Contact Page layouts:
- Log in to Salesforce.
- Navigate to Setup.
- Locate the Quick Find search box, and search for Object Manager.
Alternatively, you can click Objects and Fields > Object Manager.
- Click the object you want to edit (for example a Contact or Lead).
- Click Buttons, Links, and Actions.
- Click the New Button or Link.
- Alternatively, you can find one of the buttons you created for Engage and click to edit.
You most likely have multiple Engage buttons on the Lead/Contact objects. Each button can be used to either open a desired template, email specific recipients, and so on. Alternatively, you can click New Button or Link to start with a fresh button. Set up your button:
- Label and name the button something unique and easy to recognize.
- Under Display Type, select Detail Page Button.
- For Behavior, select whether you want this button to launch Engage in an existing or new window and with or without the sidebar.
- In the main box, enter one of the following URLs, depending on your login method:
- Simplified login URL: https://login.eloqua.com/siteLogin?SiteName={CompanyName}&ReturnUrl=/apps/embed/salesTools/engage/compose
- To use the legacy URLs, see Legacy login URLs.
- Customize the Engage URL with parameters that support the desired experience for your sales users. Learn more.
Tip: To pass the email address of the lead to Engage, add the following parameter to the URL
emailAddress={!lead.email}. For contact object, useemailAddress={!contact.email}.
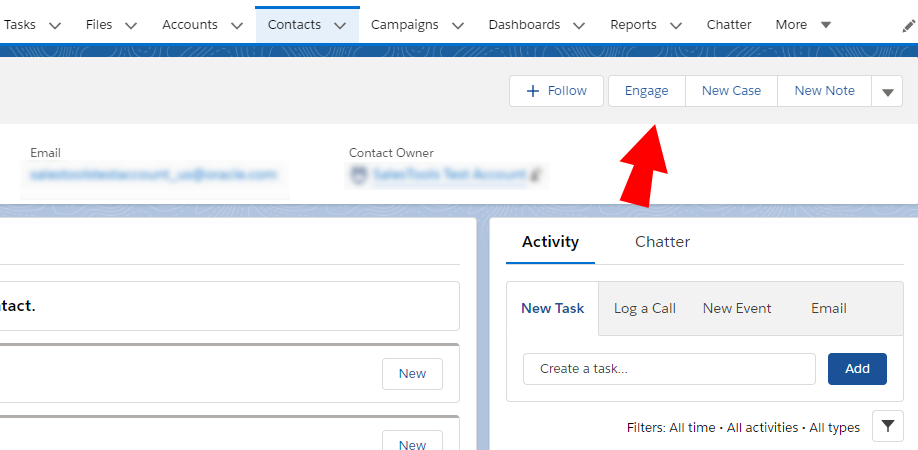
- Save all the changes to your buttons and test by loading a Lead/Contact. On a Lead/Contact record, clicking these Engage buttons should give seamless access to Engage. Ensure you are logged into Salesforce from your dedicated Salesforce domain and not the standard login.salesforce.com.
To add custom buttons on the Salesforce Lead and Contact Page layouts:
- While still editing your object, click Page Layouts.
- Choose the appropriate layout.
- Click Mobile & Lightning Actions.
Note: Use Mobile & Lightning Actions to locate your button. Do not use Buttons, which is intended for Salesforce Classic.
- Drag your button into one of the sections, such as Salesforce Mobile and Lighting Experience Actions.
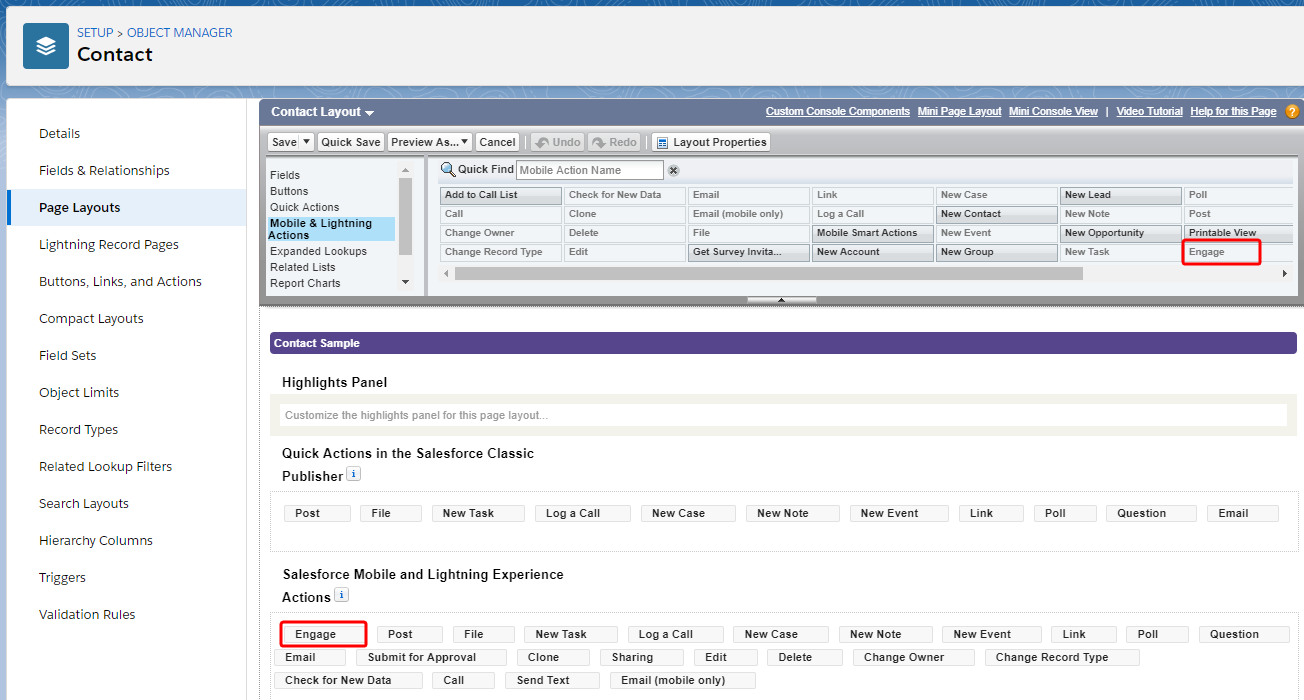
- Reorder the location of your button based on your needs.
Your button should now display in the record you edited.