Creating a new registrant
In some instances, you may want to add a new registrant manually, perhaps because you received the information by a channel other than a form submission (for example, through a call center, by direct email, or over the phone).
To create a new registrant:
-
In the classic UI, navigate to Orchestration > Tools > Events. In the Redwood experience, navigate to Orchestration > Events.
- Click the Events tab in the left panel.
- Open an existing event, or create a new one.
-
Click Event Options in the upper-right corner of the right panel, then click New Registrant.
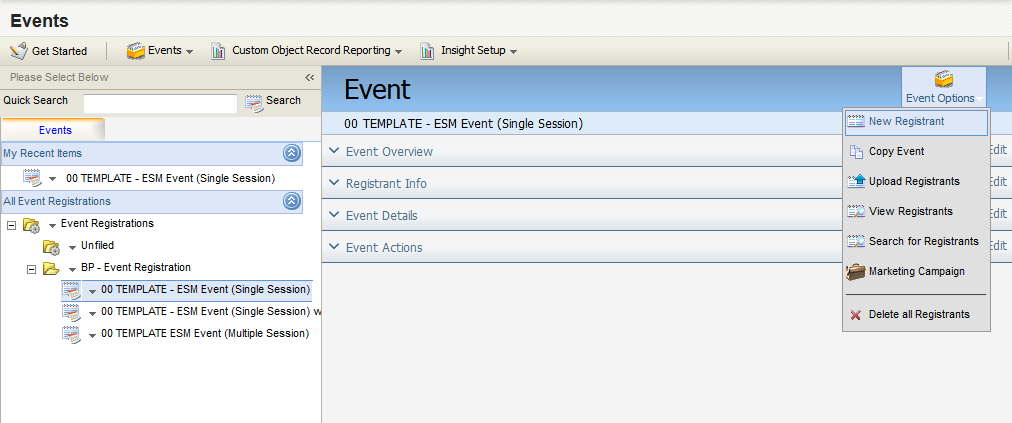
The New Registrant page opens.
-
Configure the Participant Info details with the information provided to you.
-
Click Save (to save the custom object record details) or Save and Map (to save the details and map them to fields in a data entity record).
If you selected Save and Map and there is a matching data entity record, the dialog box expands to show additional information and controls for Custom Object Record Status, Event Header Fields, and the entity (contacts, companies, or prospects) to which the custom object record is mapped.
or
If you did not map to an entity when saving, or if you did and no matching data entity (contacts, prospects, or companies) was found, you can search for a data entity from the Entity Type drop-down in the Map Registrant to an Entity section and click Search to find an entity to map to (if required).
- Click Save and Close when you are finished.
The registrant has been added to the selected event. On the Event page, click Options > View Registrants and look at the Custom Object Records dialog box to make sure your registrant has been added. Repeat this process as required to manually create additional registrants.