Step 6: Setting up an agent for your dashboard
Once you have created your dashboard, you can set up an agent to send the resulting display to different email addresses using agents. Learn more about agents, see Creating Insight agents.
To set up an agent:
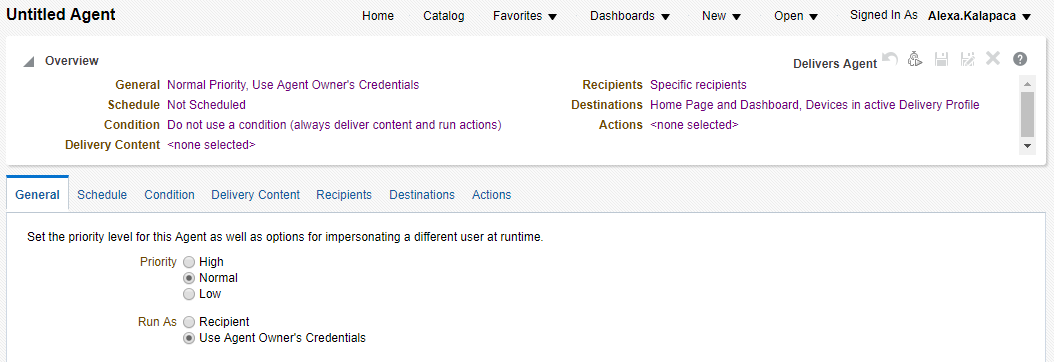
- In Insight, click New > Agent.
The Agent editor appears.
Tip: For details on the editor, click Help
 .
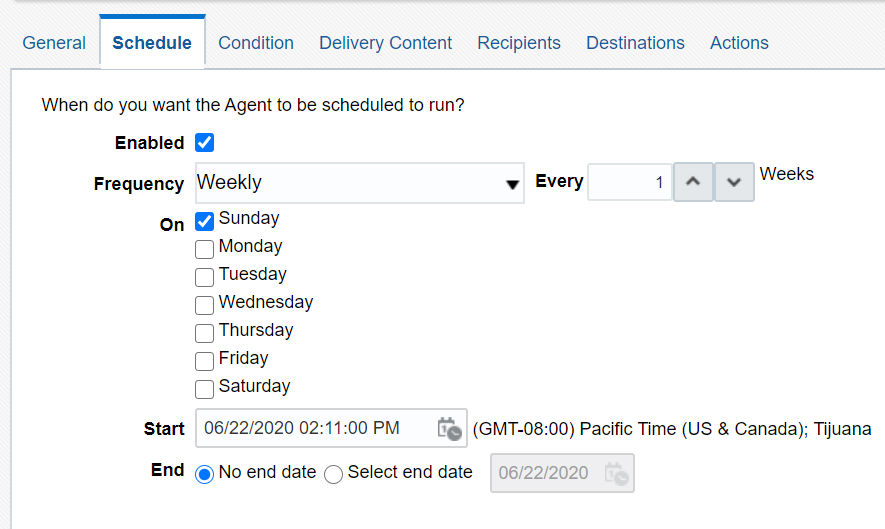
. - Click the Schedule tab and specify the schedule for the agent. You can define a start date and time for the agent, a schedule, and an end date.
- Click the Delivery Content tab and select Dashboard Page from the Content drop-down.
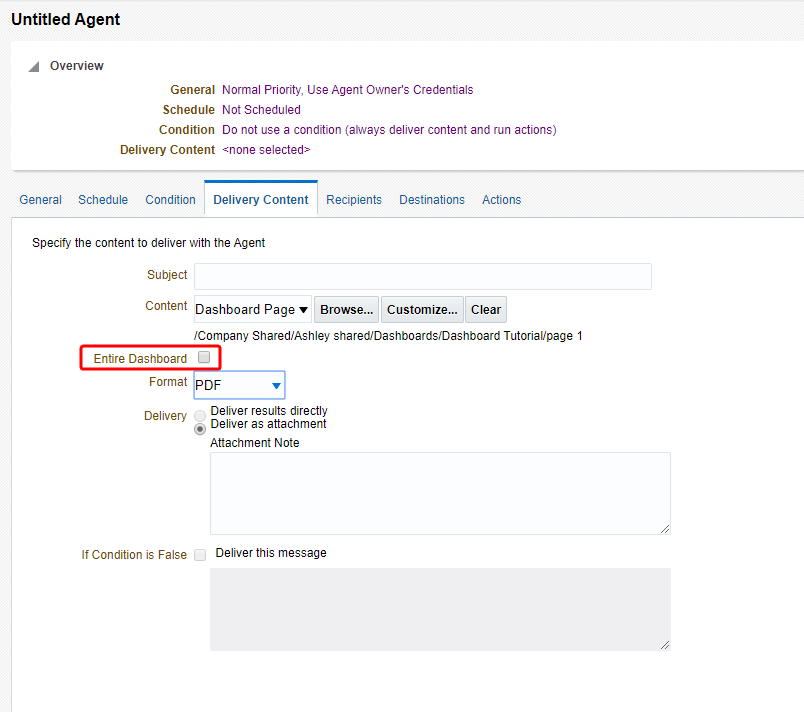
The agent sends the dashboard to your email in the selected format. If you check the Entire Dashboard check box, then the agent sends you all pages of the dashboard. Otherwise, the agent sends only the first page.
Note: The agent will use the default customization from the prompt in step 3. If you would like a different prompt customization, see step 5.
- Click the Recipients tab and specify who to deliver the content to. Click
 to add the recipient email address to the list.
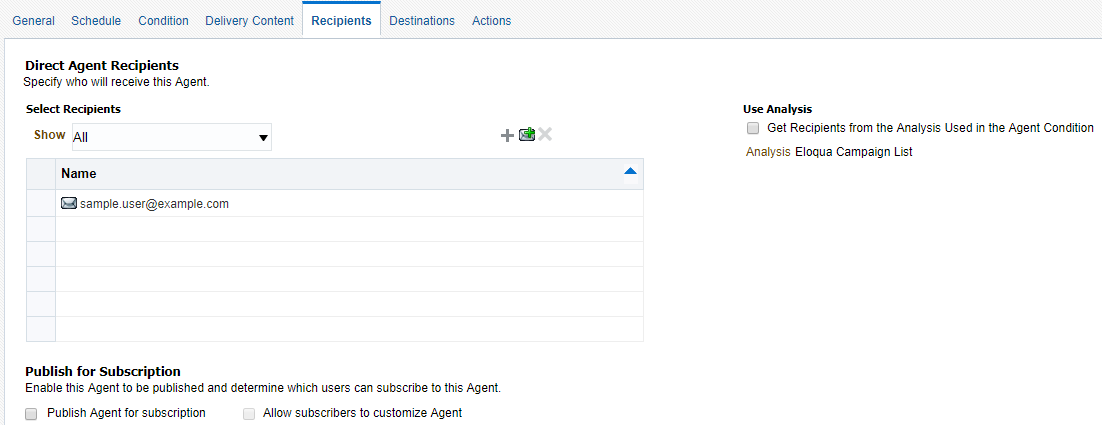
-
Click Save
 to save the agent:
-
If you do not want others to view your agent, save it to My Folders. Remember that this is a personal folder only visible to you.
-