Creating announcements
As an Eloqua administrator, you can create announcements that will appear as an interstitial page after a user logs in to Eloqua. These announcements can provide information on planned outages, new releases on their way, or anything else of importance to your user base.
To add an announcement:
- Navigate to Home
 , then click Notifications Center.
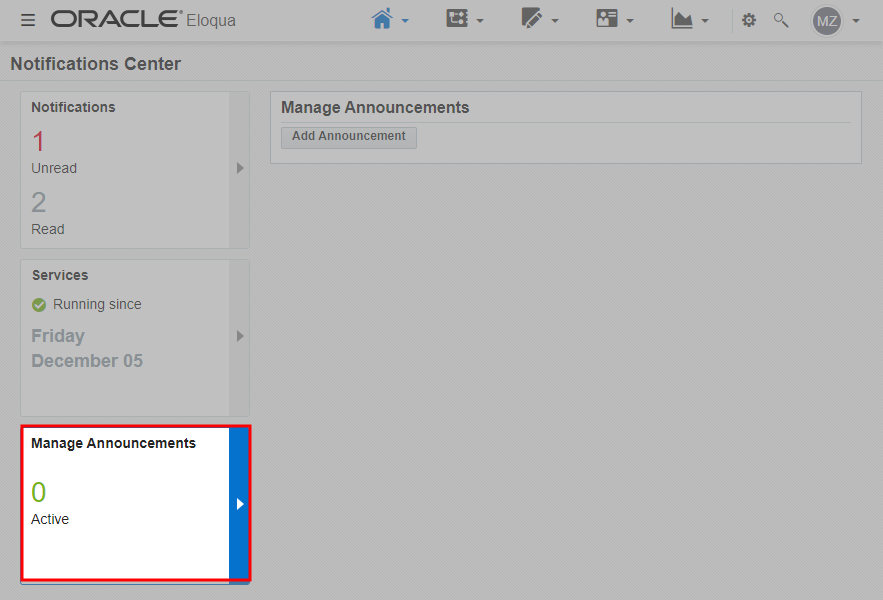
 - Click the Manage Announcements area.
- Click Add Announcement.
The Add Announcement window opens.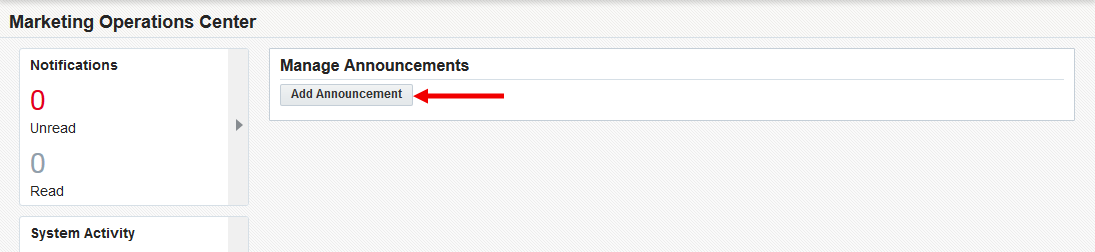
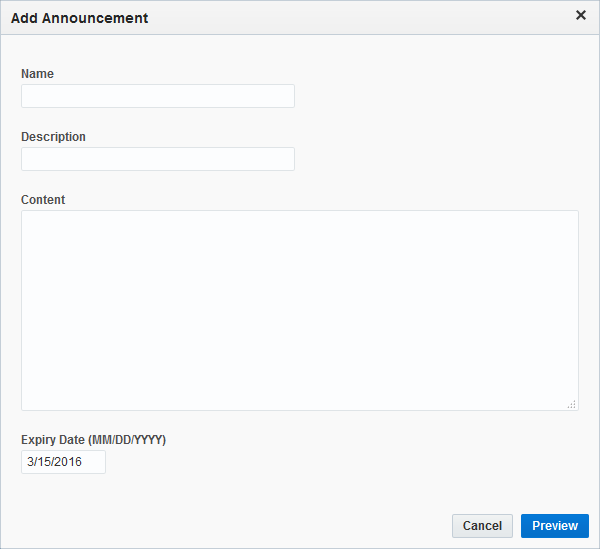
- Configure the announcement:
- Type the announcement name into the Name field. This is the title of the message that will be displayed at the top of the announcement.
- (Optional) Type a description of the announcement into the Description field. While optional, a description helps to locate the message if needed in the future.
- Add the body (content) of the announcement. Use shorter, concise messages for your announcement. You can only use plain text or Markdown1 formatting. For images, we recommend sizing them around 300 by 200 pixels.
Formatting Markdown Italics *Surround text by singular asterisks*
Bold **Surround text by double asterisks** Lists *Use a singular asterisk or;
-Use a dash
Headings #Surround text by one pound symbol to create Heading 1#
##Surround text by two pound symbols to create Heading 2##
Images or Gifs 

Links [Please click on link](redirect url) Clickable image link [](redirect url) - Add an Expiry Date for the announcement. The announcement will not be displayed past that date.
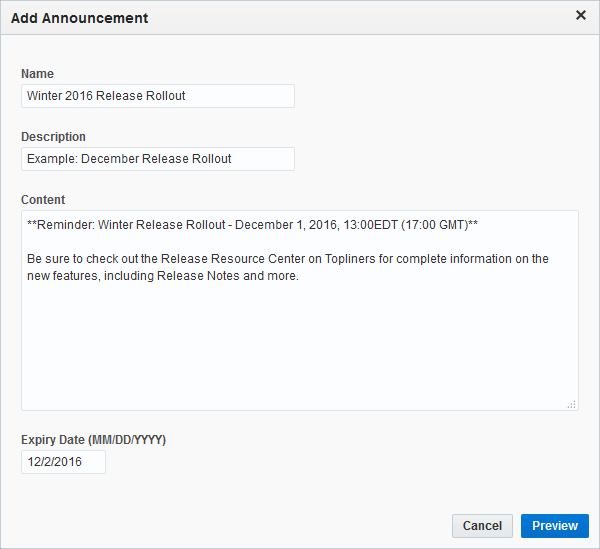
- Click Preview to preview how the announcement will look when displayed.

- Click Save to save your announcement.
When a user logs into Eloqua for the first time since you saved the announcement, the message will be displayed. Subsequent logins by the same user will no longer display the message. The message will only be displayed until the expiry date that you have set on the Add Announcement window.