Filtering segments using page tags
You can use page tags as filter criteria for your segments. In so doing, your campaigns can be more successful, since they will be directly targeting people who are visiting specific web pages (based on an interest in the subject(s) defined in your page tag).
To filter a segment using page tags:
-
Navigate to Audience
 , then click Segments.
 - Open an existing segment, or create a new one.
-
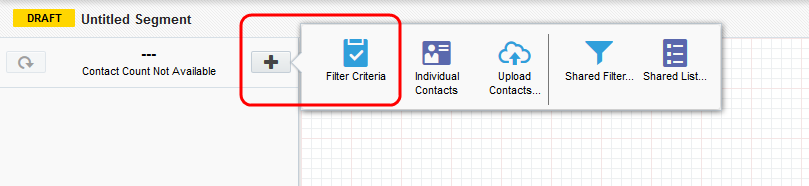
Click the
 button, then click Filter Criteria.
-
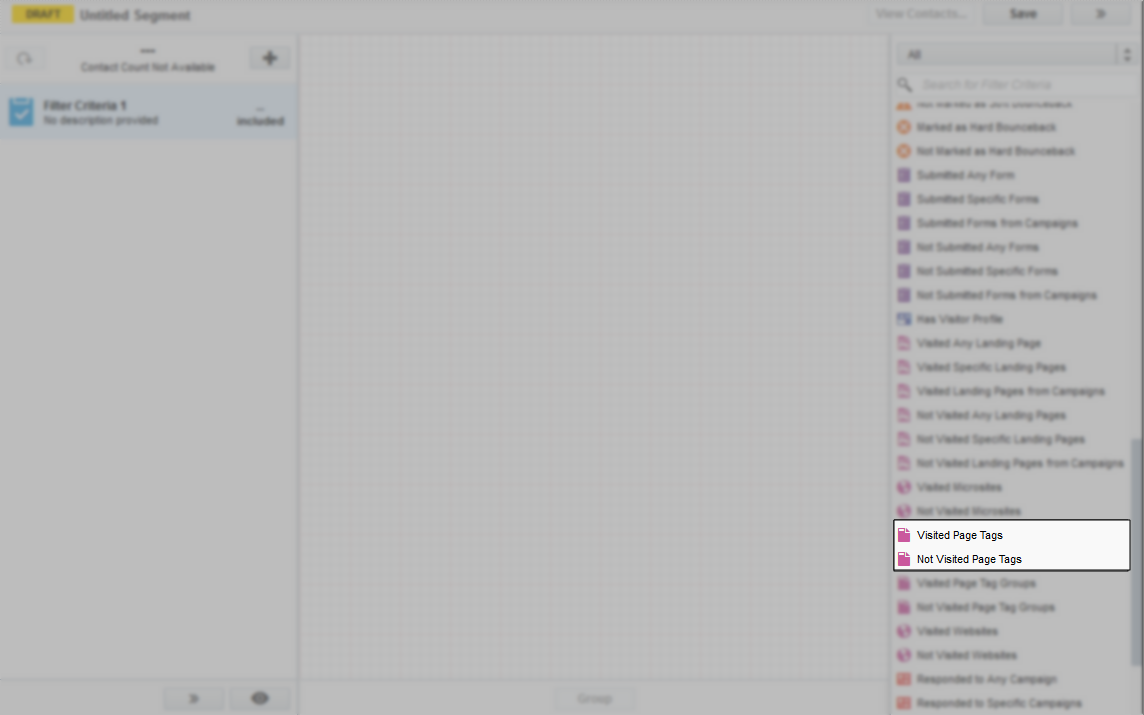
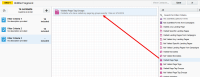
On the panel (Filter Criteria list), scroll down the list until you locate the Visited Page Tags and Not Visited Page Tags criteria.
Important: When you filter by activities, it typically looks at the past 1 year's data. However, for Subscription and Bounceback activities, it can search up to 10 years. For instance, if you filter for activities before May 15, 2019, it will only search from May 14, 2018, to May 14, 2019. Additionally, the filter can't look back more than two years from today's date. So, if today is March 18, 2019, and you filter for activities before April 22, 2007, the system will only search from March 18, 2017, to March 18, 2018. Also, the system won't show clicks or opens for emails sent more than 760 days ago.

-
Double-click on the Visited Page Tags criteria to add it to your segment.
-
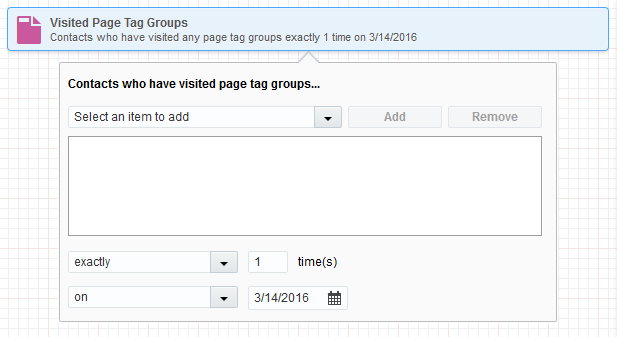
Double-click the added criteria on the canvas to configure it.
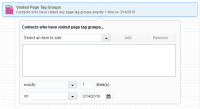
- Select the page tag that you have already created from the Select an item to add drop-down box, then click Add to add it to your criteria. Repeat this step for all tags you wish to include in this segment.
-
Configure the number of times and the time frame during which a contact should have visited this (these) page tag(s).

Similarly, if you wish to segment contacts based on them not having visited your tagged web pages, select Not Visited Page Tags
- Click anywhere outside the criterion panel to finish or continue adding new criteria.
- Click Save when you are done.