Creating page tags
Create page tags in order to mark or categorize web pages on your site for quick reference, tracking, and reporting.
Each page tag may have a number of different pages associated with it. For example, the Product Line tag might have enterprise, small business, and reseller pages associated to it if these are different product lines for your company.
Tip: To generate page tags automatically, see Creating auto-tagging rules, Creating meta tagging rules or Uploading page tags.
To create a page tag manually:
-
Navigate to Assets
 > Website Setup, then click Page Tagging.
 -
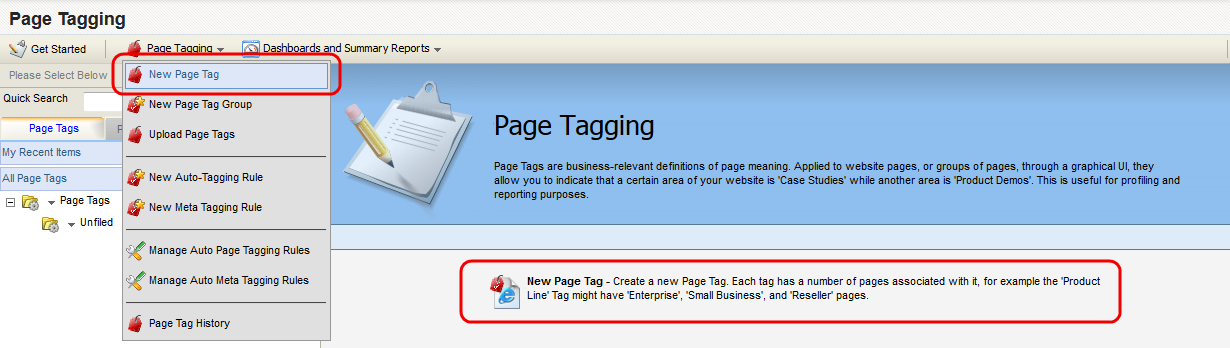
Click Page Tagging, then click New Page Tag. Alternately, click New Page Tag on the right panel.

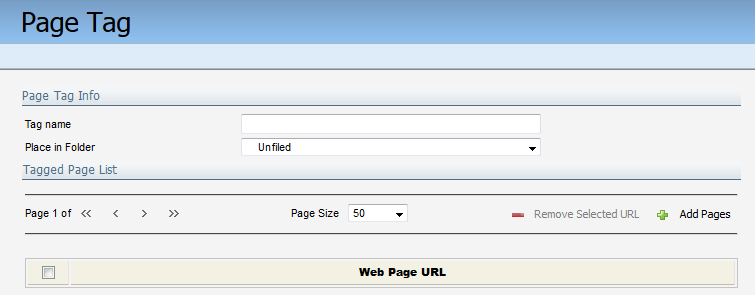
- Type the page tag name in the Tag name field.
.
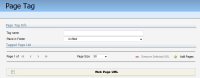
- Select the location to place this tag from the Place in Folder list.
-
Click Add Pages and add the pages that you want to mark with the page tag.
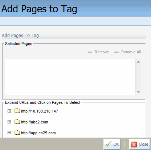
Note: The available pages are derived from site maps. A site map only includes pages that have been visited since the last time the site map was generated. If a page does not appear in the site map, review the site map troubleshooting.
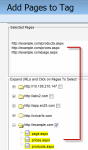
To add all pages that are contained in a website folder:
- Click + next to the folder to expand the list of pages associated with that folder (web site).
-
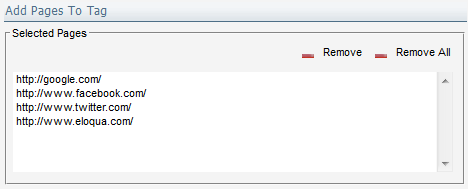
Click the check box next to the folder name. After selecting the check box, all pages in that website folder will be added to your page tag. Any selected pages are highlighted in yellow, and added to the Selected Pages list in the top panel.
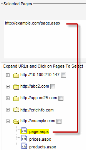
To add individual pages (or subfolders) from a website:
- Click + next to the folder to expand the list of pages associated with that folder (web site).
-
Select pages (or subfolders) by clicking each individual page. A selected page is highlighted in yellow, and added to the Selected Pages list in the top panel.
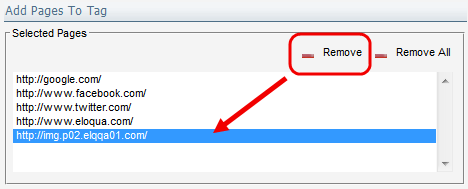
To remove a page from your list of Selected Pages, click on the name of the page in the Selected Pages section, then and click Remove. To remove all selected pages, simply click Remove All.
- Click OK to close the Selected Pages window and save your choices.
Selected pages are now listed under the Web Page URL section of the main Page Tag window.
-
If you wish to remove one or more pages from your page tag, you can click the check box next to the page you wish to delete and select Remove Selected URL. Note you cannot save a page tag until you have added at least one page from your site map to the tag.

-
Click OK to save your tag.


