Adding Recommendations to a Website Using Web Personalization
With a combination of Recommendations and Web Personalization, you can insert relevant personalized recommendations on your website.
Note: Initial setup of recommendations must be completed. In case you have not configured recommendations on Infinity IQ, please follow the steps here.
Creating a simple web personalization with the recommendations carousel
To personalize with recommendations:
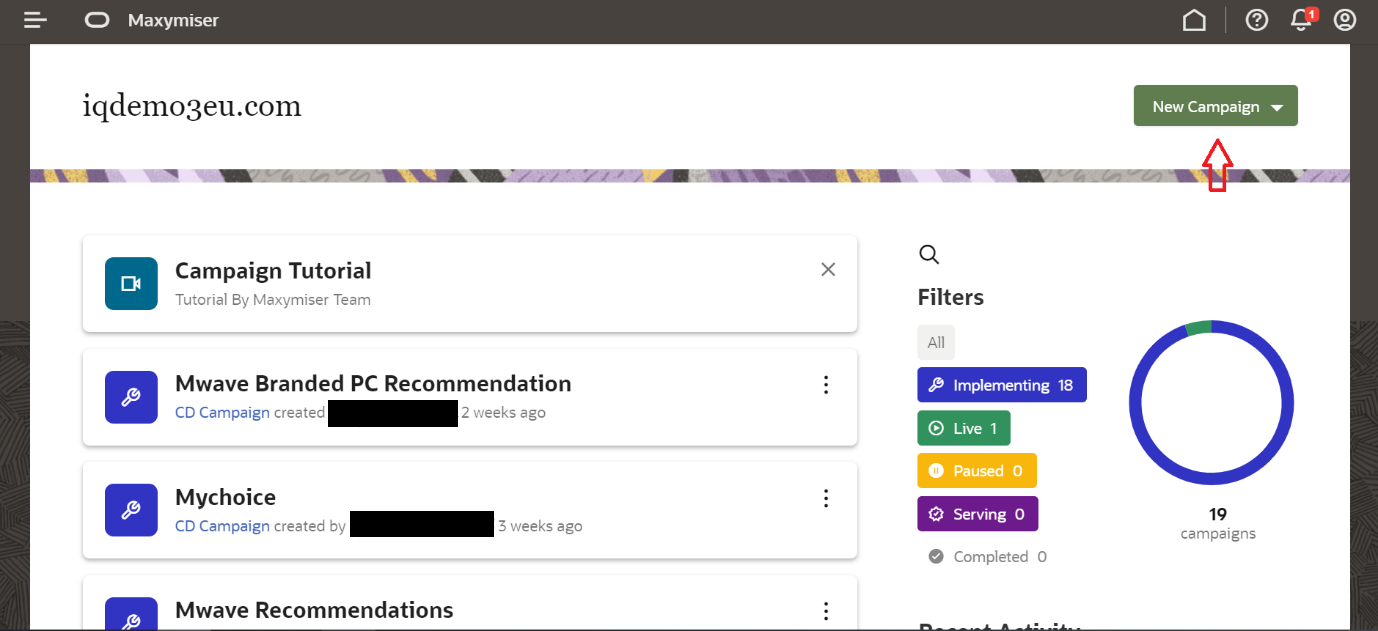
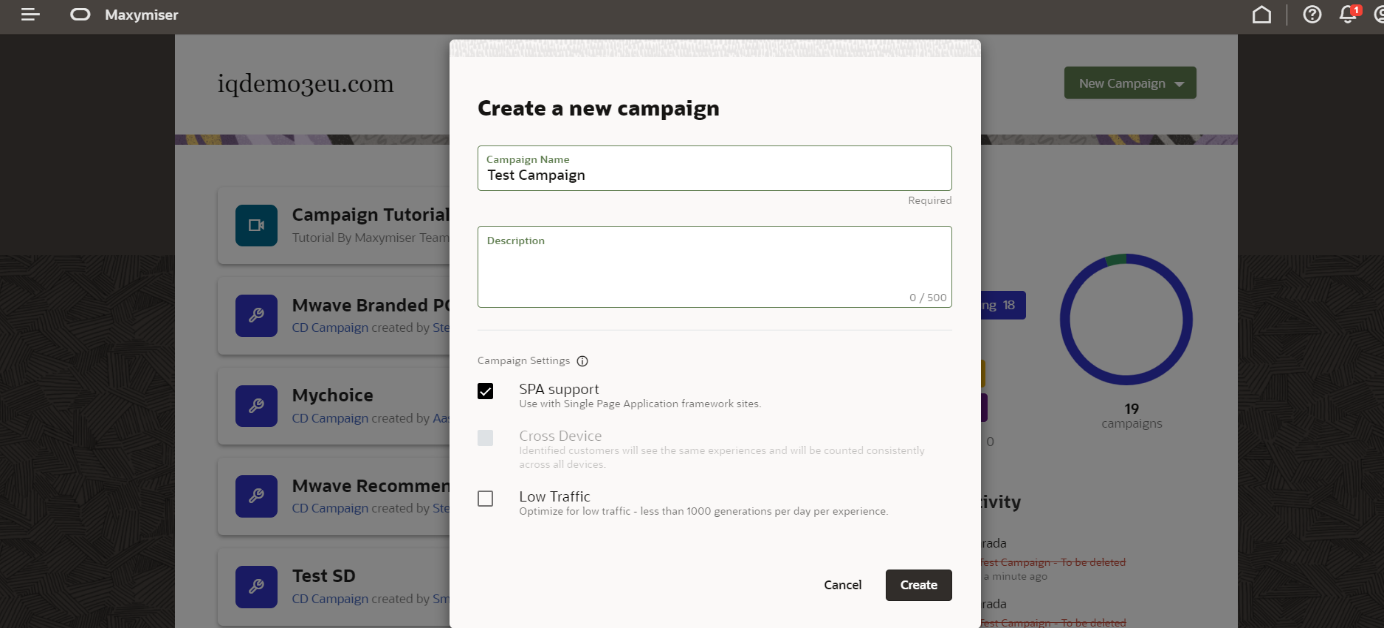
- In the Oracle Infinity navigation, choose Web Personalization and open a campaign where you want to use recommendations or create a new one.
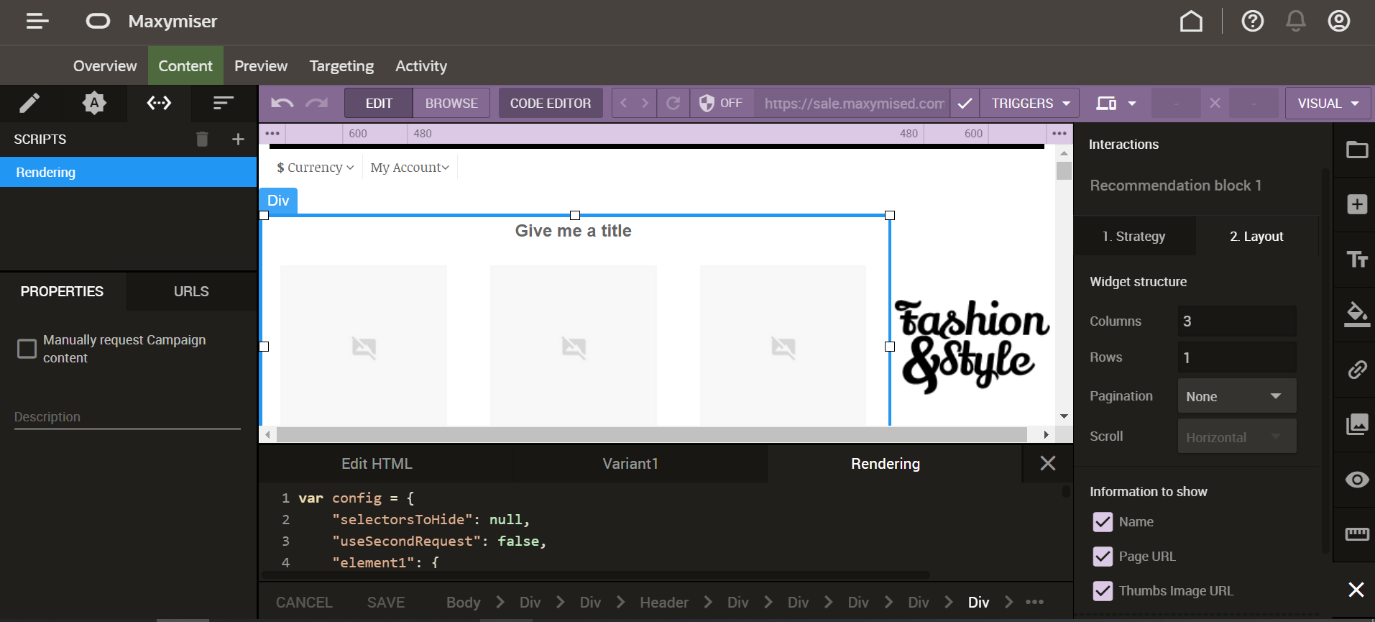
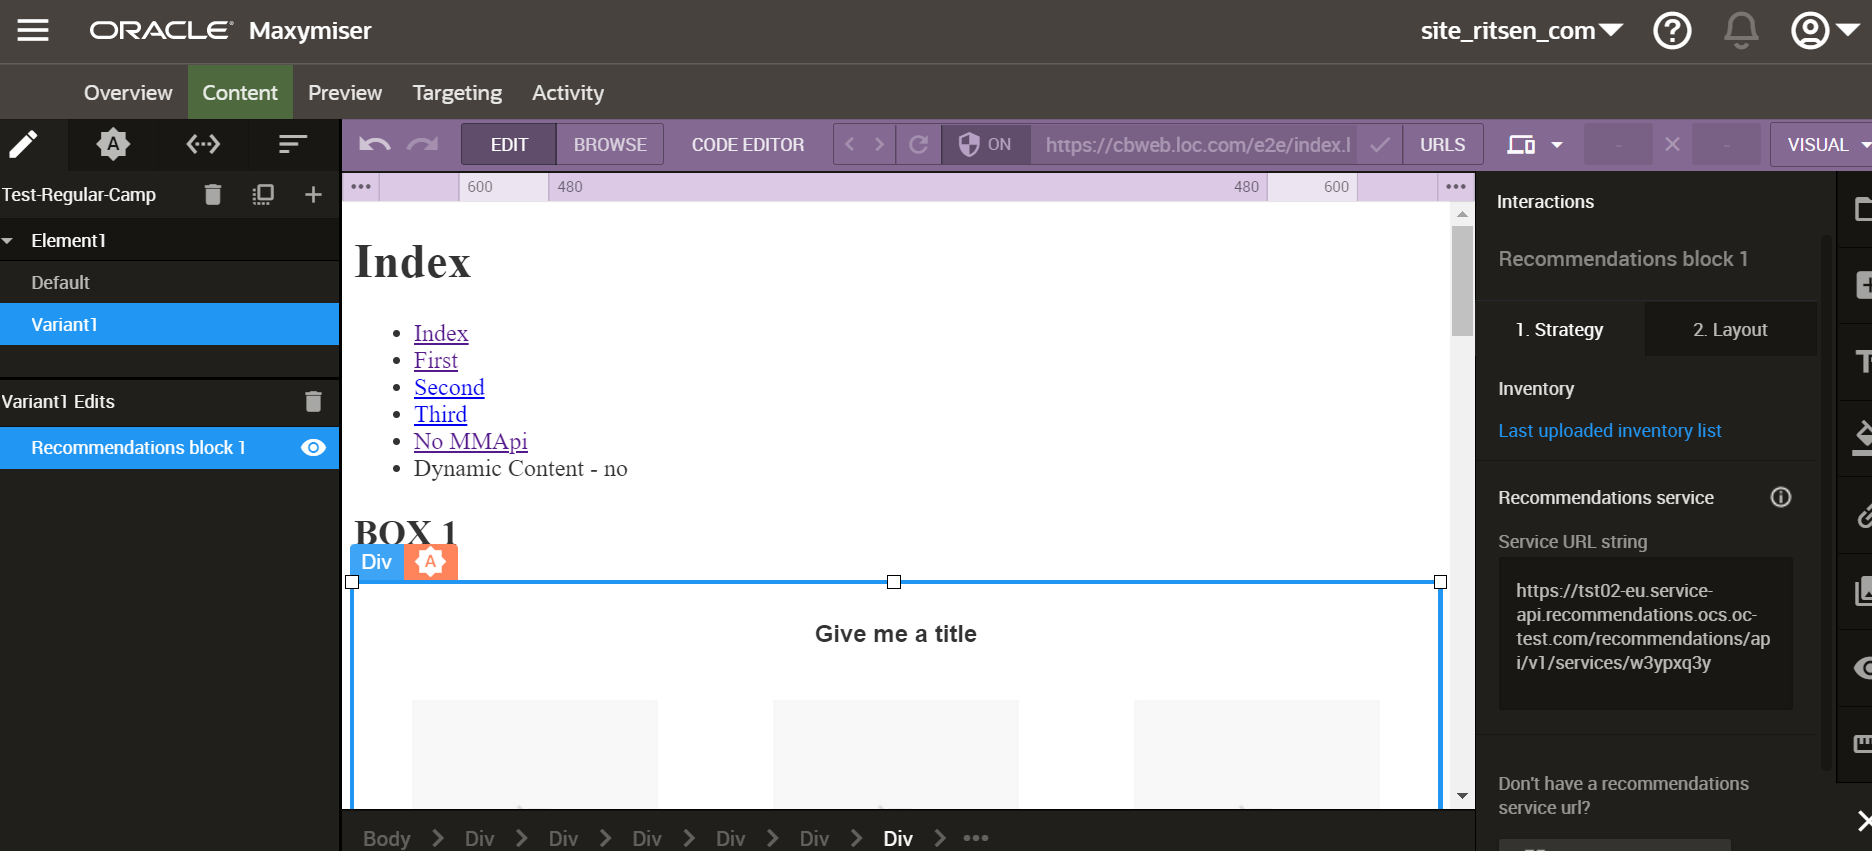
- Select a content block which you want to use to show recommendations or create a new one. Click
 and select Edit from the menu.
Example: The simplest campaign can have one trigger block and one content block right after it.

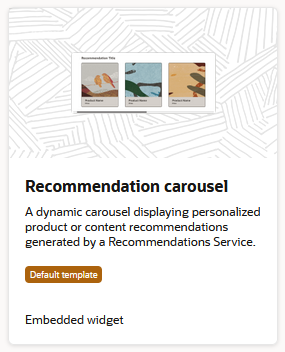
- When creating a new content block, after clicking Edit you will need to select a template. Click the Recommendation carousel tile and then Add content at the bottom.

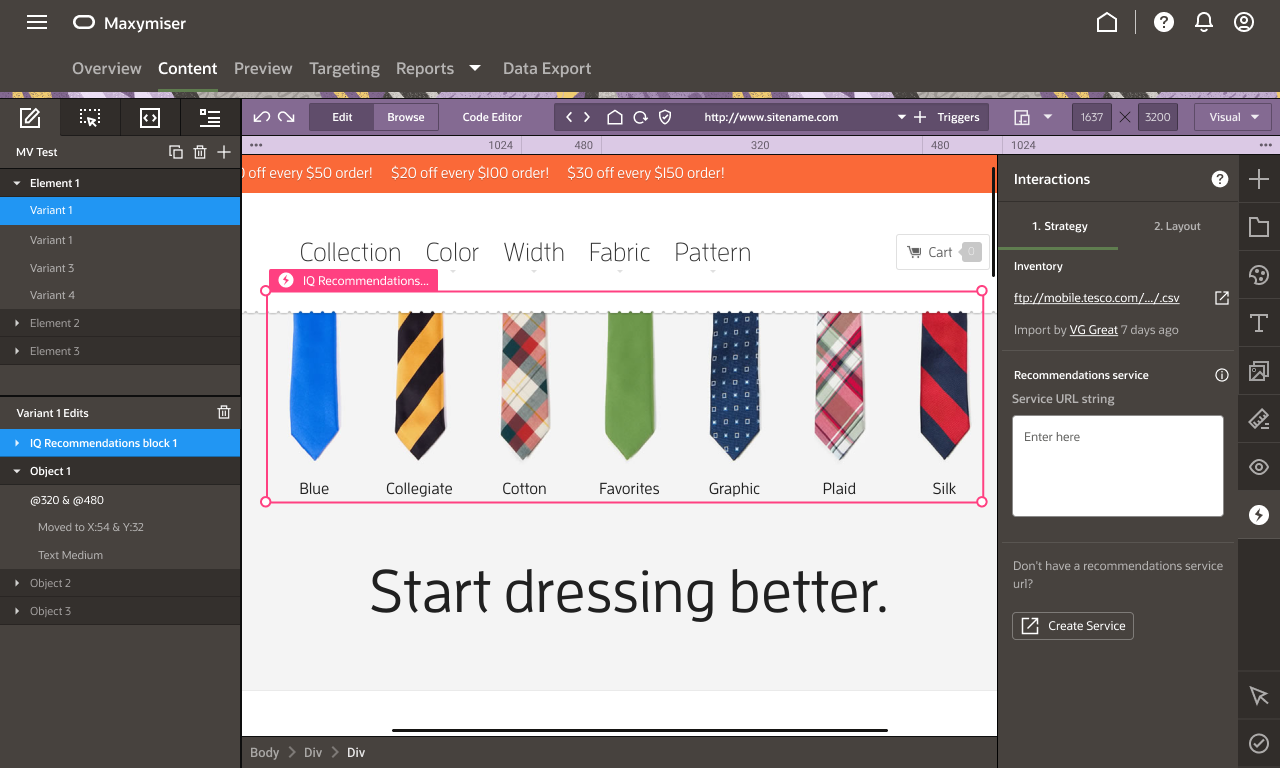
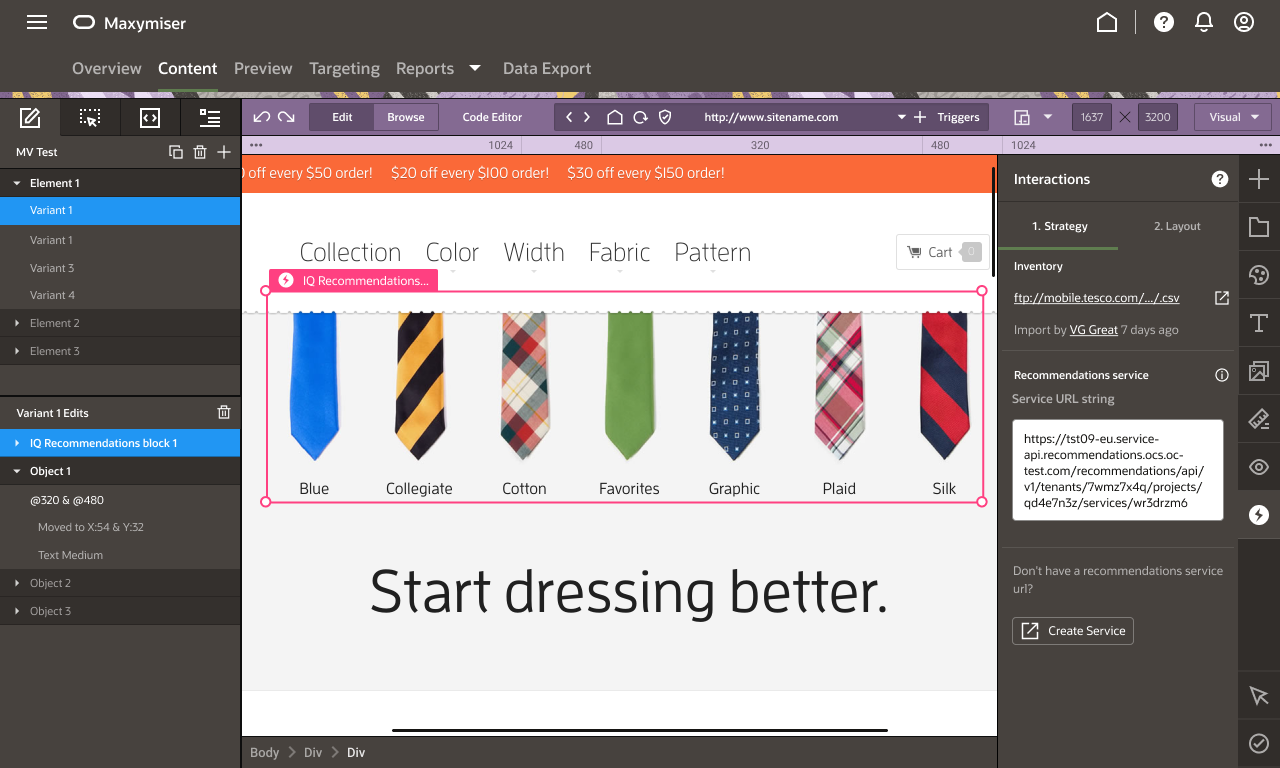
- After choosing to add content, the Recommendations carousel editor shows a preview on the left and Recommendations settings on the right.

- In the Service API URL field, provide a Recommendation Service URL in serviceURL variable.

Recommendation Service defines how to generate recommendations for the particular use-case. Read more about Recommendation Services creation and management
- Define how many recommendations you need to have in carousel by changing a value of Number of recommendations. The maximum allowed number is 50.
- Define an HTML element on your web page where you need to insert a recommendations carousel. Provide a CSS query selector for this element to Target element CSS selector field.
You can also specify where to insert the carousel: before begin, after begin, before end, after end of the HTML element defined by the CSS selector using the appropriate keyword beforebegin/afterbegin/beforeend/afterend.

- Click Save.
-
Go to the web site and use QA-tool to check how your campaign is applied to the page.
In order to open QA tool you need to add the following parameter to the web-site URL in your browser address input box:
_ora.pers=qa
If this is the only parameter in the URL, you need to prefix it with
?. If there are some parameters after?already, then use&as a separator.Examples:
www.mysite.com/index.html?_ora.pers=qa
www.mysite.com/index.html?id=1&_ora.pers=qa
Tip: You need to have QA Tool plugin added and enabled in the Personalization module of your CX tag. This change has to be published to Production.

- In order to make your personalization campaign working for regular site users you need to publish the campaign. Go to your campaign screen in Infinity UI and Publish. You will need to confirm publishing, as this will apply the campaign to real users.
When creating a new campaign you need to set up a trigger first. Trigger defines some criteria a user needs to match to see the personalized content.
Example: The following trigger will show content for all users who have seen a product view page one time or more.
Creating Recommendations Service and Getting Recommendations Using REST API