Configuring a Webhook connection
Configuring a Webhook Connection allows you to connect to third-party systems. When this connection is used in the configuration of an Action, Infinity behavioral data can be populated into data stores available in that third-party system.
Pre-requisites:
-
Before you can configure a Webhook Connection, you must have the Manage Connections user right role assigned to you.
-
Depending on the authentication type selected, you may have to retrieve API authentication settings Learn more about the OAuth 2.0 Specifications.
To configure a Webhook Connection:
- From the Connections page, click
 to create a new connection.
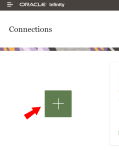
- Click the Webhook Connection Type card.
- Enter the connection details.
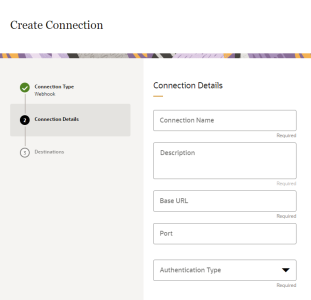
- Connection Name: Enter a name that will help you easily identify this Connection.
- Description: Enter a description for how this Connection may be used.
- Base URL: Enter the Base URL for the webhook Connection. For example: https://webhook.site.
- Port: You have the option of entering a port.
- Authentication Type: Select the authentication type and enter the required credentials.
Client Credentials: Enter the Client ID, Client Secret, Access Token URL, and Scope. Learn more about the OAuth 2.0 Specifications.
User Name and Password: Enter the user name, password, Client ID, Client Secret, Access Token URL, and Scope. Learn more about the OAuth 2.0 Specifications.
JSON Web Token: Enter the Client ID, Client Secret, JSON Web Token, Access Token URL, and Scope. Learn more about the OAuth 2.0 Specifications.
No Authentication
This selection doesn't require any further configurations.
Basic Authentication
Enter the user name and password for the authentication.
Bearer Token
Enter the token provided by the API, which is a cryptic string created by the authentication server and acts as the authentication of the API request.
OAuth V2
Based on the grant type selected, configure the OAuth V2 configuration.
-
Confirm the details and click Save and Continue.
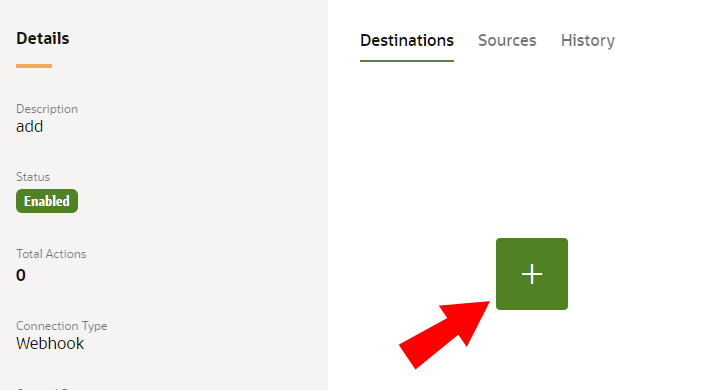
-
From the Destinations tab for the new Connection, click
to create a new destination. -
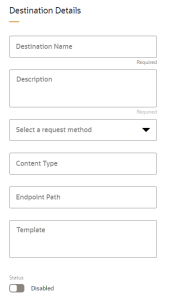
Enter the destination details.
-
Destination Name: Enter a name that will help you easily identify this destination.
-
Description: Enter a description to identify the destination.
-
Select a request method: Select the type of request for the destination (POST, GET, PUT, PATCH).
-
Content Type: Enter the content type. For example: application/json.
-
Endpoint Path: Enter the endpoint path.
-
Template: Enter the javascript template that will format the data before it is sent. For example:
{{! return JSON.stringify(it.data[0]); }}. -
Status: If you want to allow this destination to be used in Actions, toggle the destination to Enabled.
-
-
Click Save to save the destination.
-
Click Done to save the connection.


If you've enabled the destination, this connection can now be used when configuring an action to deliver data from Infinity to the Webhook connection.
Creating an action: Webhook destination