Data Management
Responsys Express Data Management:
- Uses business-centric, logical views of the data that are easy to understand.
- Makes it easy for marketers to manage contact and lookup data.
- Can be used across Responsys Express.
In this topic, you'll learn about
- Accessing the Data Management page
- The difference between attributes and attribute groups
- Adding attributes to an attribute group
- Creating a new attribute group
- Deleting an attribute
- Deleting an attribute group
- Editing an attribute
- Editing an attribute group
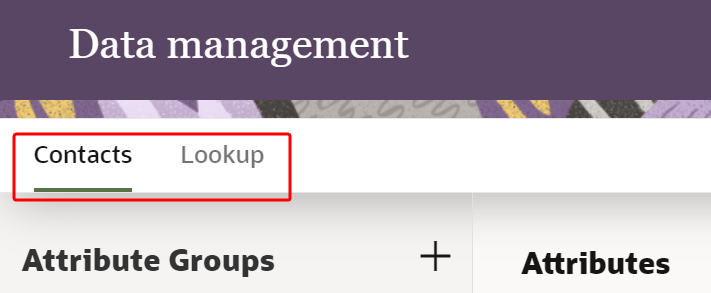
To access the Data Management page:
- Click
 from any page in Responsys Express.
 - Use the search to find the Data Management option, or click Data Management from the menu.
You'll be redirected to the Data Management page.
Attributes and attribute groups
The data model in Responsys Express is made up of what are called attributes and attribute groups.
Attributes
Attributes contain one piece of data, in the same way that a column in a database does or a field in a table. For example, an attribute can be a customer's name, email address, last purchase date, loyalty program number, preferred seating in an airplane, and the like.
Attribute groups
Attribute groups are groupings of related attributes, based on business logic. For example, one attribute group could group attributes related to entities such as product, store, airport, and so on.
There are two kinds of attribute group: ones for lookup and ones for contact data. Lookup data is data that isn’t specific to your customers and has to do with entities such as product, store, airport, and so on.
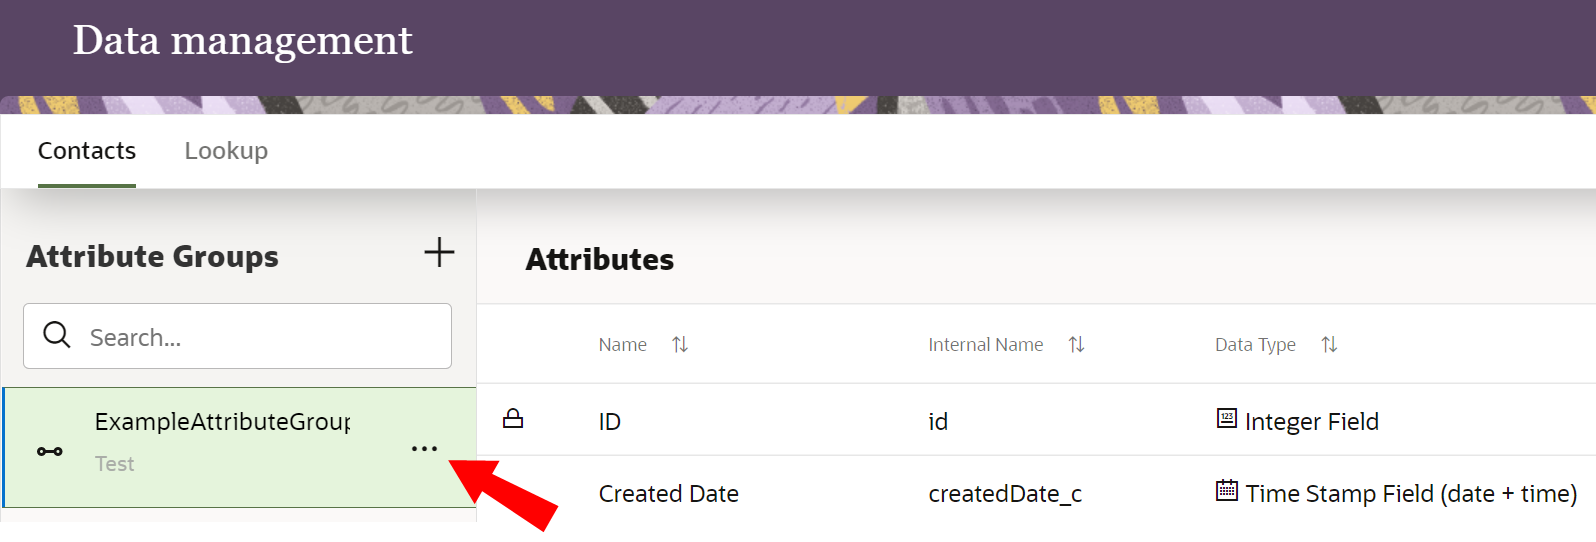
The default attribute groups that will show up in your instance are order line, order metrics, and basic profile. These three group contain system attributes. System attributes show a lock next to them and can’t be edited or deleted.
To see data from different attribute groups, you’ll use the Data Viewer.
Data Management tasks
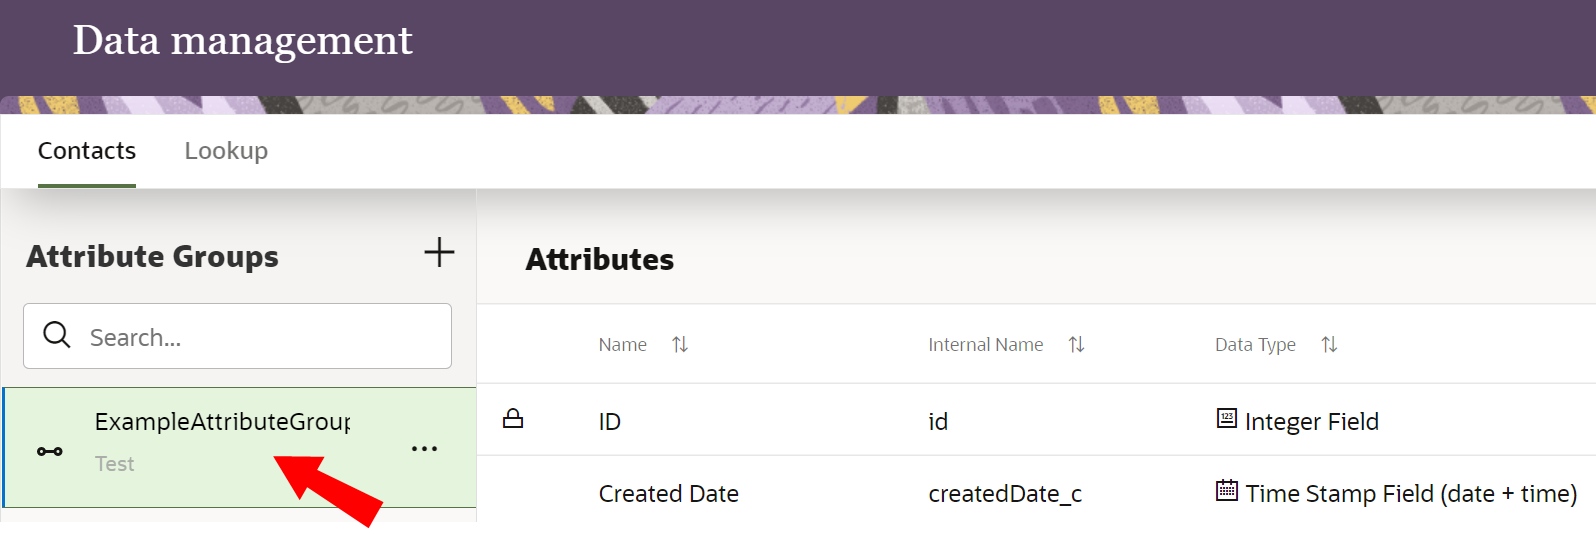
To add attributes to an attribute group:
- In the Attribute Groups column, click on the Attribute Group you'd like to add an attribute to.

- Click
 .
.
- Click +.
- Give your attribute a display name, name, and description.
- Select a Data Type:
- Number Field
- Time Stamp Field (date + time)
- Integer Field
- Single Character
- Short Text Field (up to 25 characters)
- Short Text Field (up to 50 characters)
- Medium Text Field (up to 100 characters)
- Medium Text Field (up to 255 characters)
- Long Text Field (up to 500 characters)
- Maximum Text Field (up to 4,000 characters)
- Click either Done to create your attribute, or click Add Another to create another attribute for the attribute group.
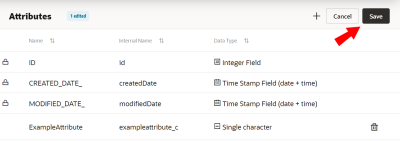
- After you've added your attributes, click Save.Notes:
When creating an attribute in the Lookup tab, you'll need to indicate which attribute you'd like as the group's unique identifier. To do so, open the attribute group, click
, and select the check box for the attribute in the Unique Identifier column.You can also select up to four non-unique attributes to be indexed per lookup attribute group.
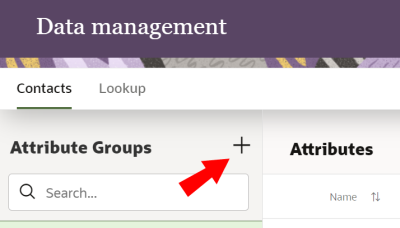
To create a new attribute group:
- From the Data Management page, select which kind of attribute you'd like to create by opening either the Lookup or Contacts tab.
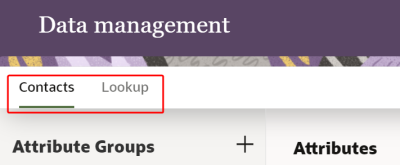
Lookup data is data that isn’t specific to your customers and has to do with entities such as product, store, airport, and so on. Contacts data is specific to your customers.
- Click + beside Attribute Groups.
- Give your attribute a display name, name, and description.
- Click Save.

Warning: Before deleting an attribute, make sure that it is not being used elsewhere in Responsys Express.
- Click on an attribute group to display its attributes.
- Click .
Any attributes that are not system attributes will have
 display beside them.
 - Click beside the attribute you'd like to delete.
- Click Save.
Warning: Before deleting an attribute group, make sure that it is not being used elsewhere in Responsys Express.
- Click
 beside the attribute group you'd like to delete.
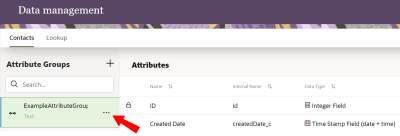
- Click Delete.
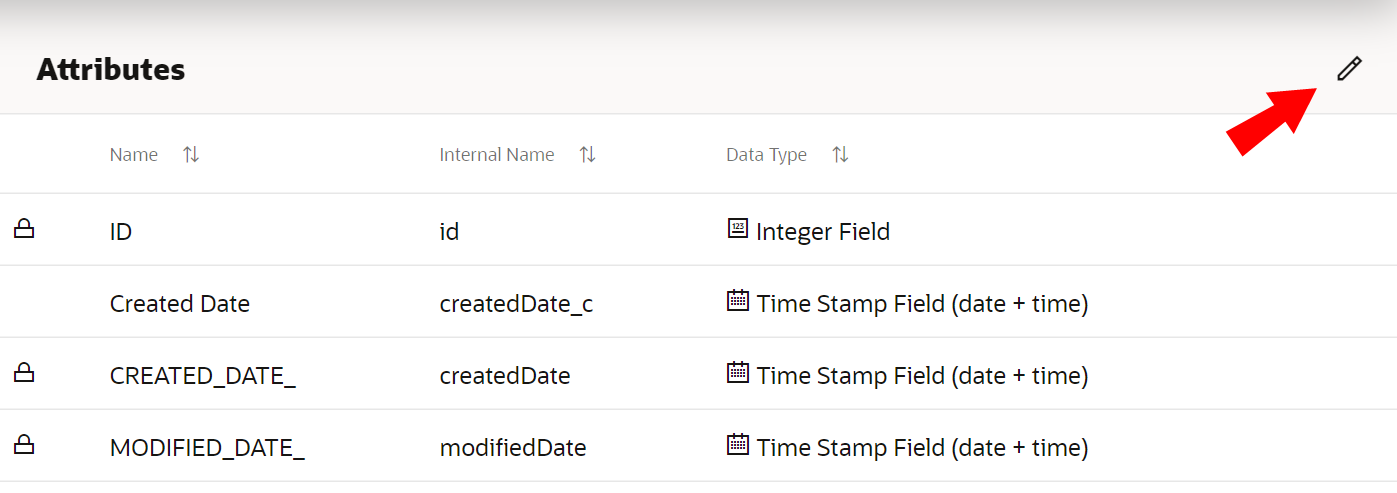
- Click on an attribute group to display its attributes.
- Click .
- Click on the attribute you would like to edit.
Note: You can only edit the description for system attributes. System attributes have
 beside them.
The Edit Attribute panel opens.
- After making your changes, click Save.
- Click Save for the attribute group.

- Click beside the attribute group you'd like to edit.
- Click Edit.
The Edit Attribute Group panel opens.
- After making your changes, click Save.