Data Viewer
With the Data Viewer, you can easily view contact data across attribute groups and manually upload individual contacts. You can also create and manage proof groups and their data.
In this topic, you'll learn about:
- Adding an individual contact
- Uploading multiple contacts with a CSV or Text file
- Selecting attributes to view
- Viewing additional data for a contact
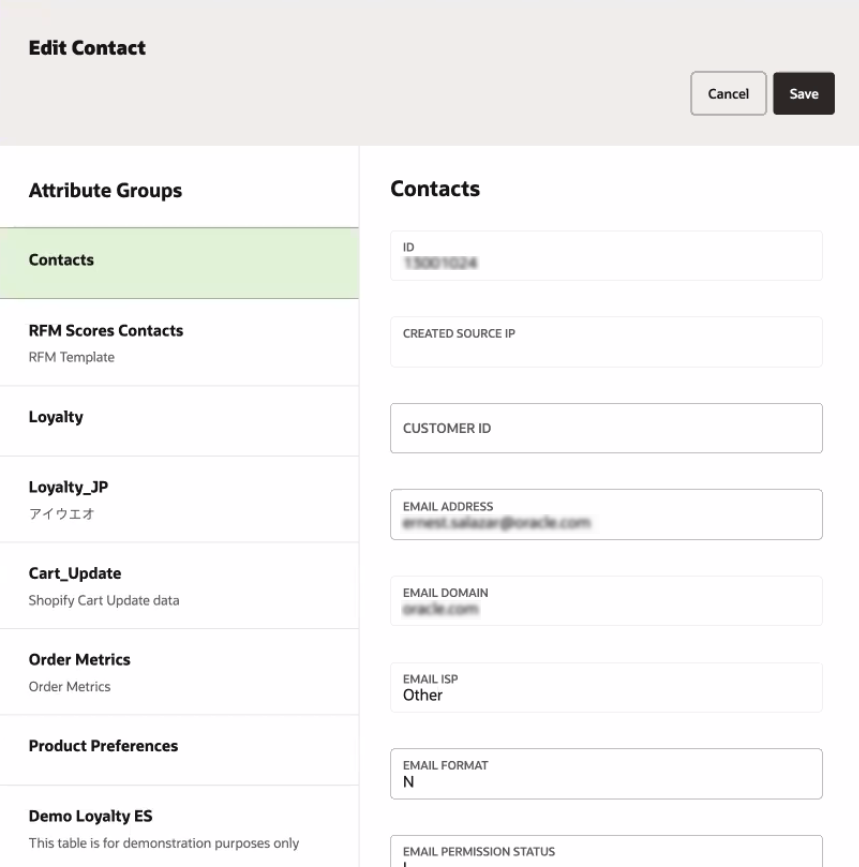
- Editing a contact
- Deleting a contact
- Searching for a contact
To add a Contact Data contact:
- Click
 from any page in Responsys Express.
 - Use the search to find the Data Viewer option, or click Data Viewer from the menu.
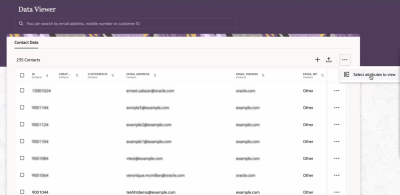
You'll be redirected to the Data Viewer page.
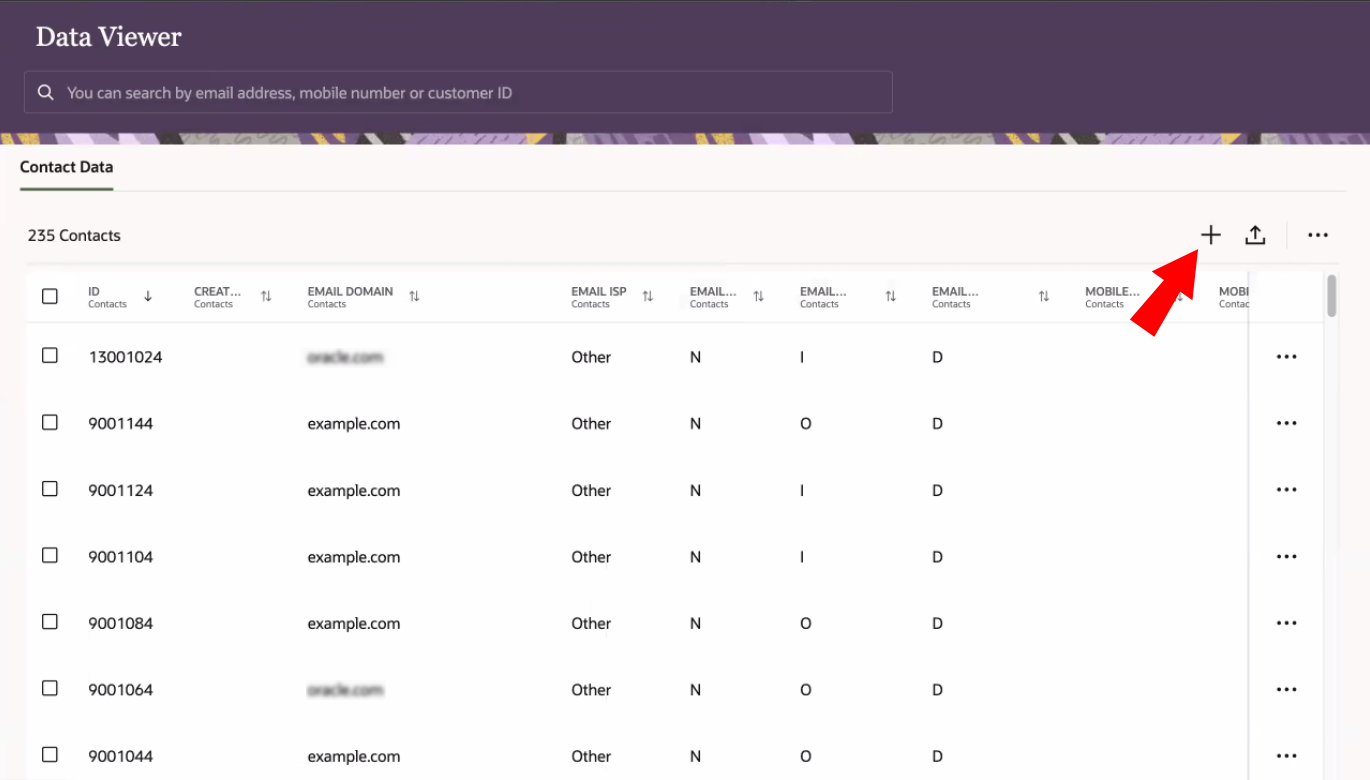
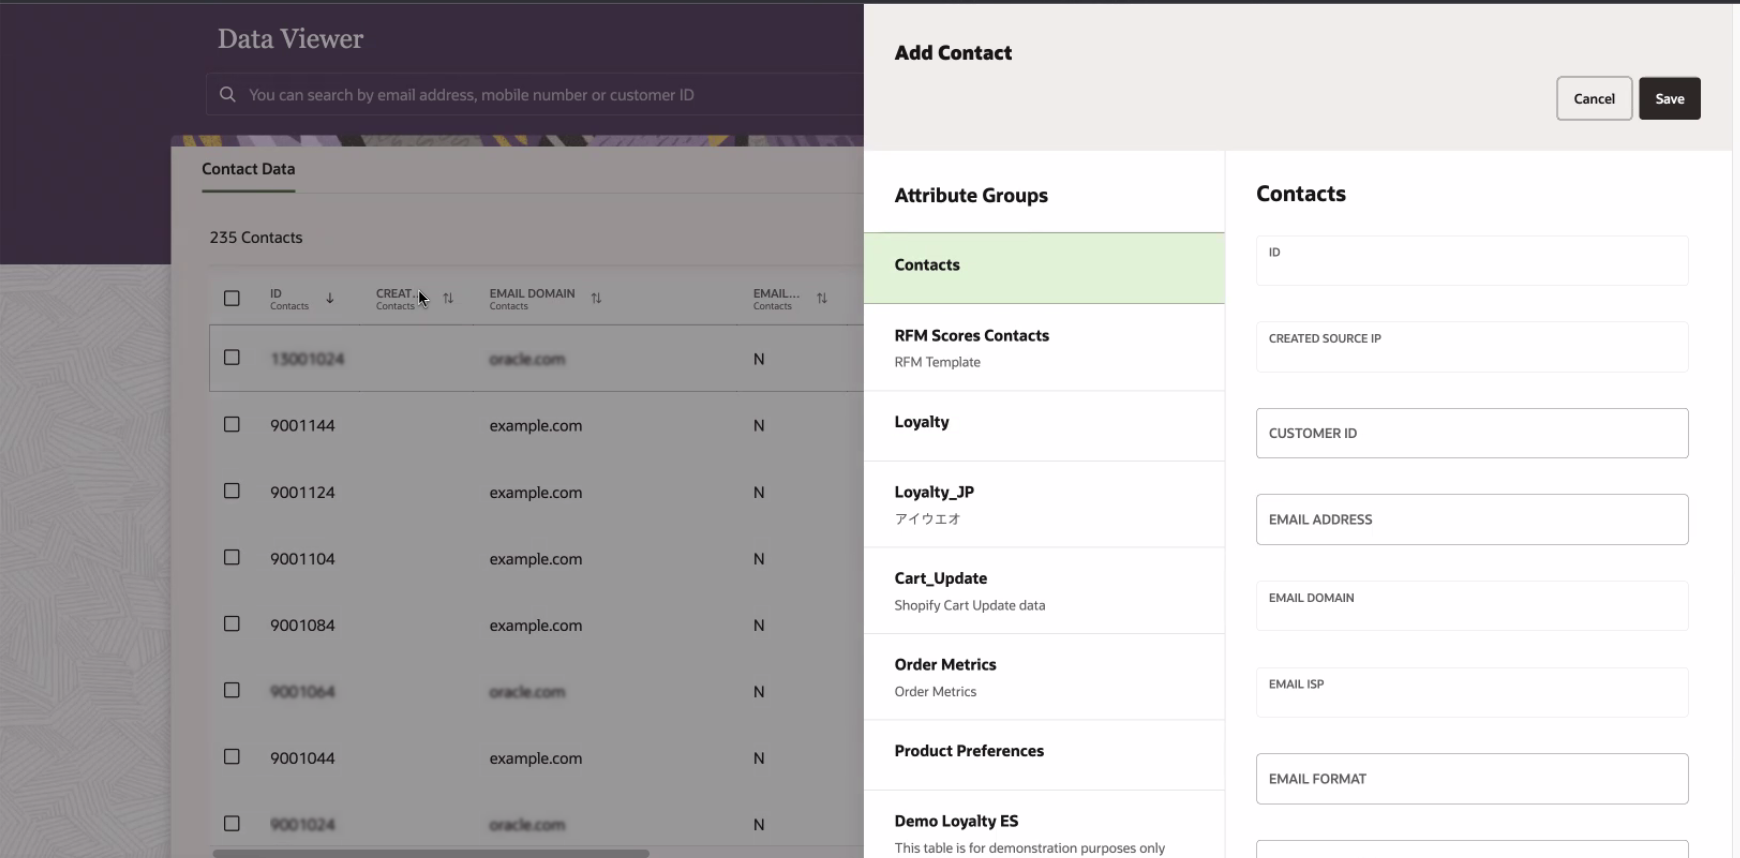
- Click Add Record +.
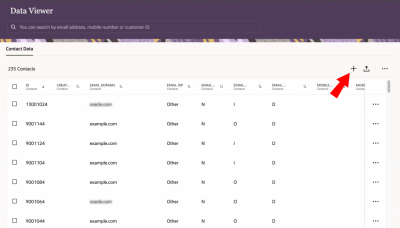
- Add the contact information and any data for the individual 1:1 attribute groups.
- Click Save.
To upload multiple Contact Data contacts with a CSV or Text file:
- Click from any page in Responsys Express.
- Use the search to find the Data Viewer option, or click Data Viewer from the menu.
You'll be redirected to the Data Viewer page.
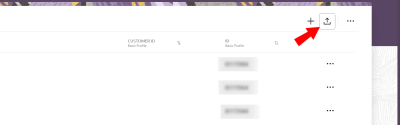
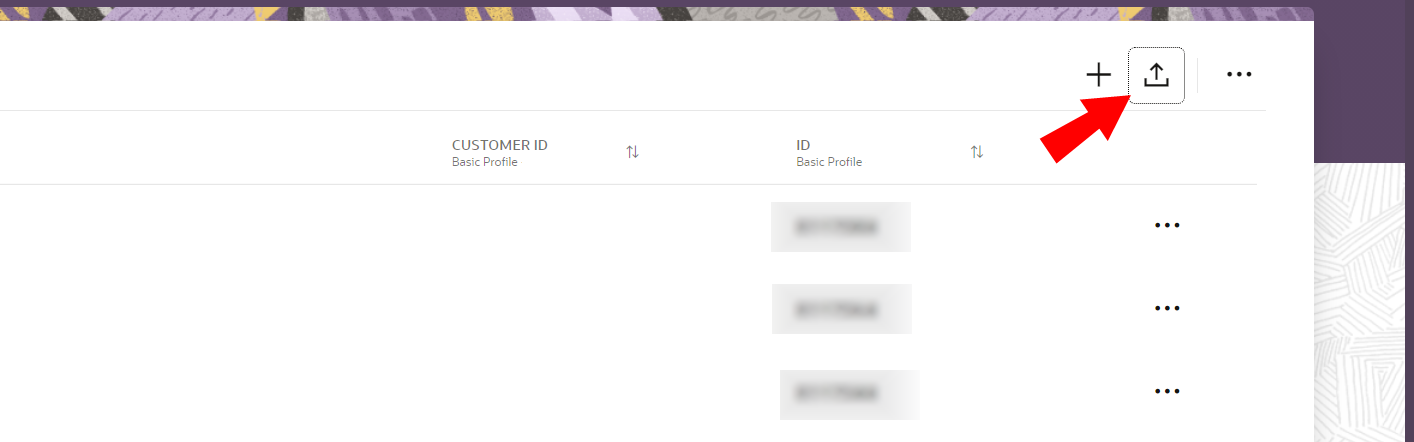
- Click Upload Records
 .
.
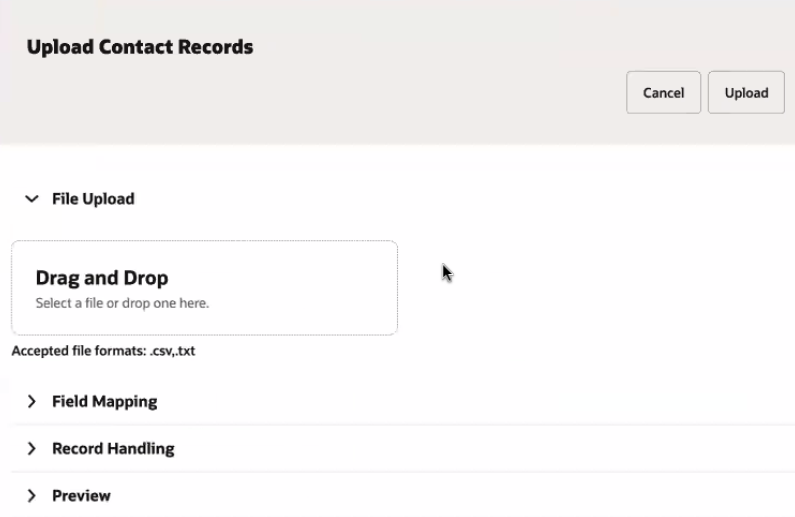
- Under File Upload, browse your files, or drag and drop your file.
You'll be able to see a preview of your incoming fields under Field Mapping.
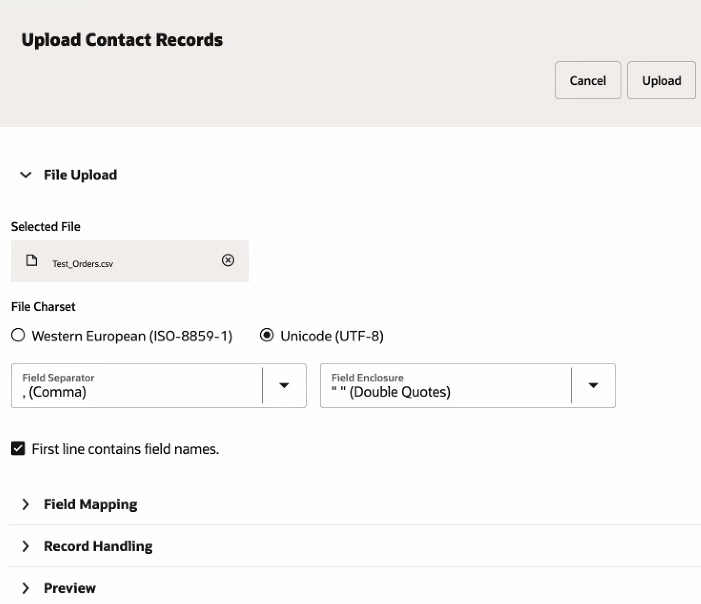
- Select a File Charset: Western European (ISO-8859-1) or Unicode (UTF-8). It is a good practice to stay consistent with the coding you choose.
- Select a Field Separator and a Field Enclosure type. To know where each field begins and ends in an import file, the fields must be separated with a character such as a comma (,). This character is called the field separator. A field enclosure is a character used to enclose the field value and only those values that contain a field separator will be enclosed.
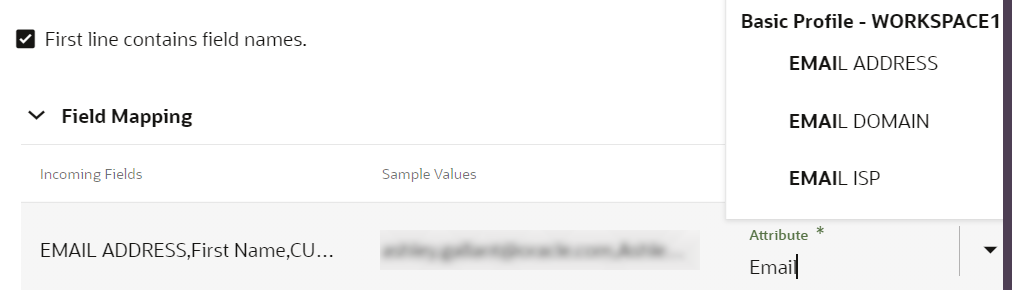
- Indicate whether the first line contains a field name, such as EMAIL ADDRESS.
- In the Field Mapping section, type in the Mapped Attribute or use the drop down button to select the option you want to use to map your uploaded file to Responsys Express.

- Click Upload.
Note: The upload should only apply to a single attribute group. If you have data in your upload file that spans over two attribute groups, you will have to do two separate uploads. In this situation, Basic Profile is considered an attribute group. To upload data to a different attribute group, your upload file must indicate a contact identifier, so that the information uploaded is stored in the correct contact.
- Click from any page in Responsys Express.
- Use the search to find the Data Viewer option, or click Data Viewer from the menu.
You'll be redirected to the Data Viewer page.
- Click
 > Select attributes to view.
 Note: This action is available on both the Contact Data and Proof Groups tabs. Selections you make will affect the table on both tabs.
- Select which attributes to view. To include multiple attributes in your selection, hold down the Control key or Command key as you click. You can select attributes from Contacts and up to 4 other attribute groups.
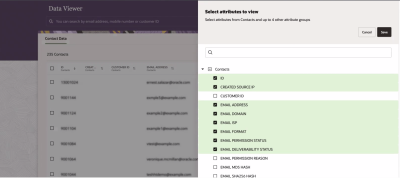
- Click Save.


To view additional data for a Contact Data contact:
- Click from any page in Responsys Express.
- Use the search to find the Data Viewer option, or click Data Viewer from the menu.
You'll be redirected to the Data Viewer page.
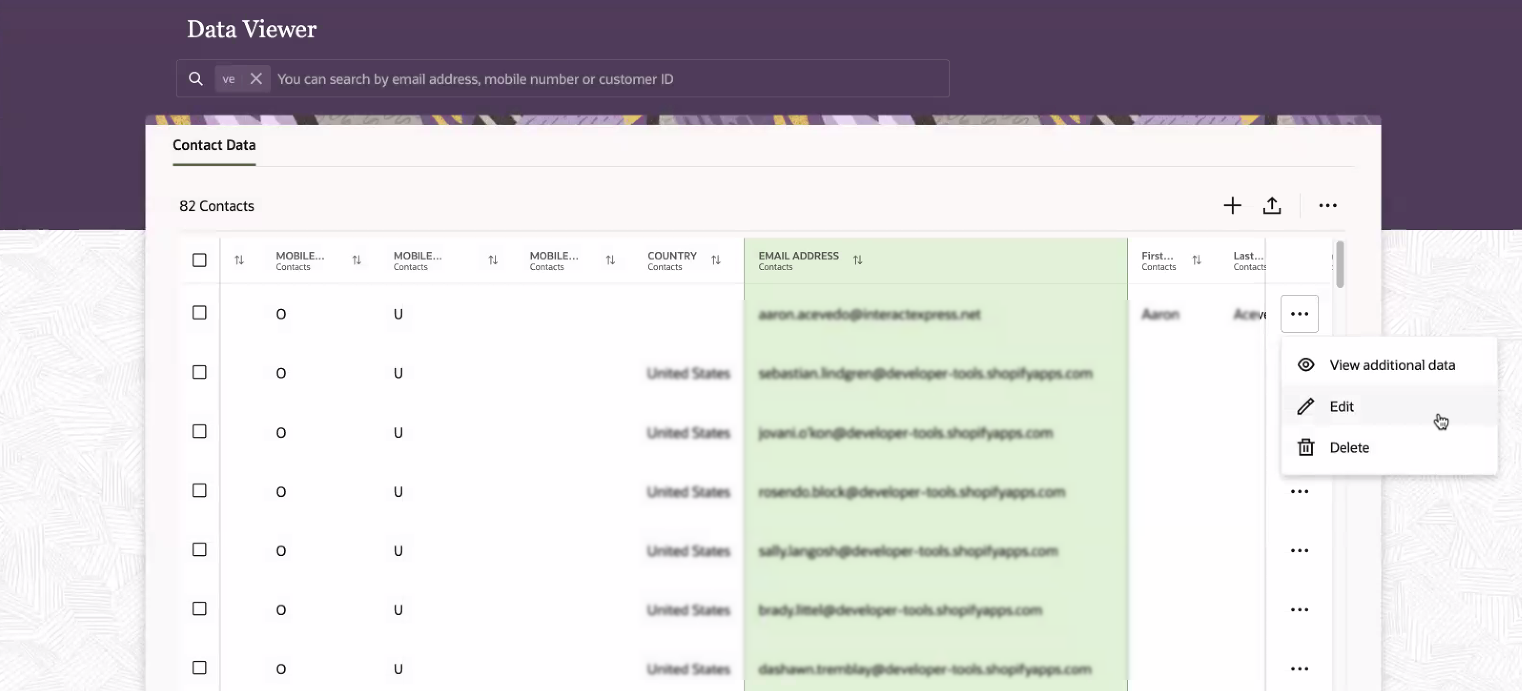
- Scroll to the right-most of the page.
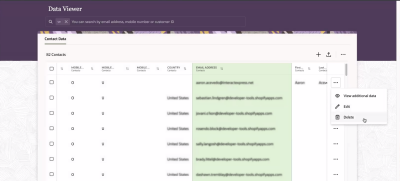
- Click > View additional data. You can view additional data such as records of 1:Many attribute group.
Note: This action is only available for contacts displayed on the Contact Data tabbed page.
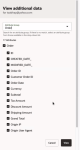
- Search for an Attribute Group. If there is no match, select an attribute group from those available in the drop-down list. You can select one attribute group at a time. You can also find your contact by doing a search on their email address, phone number or customer ID.
- Click View.

- Click from any page in Responsys Express.
- Use the search to find the Data Viewer option, or click Data Viewer from the menu.
You'll be redirected to the Data Viewer page.
Tip: Need to edit proof group contacts? Before going to the next step, click the Proof Groups tab, and then select the proof group that contains the contacts.
- Scroll to the right-most of the page.

- Click > Edit.
- After making your changes, click Save.
- Click from any page in Responsys Express.
- Use the search to find the Data Viewer option, or click Data Viewer from the menu.
You'll be redirected to the Data Viewer page.
Tip: Need to delete proof group contacts? Before going to the next step, click the Proof Groups tab and select the proof group that contains the contacts.
- Scroll to the right-most of the page.
- Click > Delete.

To search for a contact in Contact Data:
- Click from any page in Responsys Express.
- Use the search to find the Data Viewer option, or click Data Viewer from the menu.
You'll be redirected to the Data Viewer page.
- Enter what you'd like to search for in the search bar.

You can add additional search criteria by typing them in and pressing the Enter key on your keyboard. If you enter multiple criteria in the search bar, Responsys Express looks for contacts that match any of the criterion.
Responsys Express performs the search across email addresses, mobile numbers, and customer IDs.
Note: Data Viewer search only works for Contact Data contacts.
