Creating a message with a ZIP file
You can import an email message and its images using a ZIP file. After importing the message files, you use message designer’s Source editor to add a subject line, complete the message setup, and customize the content of your message.
Before you begin
- ZIP files must be less than 1 MB and can contain image files and one HTML file.
-
Image files included in the ZIP are uploaded to the asset library and all references to the images will be updated to reflect the correct image path. Images will be published automatically and will be ready to use. See Assets to learn more.
- Ensure that image references use the absolute file path. That means <root folder>/<path to image>/<image name>.<image extension>.
- ZIP uploads can take some time to finish uploading. A notification appears when the upload is complete. Be sure to return to the message so you can complete the message setup and make it ready for use in a campaign.
- After the upload, asset references in the new message are updated to reference the new location in the asset library.
To create a message:
- Click
 from any page in Responsys Express.
 - Click Messages.
-
Click Create.
-
Enter a Name and Description for your message. For transactional messages, click the Is this a transactional message? toggle.
Important: Transactional Messaging is an add-on feature that must be ordered for your account. Please contact your account manager or Oracle sales.
Tip: Use transactional messages for information that you want to send when a contact performs a specific activity. Transactional messages are typically used for purchase confirmations, account notifications, shipping notifications, password reset notifications, and so on. They have no automatic suppression, no footers, and no automatic opt-out mechanism.
-
Under How would you like to create this message?, select Import zip.
- Select your ZIP file from the file explorer. The ZIP must contain an HTML file and a GIF, JPG, JPEG, or PNG file.
-
Click Continue. After the upload completes, a notification appears.
- Return to the message so you can complete the message setup and prepare it for use in a campaign.
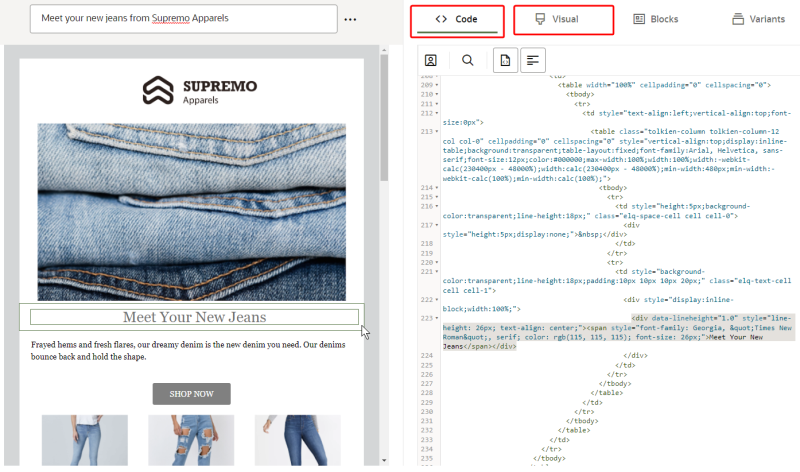
The message designer uses the Source editor for the message. You can edit the HTML in the Code tab or use the Visual tab for a rich-text editing option.
Tip: Personalize your content by adding attributes. Learn more about personalization.
- Click Save.
- Click Actions > Preview to preview your message. Personalized content is displayed in the preview.
