Creating messages in the visual editor
It's easy to create rich, responsive messages using the visual editor. Without touching any HTML code, your messages will render in many different email clients and across many screen sizes.
To create a message using the visual editor:
- Click
 from any page in Responsys Express.
 - Click Messages.
-
Click Create.
-
Enter a Name and Description for your message. For transactional messages, click the Is this a transactional message? toggle.
Important: Transactional Messaging is an add-on feature that must be ordered for your account. Please contact your account manager or Oracle sales.
Tip: Use transactional messages for information that you want to send when a contact performs a specific activity. Transactional messages are typically used for purchase confirmations, account notifications, shipping notifications, password reset notifications, and so on. They have no automatic suppression, no footers, and no automatic opt-out mechanism.
-
Select Start from blank as the method for creating the message, and select Visual editor as the editor to use.

-
Click Continue. The visual editor opens.

To design your message using the visual editor:
-
With your message open in visual designer, enter a subject for your message.
To personalize the subject line, click
 and then select Personalization. Drag and drop personalization attributes to the subject line.
 -
Design the body of your message by dragging and dropping content and layouts.

-
Click the content component to configure it using the properties on the Style
 tab.
tab.
-
When editing text, you can click the Personalization
 button to add personalized content to your message body.
 -
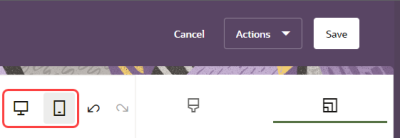
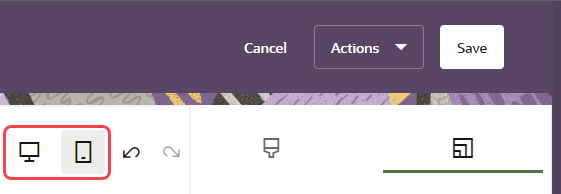
By default, the visual editor starts in the Desktop view. Click Mobile to switch to a mobile view and edit your email content as it may appear on mobile devices.
-
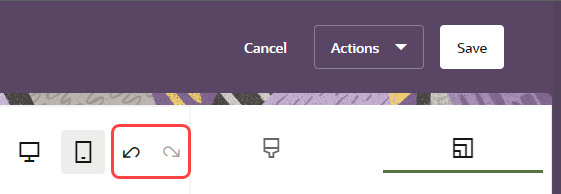
As you make changes, you can undo or redo your changes using the toolbar or standard keyboard shortcuts.

- Click Save when you are done.


After you finish:
-
If your message has errors, a banner displays after you save. Click See details to open the Errors & Warnings panel. You can also check for errors by selecting Actions > Show errors and warnings.
-
Click Actions > Preview to preview your message. Personalized content is displayed in the preview. Use the Desktop and Mobile buttons to verify content for different screen sizes.
-
You can easily move a message created with the visual editor to the HTML source code editor. For example, you must move to the HTML source code editor if you want to create message variants. Note that after you move the message to the HTML editor, it can't be moved back to the visual editor. To move your message, choose Actions > Move to HTML editor, and then confirm your choice in the dialog.
Next steps
Working with content components and layouts in the visual editor
Changing default styles in the visual editor
Changing the background colors of components and layouts