Creating segments
A segment is a group of contacts generated based on the contact and behavior attributes that are associated to those contacts. Contact attributes are fields specific to each contact, such as city and gender, whereas behavior attributes are events or actions taken by your contacts, such as clicks and opens.
With each segment, you specify the condition for the attributes that qualify certain contacts from your contact database. Segments can be used for targeting who your campaigns go to.
Segments are created by adding contact and behavior attributes, then setting conditions on the data.
The following types of attributes are available:
- Profile
- Order
- Order line
- Order metrics
The following type of behavior is available:
- Email behavior
Creating a new segment
Start creating the segment by choosing a name and entering a description.
To create a new segment:
-
Click the Ask Oracle menu in the bottom-right corner
 .
.
- Use the search to find the Segments option, or click Segments from the menu.
You'll be taken to the Segment list page.
- In the top-right corner of the Segment list page, click Create. The Create Segment panel displays. Enter the details for the segment.
- Name: Enter a unique name for the segment.
- Description: Enter a description for the segment. This field is optional, but it is highly recommended to add meaningful descriptions for any segment created. This helps all other users get additional context when using and navigating Responsys Express.
- Click Continue.
The segment's page is displayed, and you can build the segment.
Building the segment
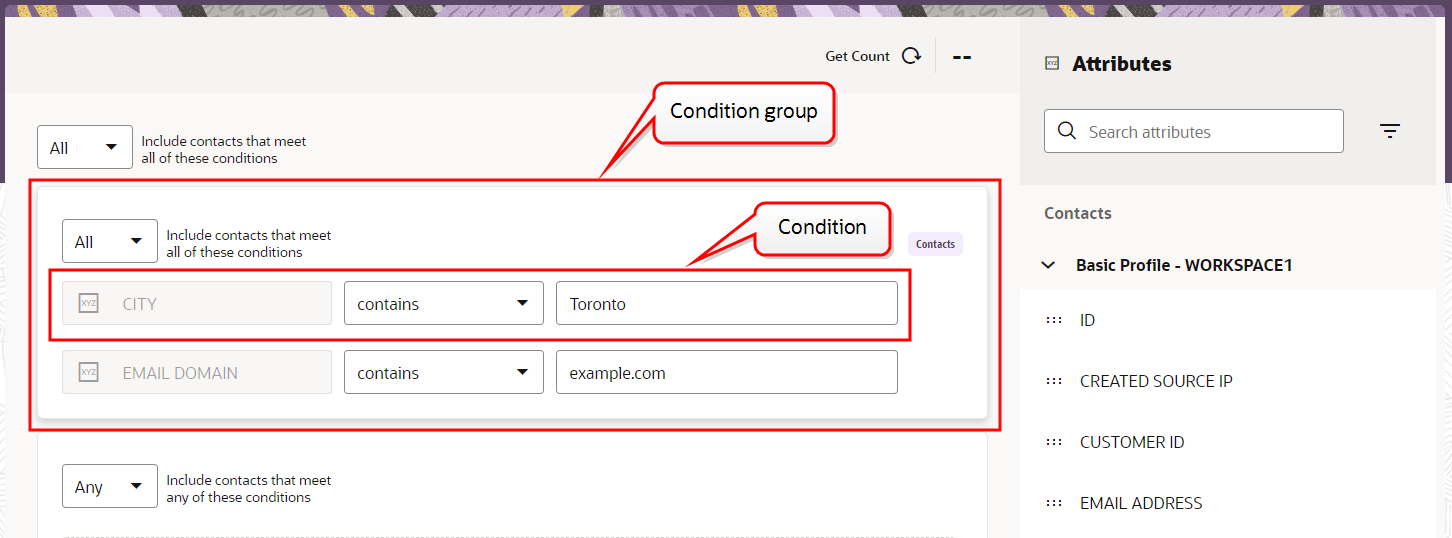
Start building the segment by selecting contact and behavior attributes you want to include and adding them to condition groups.
To build the segment:
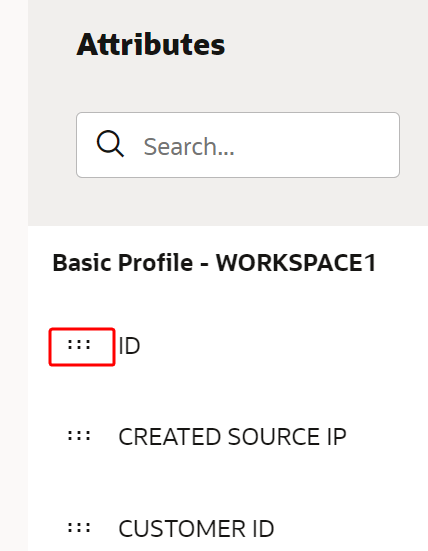
- Use
 beside an attribute to drag it to the segment canvas.
You can filter the available attributes and behaviors using
 or search for a specific attribute or behavior.
Note: As of the 22B update, you can use behaviors and attributes in the same condition group.
To remove an attribute from a condition group, hover over it and click the
 that displays.
 - (Optional) If you want an additional condition group, click + New Group. You can create up to 25 condition groups per segment.
- Fill in the conditional fields and operators for each condition to define the conditions within the groups. You can create up to 10 conditions per condition group.

-
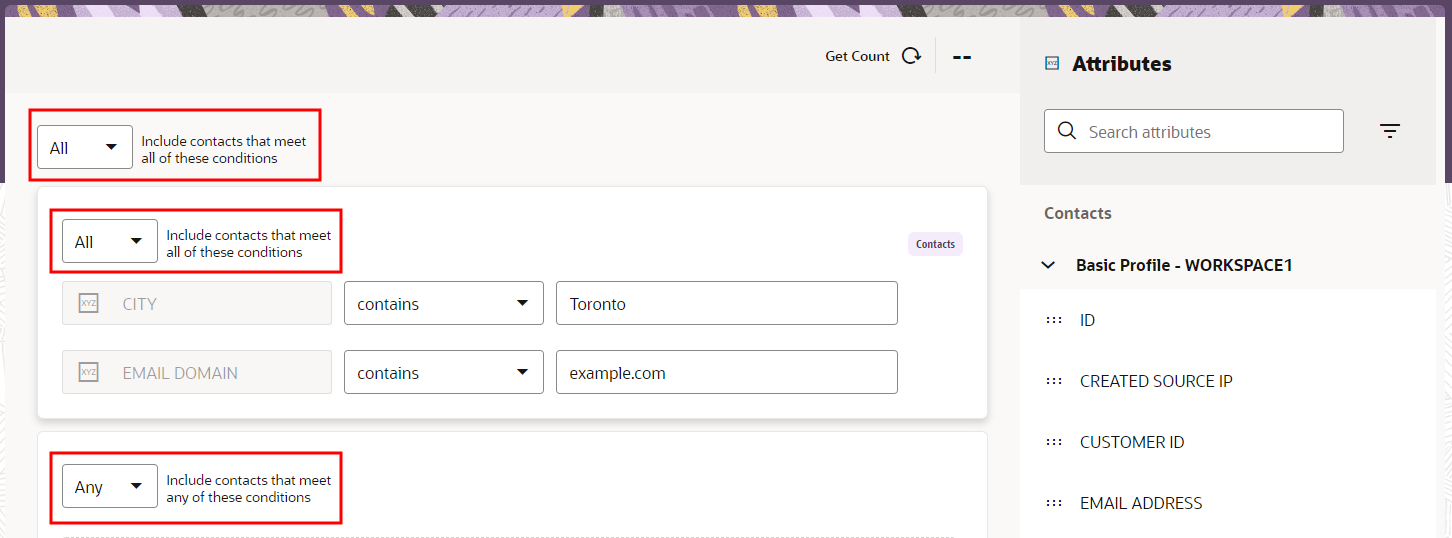
The Any/All selectors determine how the condition groups or conditions are joined together to pull in the right contacts.

- Global Any/All selector: determines how condition groups combine using "Or" or "And."
- Group Any/All selector: determines how conditions within a group combine using "Or" or "And."
- (Optional) Click
 to get a count of how many recipients will result from a particular segment.
 - (Optional) Click Actions to access the following options:
- Edit Properties: With this option, you can edit the name and description of your segment.
- Duplicate: With this option, you can duplicate your segment.
- Delete: With this option, you can delete your segment.
- When you are done creating the segment, click Save. You can manage your segment from the Segments List page.
You can now use this segment as an event in a campaign.
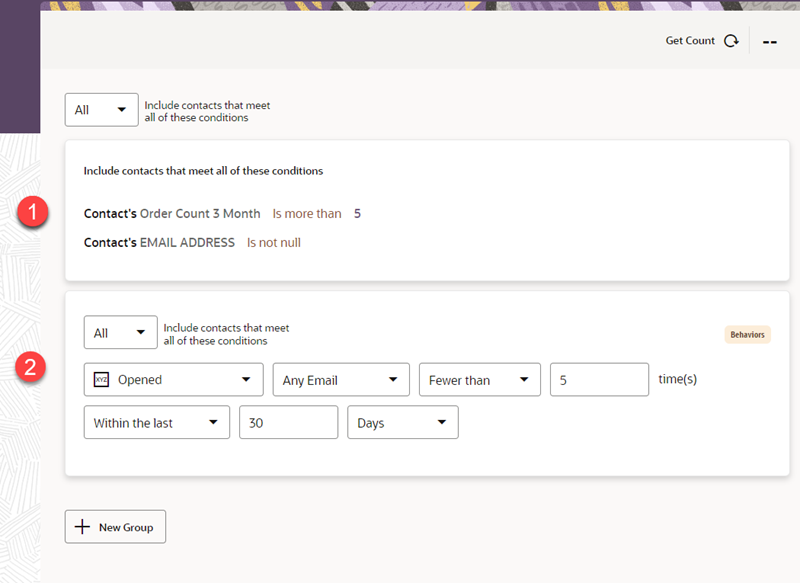
When you are actively editing a group in a segment, other groups are shown in "preview" mode, so that the page is easier to read. The following image shows a segment with groups in preview mode (1) and editing mode (2).