Sequencing Jobs in Connect
Important: This topic is for users of the latest version of Connect . If your account still uses Classic Connect, download the Classic Connect User Guide.
In Connect, you can create a group of jobs, define the order in which they are to be run, and then run the group either on demand or according to a schedule.
For example, use a group to import multiple sets of data in the correct order. Or make sure a list table is uploaded before updating a Profile Extension Table (PET). You can include any upload jobs that are active and set to run on demand.
Using a group you can ensure the sequence only runs if jobs are successful. For example, if job #1 fails, job #2 wont run.
To create a new group:
- Click
 Data on the side navigation bar, and select Connect.
 - Click the drop-down arrow on the Create Job button, and then select Create Group.

- Give the group a name and description in the Create Group dialog. Click Done.
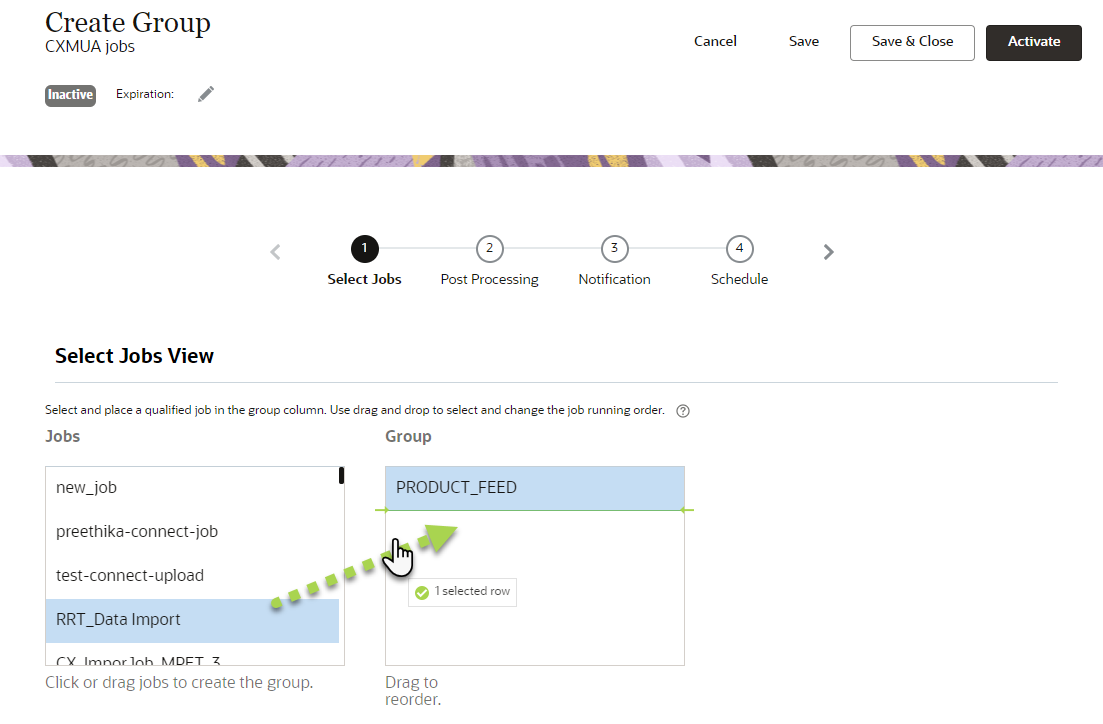
The Create Group wizard opens.

- On Step 1 of the wizard, select the jobs that you want to include in the group from the Jobs list and move them to the Group list.
- After you have jobs in the Group list, arrange the jobs in the order you want them executed.
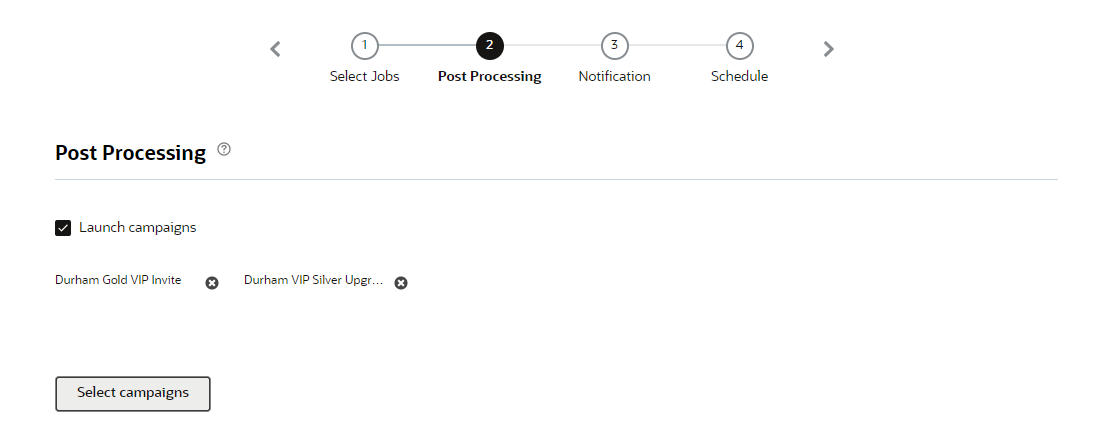
- On Step 2 of the wizard, to launch campaigns at the end of a successful group run, click the Launch campaigns check box. Click Select Campaigns to choose the campaigns.

Note: If you choose a campaign that has an automatic launch, the campaign is launched on schedule regardless of whether the group run has finished.
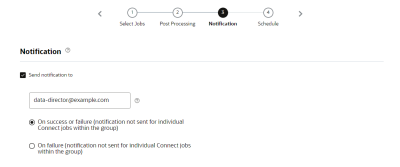
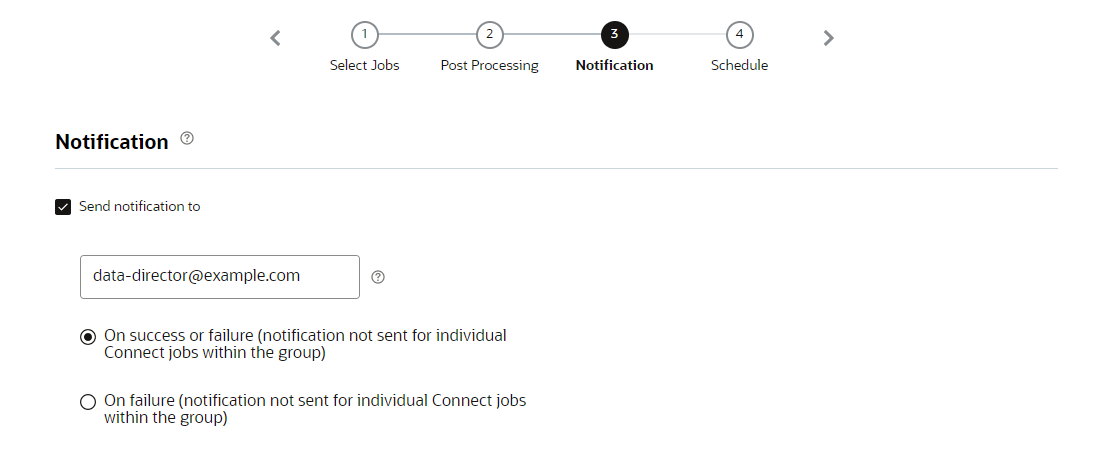
- On Step 3 of the wizard, set up email notifications for the group. You can choose to send notifications after the success or failure of a job. Notifications are only sent after all jobs in the group complete.
- On Step 4 of the wizard, complete the schedule for the group.
When setting the start time of a job, select one of four time slots within the hour: 0-14, 15-29, 30-44, 45-59. For each scheduled job, the system picks a random minute (for example, 12 within the 0-14 segment). This distributes the start times of jobs more evenly.
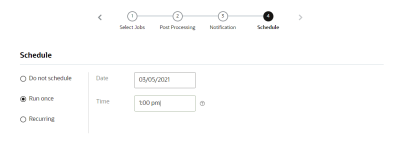
The job will start at random times within the chosen time slot. Setting up a new job in a slot that overlaps with the current time might produce that states that the time selected occurs in the past. Therefore, as best practice, choose the time slot that is after the current time slot.
- After you configure all the steps, you click Save. To save and activate the group, click Activate.

After you save your job, you can use the Manage Connect page to manage the group. Learn more about managing jobs.