Tagging Content in the Content Library
You can assign tags to any content item in the Content Library, and you can use these tags for searching and filtering. You can assign up to 20 tags to each content item, can re-use tags across all content items, and can use up to 2,500 tags within an account.
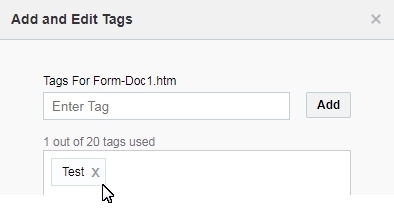
To tag an item:
- Open the Add and Edit Tags dialog using one of the following methods:
- Actions button—select an item, click Actions, and select Tag.
- Context menu—click
 next to the content name and select Tag.
 - Quick View—point at the item and click
 , then click Add Tags.
- Type the tag in the Enter Tag field.
- Click Add.
- To add more tags, repeat steps 1-3.
- Click OK.
To remove a tag:
- Open the Add and Edit Tags dialog using one of the following methods:
- Actions button—select an item, click Actions, and select Tag.
- Context menu—click next to the content name and select Tag.
- Quick View—point at the item and click , then click Add Tags.
- Click x next to the name of the tag you want to remove.
- Select the way you want to remove the tag:
- Remove tag from this content item—removes the tag only from the selected content item. The tag will not be removed from the Content Library and all other content items using the tag will remain tagged.
- Delete tag from Content Library—removes the tag from the content item and the Content Library. As a result, the tag will be removed from all content items that use it.
Tip: This option also frees up a tag for an the account so that you can create a new one for the account.
- Click OK.