Mobile FAQs
What are the terms used in Field Service Mobile?
Customer
A Customer represents a client of your business, internal or external.
One customer can have many Assets, and many Service Locations.
Asset
An Asset represents a physical item or location that is subject to service or support using Field Service.
Assets can be created automatically as part of the standard NetSuite Sales and Fulfillment process or manually.
An Asset is what Employees 'work' on, when completing a Task.
Task
Task is a standard NetSuite record, and represents a specific, identified piece of work that an Employee will perform.
A Task is what is shown on the Field Service Schedule Board and the Field Service Mobile app.
Generally, a Task will be associated with a Field Service Project, Case and Field Service Asset.
A Task can also be used to capture Leave or general work not associated with a Case or Asset.
Inventory (Consumables), Time Costs (Timebills) and Expenses processed through the Field Service Mobile app are recorded against the Task.
Technician
A Technician represents an employee that is able to perform Tasks.
A custom extension field in the standard NetSuite employee record marks an employee as being able to access the Field Service Mobile app therefore being a technician.
Not all employees are technicians, but all technicians are employees.
Case
A (Support) Case is a standard NetSuite record representing a service rendered to a Customer or a job delivered to a Customer. This captures the details of the issue that needs to be fixed or a service that needs to be performed. A Case is associated with a Project.
A Project may have many Cases associated with it over time.
Cases are generally assigned to a Service Manager or Service Administrator who assigns the Task work and ensures the job is completed.
For more information, see the NetSuite User Guide.
Project
A Project is a standard NetSuite record created under a Customer record and is used to capture the costs and revenues specific to a Project.
Inventory
Inventory Items are items which are stocked and stored in a Location in NetSuite.
Inventory Items display on the Field Service Mobile on the Inventory Tab. It covers the item types of Assemblies and Inventory Items and their variants, such as Serialized, Lot Numbered and Bin Managed.
Expense Item
An expense item is a type and cost recorded for an expense incurred by the technician when performing a task. Expenses are often for meals, fuel or mobile phone usage.
Why does my screen look different to the examples in this guide?
Field Service is a flexible system and can be configured to suit each client's needs. For that reason, some items in the standard installation can be hidden. In addition, you can add custom items to capture information that suits how you perform your tasks.
Also, Field Service is a rapidly changing solution. As we grow Field Service and make it compatible with new devices, we make minor adjustments to the way the application looks and operates.
For example, you may find that on mobile devices with different screen resolutions, the Task List View screen looks quite different. But the functions available are the same on all devices.
App Appearance Depending on Device
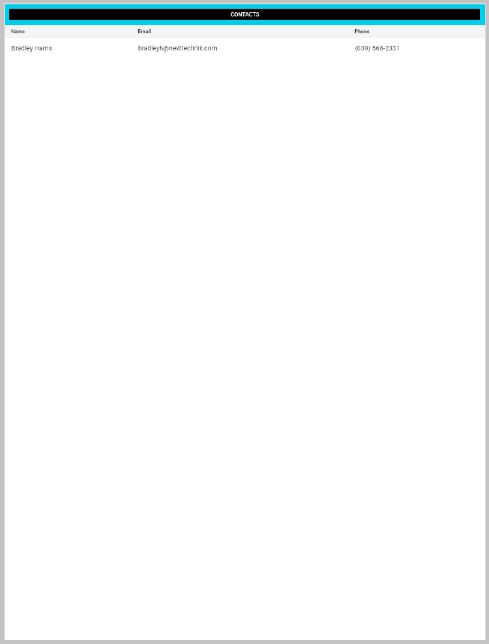
Phone
Low resolution mobile device such as a standard size phone.
Small Tablet
Medium resolution mobile device such as a 7-inch tablet.
Large Tablet
High resolution mobile device such as a 10-inch tablet.
How does my screen resolution affect navigation around Field Service Mobile?
Navigating between screens might be different on devices with different resolutions.
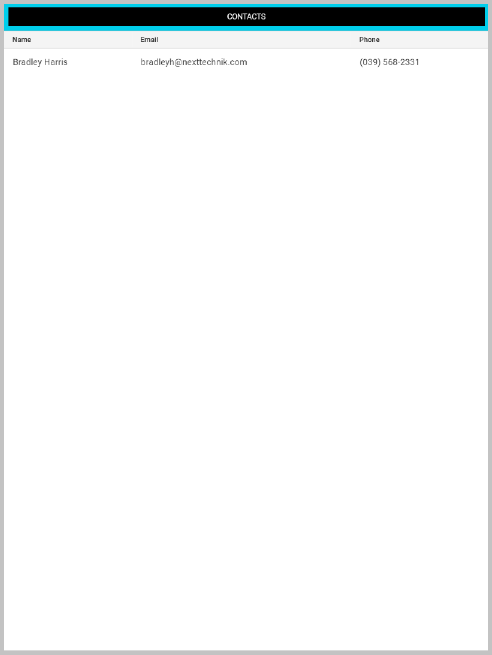
For example, navigating from viewing the Contact Details screen within the Contacts tab to the Asset Details screen in the Asset tab may be different on different devices.
Large tablet - High resolution device
-
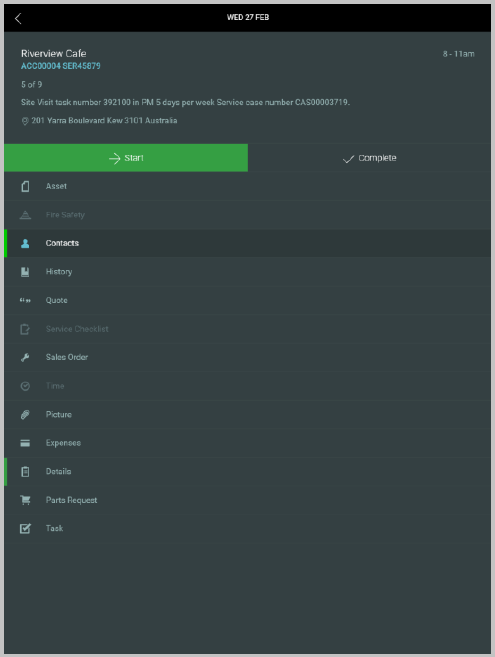
If the Selected Task Details screen isn't visible, then click anywhere in the Control Bar.
The Selected Task Details screen will show up, including the Task Tab list.
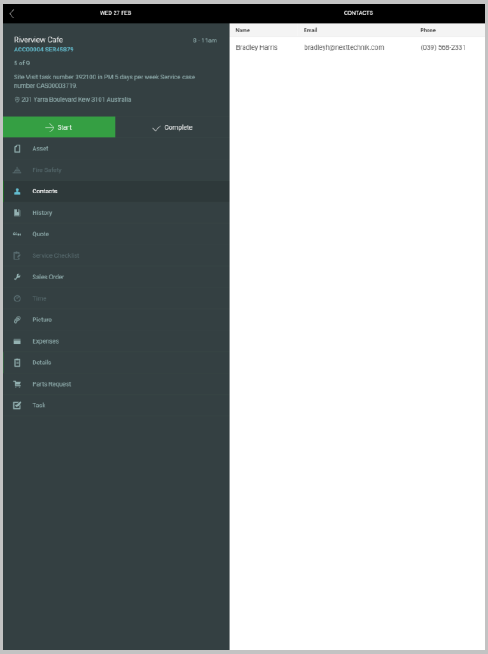
-
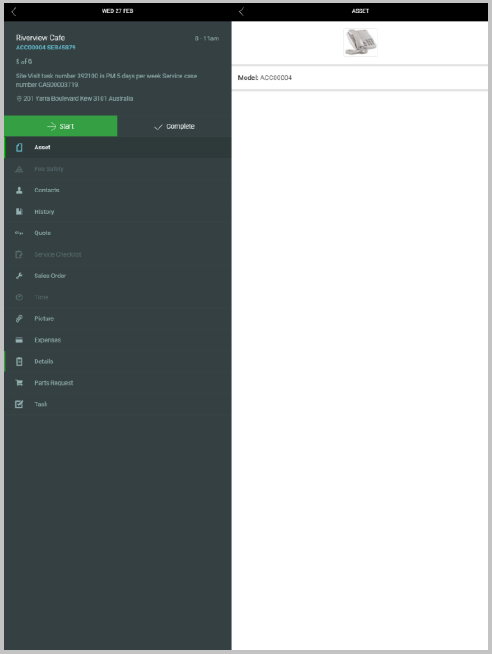
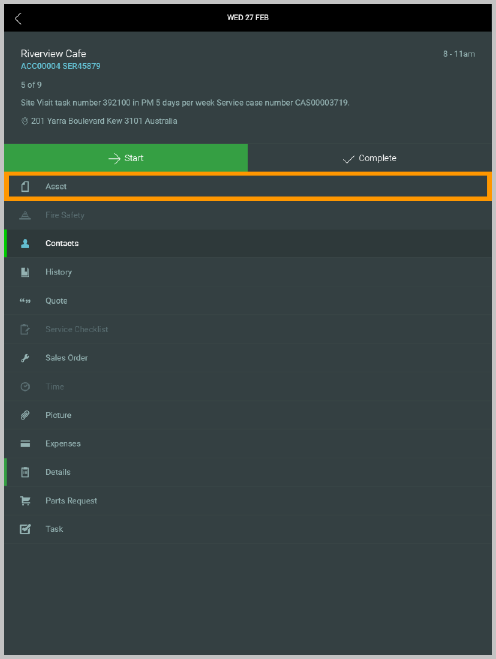
In the Task Tab list, select the entry for Asset.
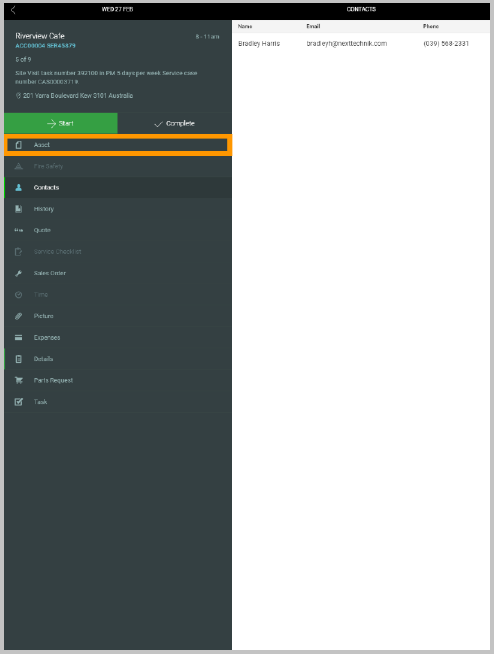
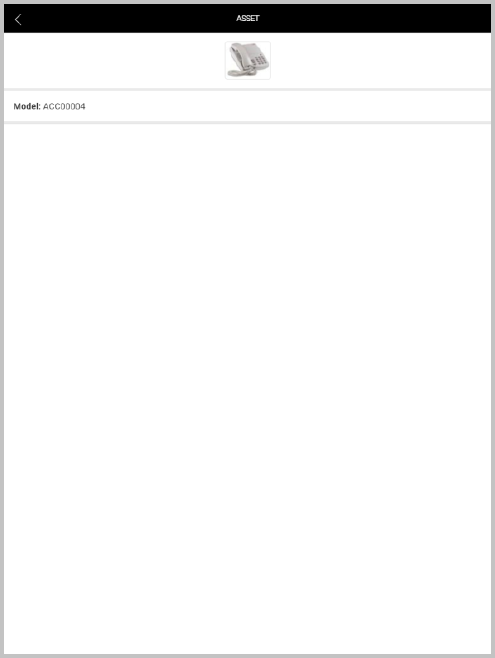
The Tab - Asset screen will show up.
Standard tablet - Medium resolution device
-
Click anywhere in the Control Bar.
The Selected Task Details screen will show up, including the Task Tab list.
-
In the Task Tab list, select the entry for Asset.
The Tab - Asset screen will show up.
Smartphone - Low resolution device
-
Click anywhere in the Control Bar or click the Back button.
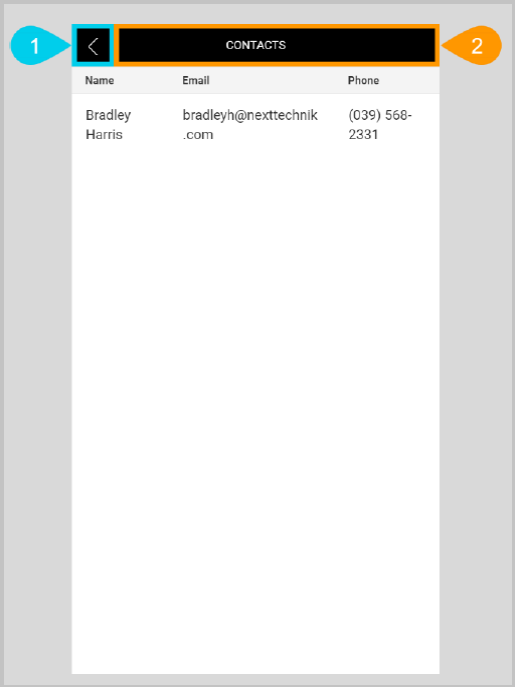
The Selected Task Details screen will show up, including the Task Tab list.
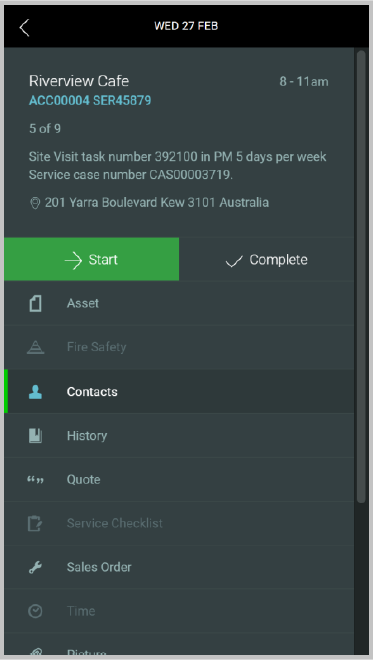
-
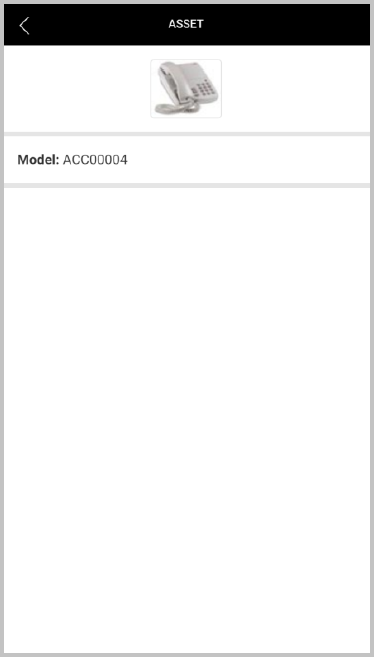
In the Task Tab list, select the entry for Asset.
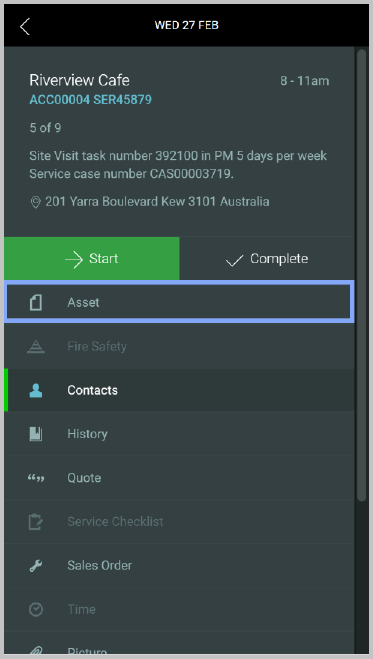
The Tab - Asset screen will show up.
What is a common progression through the screens?
The table below outlines the typical progression through the screens on the mobile app:
|
1. Wait for app to update itself to the latest version |
Update screen |
|
2. Login into the system |
Login screen |
|
3. View task list |
Task List Screen |
|
4. View Selected Task Details |
Selected Task Details Screen |
|
5. View map & travel to location |
Task Map Screen |
|
6. Start task |
Selected Task Details Screen |
|
7. Read and fill out during-task tabs |
Task Tabs Screen |
|
8. Complete task |
Selected Task Details Screen |
|
9. Fill in post-task information |
Task Tabs Screen |
|
10. Return to task list |
Task List Screen |
|
11. Logout of the system |
Task List Screen |