Replace a Child View
If you want to make significant changes to any child view in one of the default templates, best practice is to replace the existing view with a custom view that contains the required functionality. You must add a child view in the same placeholder with the same ID of the view that you want to replace.
The developer is responsible for maintaining the view functionality when migrating to new SuiteCommerce releases to ensure that the new SuiteCommerce functionality does not break the custom view code.
To replace a child view:
-
Obtain the main view id and the placeholder ID for the view that you want to replace. See Before You Begin.
-
In the entry point file for the extension, use the
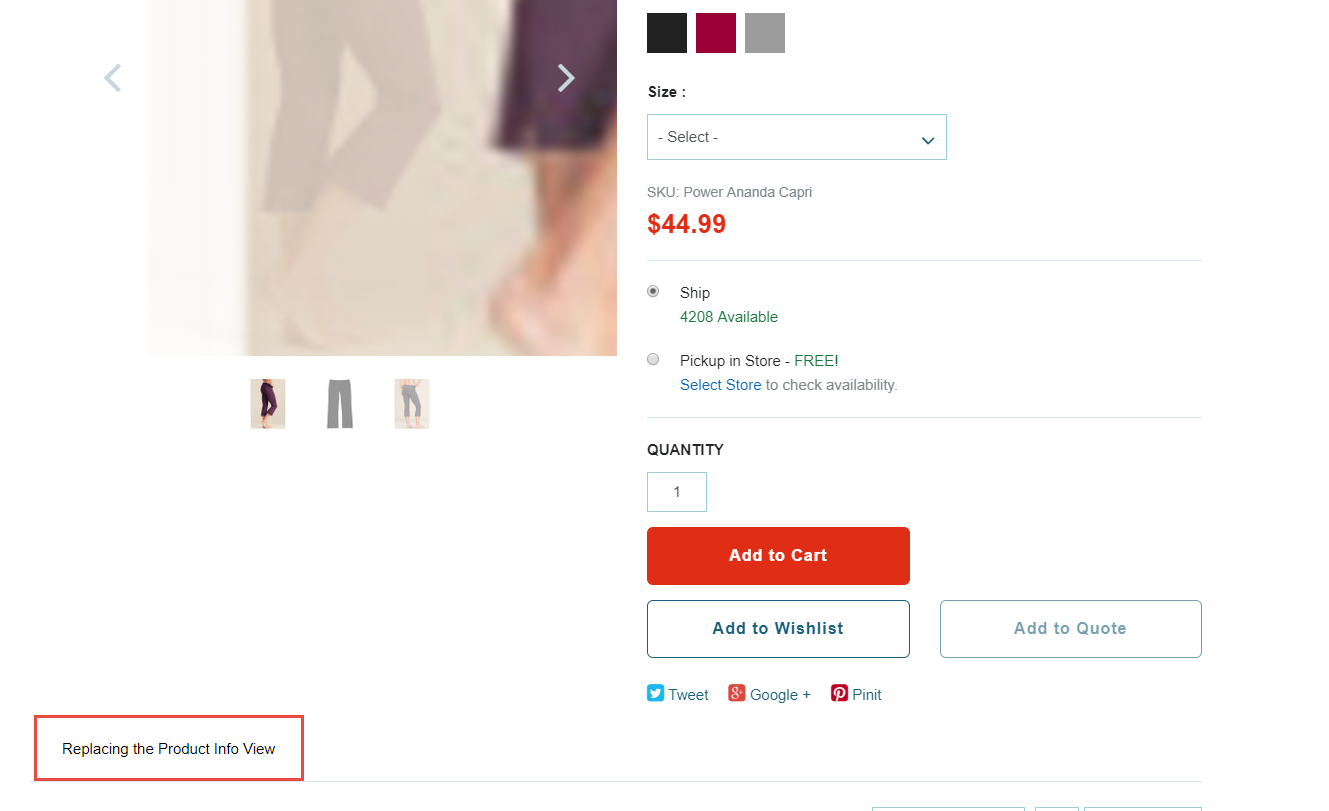
addChildViews()method to replace the view. See Verbose SyntaxThe following example shows how to replace the
Product.Informationview on the Product Details Page with theExtensionViewview.var pdp = container.getComponent('PDP'); if(pdp) { pdp.addChildViews( pdp.PDP_FULL_VIEW , { 'Product.Information': { 'Product.Information': { childViewIndex: 10 , childViewConstructor: function(){ return new ExtensionView(); } } } } ); }The following image shows the result of replacing the view. The change is indicated by a red rectangle: