Enabling the Custom GL Lines Plug-in Implementation
After you have configured a Custom GL Lines plug-in implementation, you can enable it in your account.
You can have more than one Custom GL Lines plug-in implementations enabled in your account. If you enable a plug-in implementation that conflicts with another implementation, NetSuite displays a warning message. Having several implementations for one transaction can slow down save times. You can save the implementation, but if saving transactions takes too long, try setting one or more plug-in implementations to run asynchronously.
To enable the Custom GL Lines plug-in implementation:
-
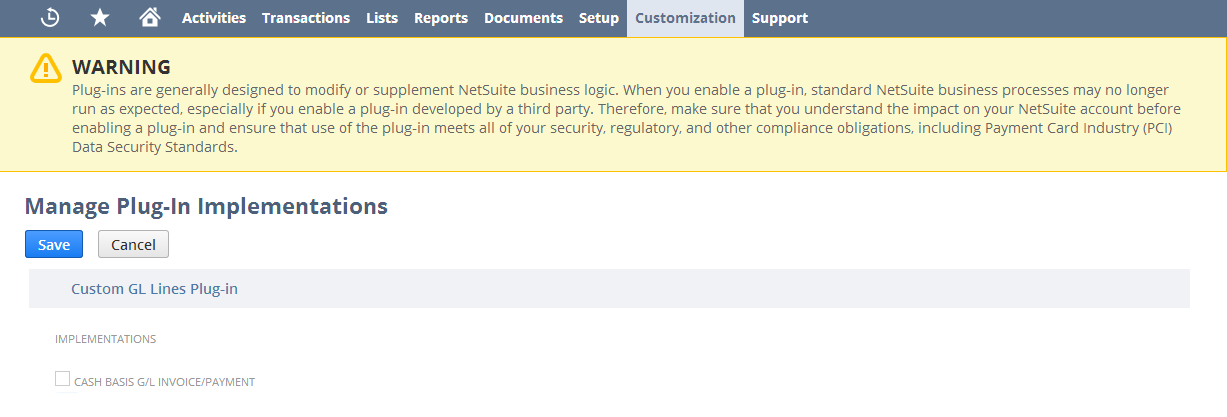
Go to Customization > Plug-ins > Manage Plug-ins.
-
Under Custom GL Lines Plug-in, check the box next to the name of the plug-in implementation.
-
Click Save.
Note:The plug-in implementation runs when users save transactions configured for it, based on the plug-in logic. Users can see the custom lines added or changed by the plug-in implementation when they click Actions > GL Impact on a saved transaction.