Associating a Transaction with a Location
When you associate transactions with a location, you can create and fulfill sales orders by location, create and receive purchase orders by locations, and search transactions by locations. You can also filter reports to get a clear view of sales, purchases, and employee data for each location. To filter reports by location, choose a location in the report footer.
The Location field is required for inventory transactions when Locations is enabled. To enable the Locations feature, go to Setup > Company > Setup Tasks > Enable Features (Administrator). On the Company subtab, check the Locations box and then click Save.
To associate a transaction with a location:
-
Click the Transaction menu.
-
Click the name of the transaction you want to create.
-
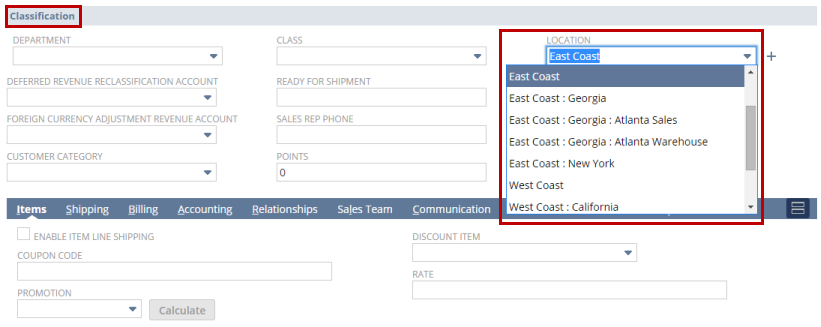
In the Classifications section, in the Locations field, select the appropriate location. For more information about how to create a location, see Creating Locations.
-
Complete the transaction as required.
-
Click Save.
For example, you can select a location in the header of a sales order to record where the sale is made. Or, you could select a location in the header of a purchase order to identify where the items will be received.
After you've associated transactions with a location, you can search transactions by location. For more information, see Searching for a Transaction by Location.