Create a Product Merchandising Rule
Product Merchandising rules can be defined after you've coordinated with your developer to define the merchandising zones that will be available on your website. For more information, see Product Merchandising Overview.
To create a merchandising rule:
-
Go to Setup > SuiteCommerce Advanced > Merchandising Rules > New.
-
Enter a Merchandising ID for this merchandising rule.
This ID is used as a key by your website template to display the corresponding merchandising rule parameters. A list of available IDs should be provided by your website developer.
Note:You can define the Product Merchandising rules first and then give your developer the right Merchandising IDs. The Merchandising IDs must match EXACTLY to what the developer is using when defining the content templates. When Content Delivery pages are used for defining merchandising zones, active Product Merchandising IDs are automatically available for selection during the Enhance or Landing page setup.
-
Enter a Title for your merchandising rule.
-
In the Description field, enter a short description of this rule.
-
Enable Inactive if this rule should NOT be used in the website.
Important:Merchandising rules that are defined as Inactive aren't available in Content Delivery records.
-
Select the website this rule is displayed in.
Merchandising rules are only available in SuiteCommerce Advanced websites.
-
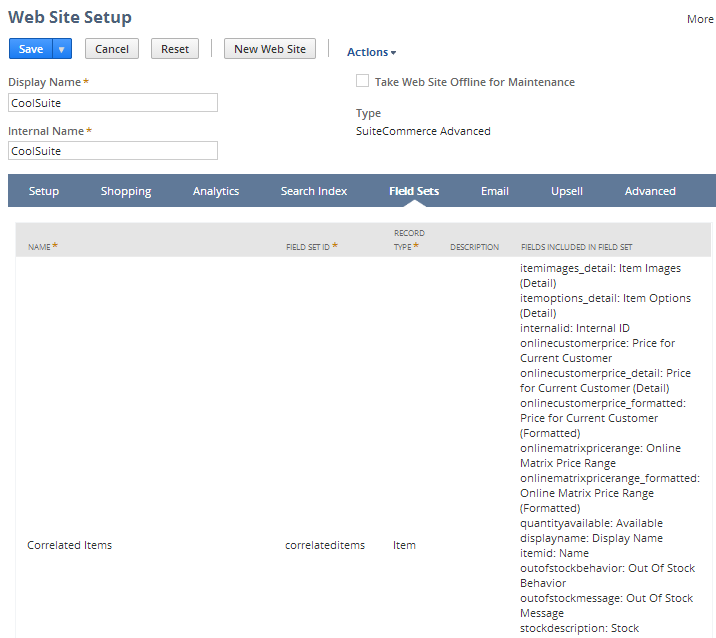
Select a field set to define the information your website uses when displaying item results.
Field sets are defined during the initial site setup at Commerce > Websites > Website List > Field Sets. Only those field sets associated with the selected website are available.
-
Enter the maximum Number of Results you want the rule to return.
The number entered here should match the ideal number that can be accommodated by the page layout for these items in your website.
Note:Use a value only between 0 and 100 for the Number of Results.
-
Enter your Filter criteria:
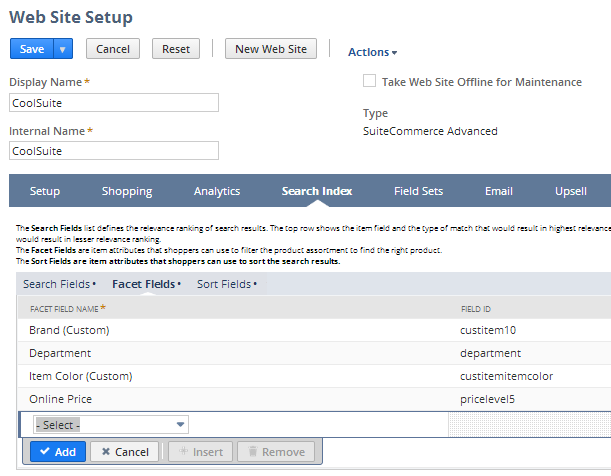
You can filter items based on Search Index Facet Fields defined for your website at Commerce > Websites > Website List > Search Index. Facet fields are defined during the initial Web Site Set Up and are used in the website to determine item filter criteria available on the website. For detailed information about defining Facet Fields, refer to Select and Configure Facet Fields.
-
If desired, enable the Apply on Current Selections box.
When enabled, the current search criteria is included in the query to the item search API.
-
In the Filter column, select a field from the dropdown menu.
The fields displayed are determined by the website chosen in To create a merchandising rule:. After a filter is selected, a popup for setting up values opens. Depending on the type of field selected the options available for your filter vary. Fill in the filter criteria you need for your rule.
Note:Depending on the type of field you can again select whether the item will only be displayed if it matches the search criteria of the current session as described in To create a merchandising rule:. If desired, enable the Apply on Current Selections box by enabling Current Selection.
When using Commerce Categories in the Filter column, enter the name of the commerce category you need to filter in the Value column. To learn more, see Commerce Categories.
Important:When working with matrix items, you may get inconsistent results if values set for custom fields vary from the matrix parent compared to the matrix child. To avoid this, set the custom field for the desired result on the parent item and then use More Actions > Update Matrix to set the child items as needed.
-
Click Set to close the popup, and then Add to save the line.
-
-
Enter your Sort criteria:
You can sort items based on Sort defined for your website at Commerce > Websites > Website List > Sort Fields. Sort fields are defined during the initial Web Site Set Up and are used in the website to determine the sort order of search results. For detailed information about defining Sort Fields, refer to Search Settings Overview.
-
In the Sort column, select which field you want results sorted by.
Fields available are determined by the website chosen in To create a merchandising rule:. After a filter is selected, a popup for setting up values opens. Depending on the type of field selected the options available for your filter vary. Fill in the filter criteria you need for your rule.
-
Select Ascending or Descending in the Sort Option column.
-
Click Add.
Sorting is applied in the order each field is entered.
-
-
Define Advanced options:
In the Advanced tab you can specify Items to exclude and whether a custom template should be used for this rule. Check with your developer if a custom template needs to be specified. If left blank the default template is used.
-
Click Save.
Product Merchandising rules are now available for your website. If not already done, your developer will need to set up Product Merchandising zones that call these rules from your website template files. After rules are defined and called from a website you can modify the rule as needed without need for further development work.
If you use the Content Delivery SuiteApp, you can also use merchandising rules to define the search results to display in a content area. For more information, see Content Delivery Integration.