Calculated Measure Editor
The Calculated Measure editor is where you set up new calculated measures.
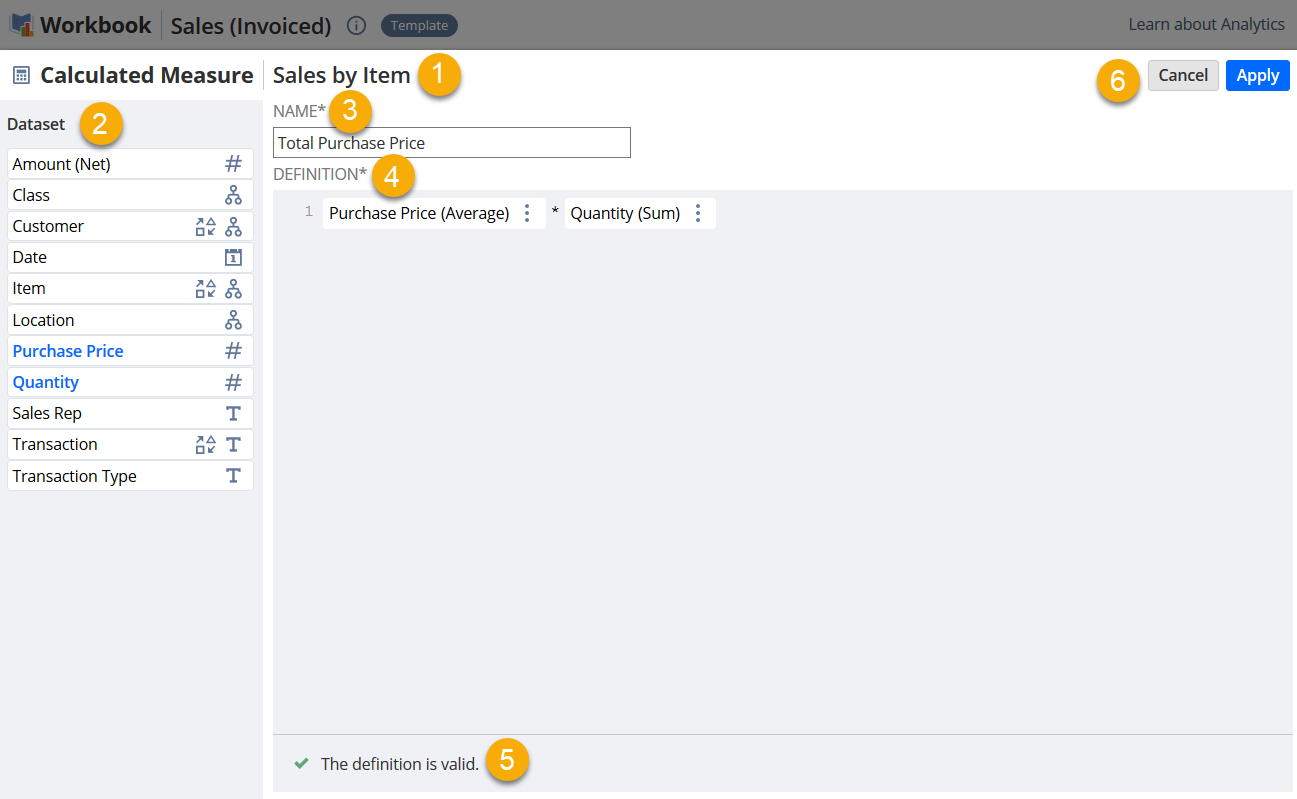
The elements of the editor are identified in the image below:
|
1 |
Workbook Visualization Name - Displays the name of the visualization where you're creating the calculated measure. |
|
2 |
Dataset Panel - Contains all fields from the connected dataset. In visualizations using linked datasets, both are shown so you can switch between them. To see more info about a field, hover over it and click the Information icon |
|
3 |
Calculated Measure Name - Enter the name of your calculated measure. |
|
4 |
Definition Editor - Create your calculations using fields in the Dataset Panel and basic operators. To create your calculations, you can do the following:
|
|
5 |
Validation Message - Displays a message that tells you if the definition is valid or has errors. If it's not valid, you'll see an error icon next to the line with issues. Hover over it to see how to fix the definition. |
|
6 |
Editor Menu - You can do the following:
|
 on the right.
 next to its name.