About the Designer Features

You can define allocation logic for applications with the Designer features.

For an overview of all of the Designer features, see Creating and Managing Rules with the Designer Features. You can use those features and associated screens to define rule set contexts (dimension defaults), define rule sets, and then define rules with their associated data sources, data destinations, optional drivers, and optional offsets. Most of those tasks are performed with the Waterfall Setup features.

Each group of rule sets and rules applies to a single POV. There are allocation rules and custom calculation rules. The same context and rule set information applies to both rule types.

Note:

You can also define global contexts for rules, optional defaults that specify default dimensions and members for all new rules. These are defined in the POV screen and are described in this sequence of tasks.

To display the Designer screen:

  1. On the Home page of an application with data, click Models, Models button.
  2. Click Designer, Designer button.

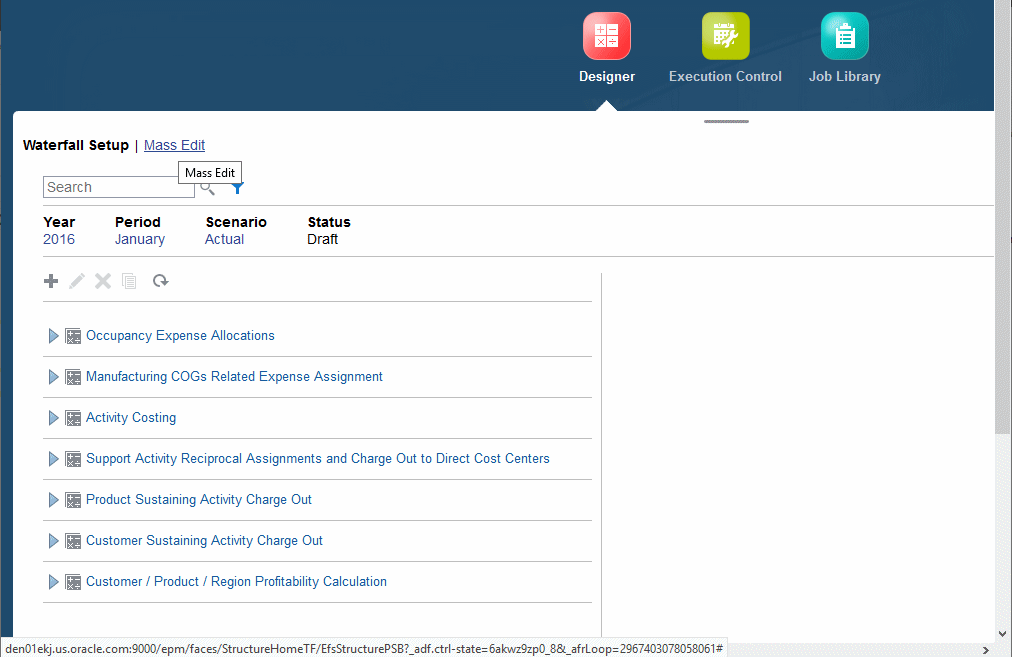
    By default, the Designer screen opens to the Waterfall Setup page, similar to the following figure. The rules you define on this screen control the flow of funds through the financial system, similar to how water flows through a system of pipes or streams and rivers.

    Figure A-1 Waterfall Setup Page


    Illustration of the Waterfall Setup page of the Designer screen, described in the following text.

    You can use the Waterfall Setup page to display calculation rules as a hierarchy. This enables you to:

    • Create a rule outline
    • Quickly find rules and rule sets within the hierarchy
    • Quickly edit names, descriptions, and sequence values for rules and rule sets

    To display rules as a hierarchy, display the Waterfall Setup page of the Designer screen, and then click arrows in front of rule set names to expand the rules within them.

    As you select a rule set or rule, information about it displays in the right side of the page.

    Most of the controls on this screen and the Mass Edit page are described in Common Feature Controls. For more information on the robust Search features, see Searching For and Filtering Rules (Rules Express Editing Page). You can inspect the detail of a rule by highlighting it, and then clicking the Inspect icon Inspect icon. The Inspect region stays open and refreshes as you highlight a different rule.

    The Sort box, to the right above the rules list, offers the following sort orders: Model Calculation Sequence (the default), Name, Rule Set Name, and Rule Sequence.

    Note:

    Model Calculation Sequence is determined by the rule set order and then rule sequence within the rule set.

    You can use the POV bar to select a set of rules for editing, for example:

    Use the POV bar to select a year, period, scenario, and status of rule data for editing.

    The Actions menu contains the following options:

See the following sections for information about defining and managing allocations in the Rules Express Editing screen and related screens.

Once you create rules, you can run calculations and view the allocation results. As you work, you can validate the rules (Using Model Views and Validating Applications).