Redwood: Use Additional Receipt Delivery Capabilities
When your organization has a single receiving location for all orders, regardless of the final destination, for example, a warehouse stocking location, you need to ensure that the orders that are not put away in the warehouse, are delivered to their final destination.
In this update, you can use the receipt delivery capability to support delivery of expense orders and Periodic Automatic Replenishment (PAR) locations. You can designate any subinventory as a location that requires a receipt delivery instead of a put away. You can use a single workflow to move goods from the receiving dock to their final destination if they aren't destined for a storage location in the warehouse or central stockroom.
Additionally, to make the receipt delivery process more efficient, you can automatically assign deliveries to carts and capture a single signature for multiple deliveries that are for the same person or location. Finally, to keep requesters informed about their delivery status, you can notify users about a change in the delivery status.
To complete multiple deliveries that are for the same person or location, you can select multiple deliveries on the Delivery Goods page, click on More Actions Icon and then click on Deliver Together.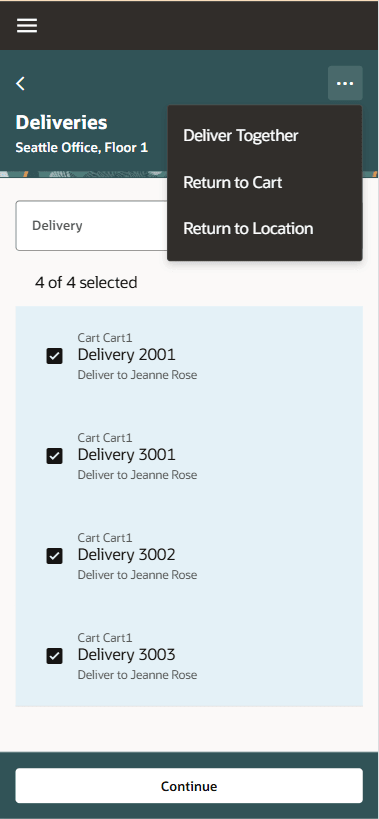
Select Multiple Deliveries to Deliver Together
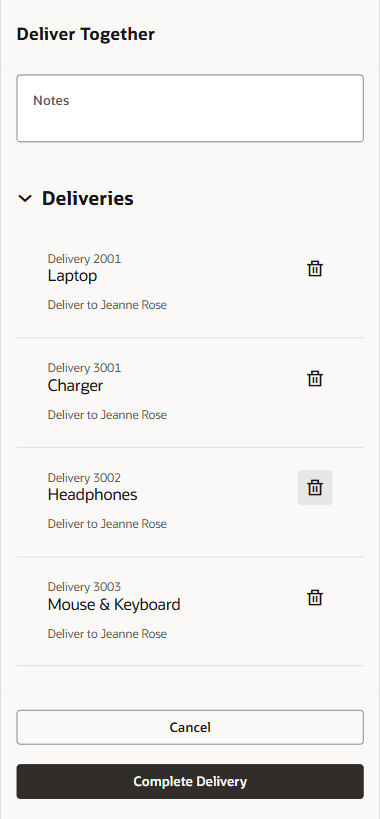
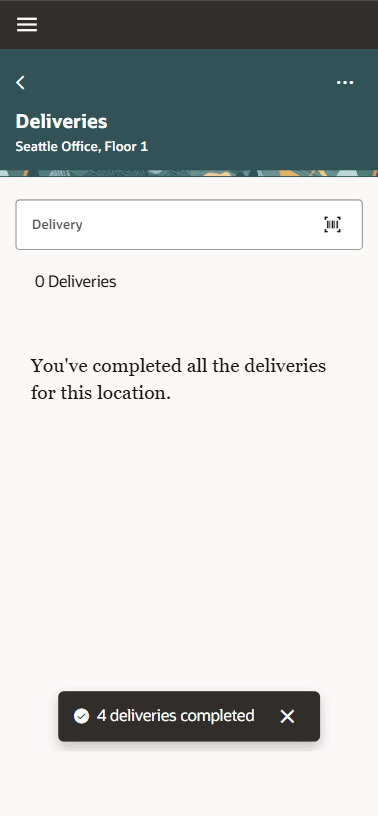
You can capture a single signature and complete the deliveries using Complete Delivery button.

You can notify requesters through email or SMS whenever the delivery status changes from open to pending and from pending to delivered.
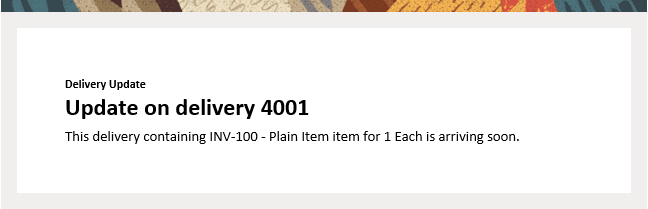
Email - Delivery Update
This feature provides you more flexibility to perform deliveries to a final destination when the goods aren't destined for the central warehouse or stockroom, increases the efficiency of your receipt deliveries, and provides additional insight into the status of your receipt deliveries.
Steps to enable and configure
To enable delivery creation for a subinventory, select the Autocreate deliveries checkbox for the subinventory under the Configure Subinventories task.
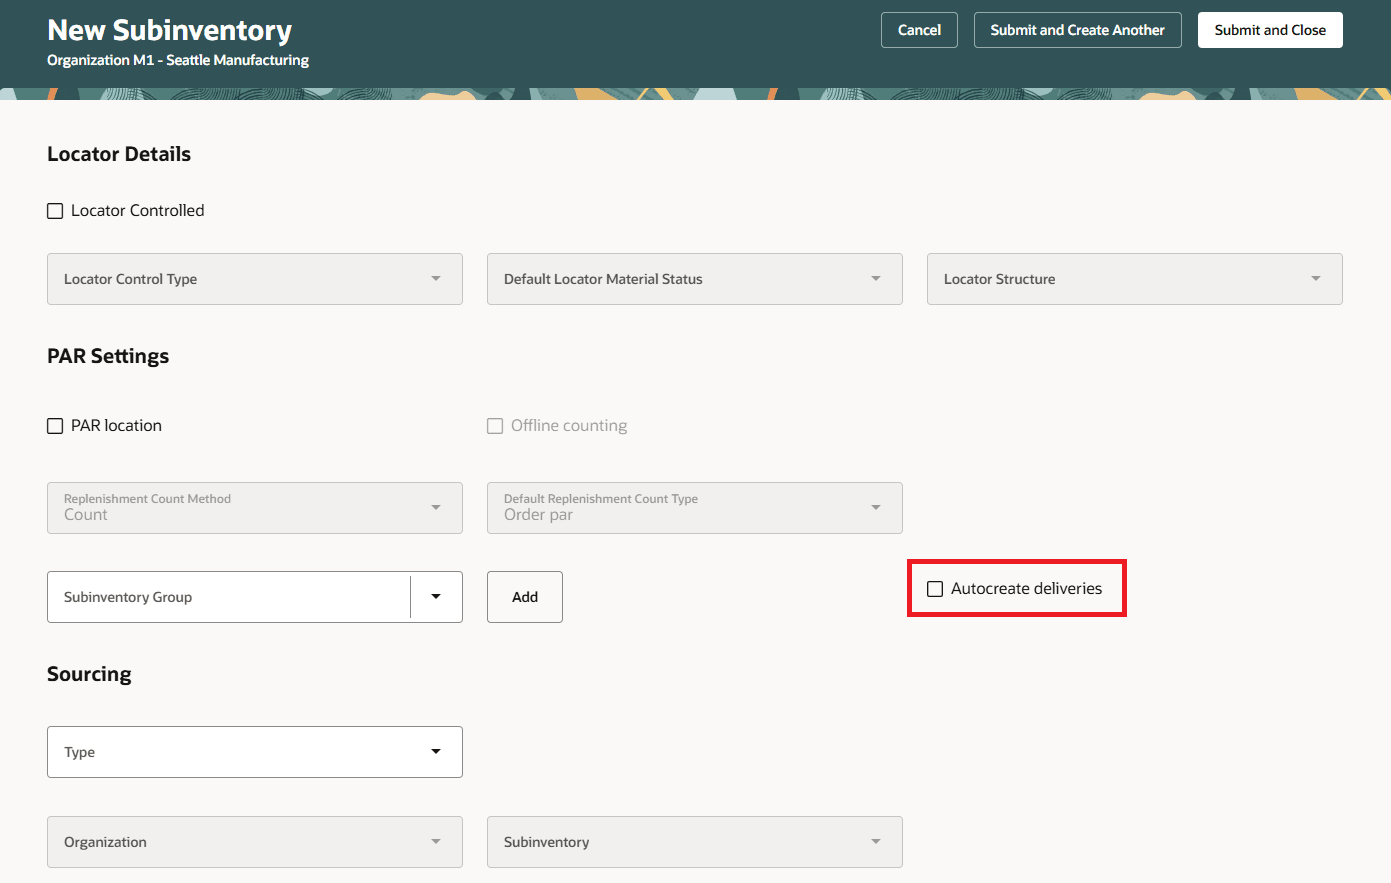
Enable delivery creation for a subinventory
To automatically assign deliveries to carts, select the default delivery cart in the following tasks:
a) Inventory Zones
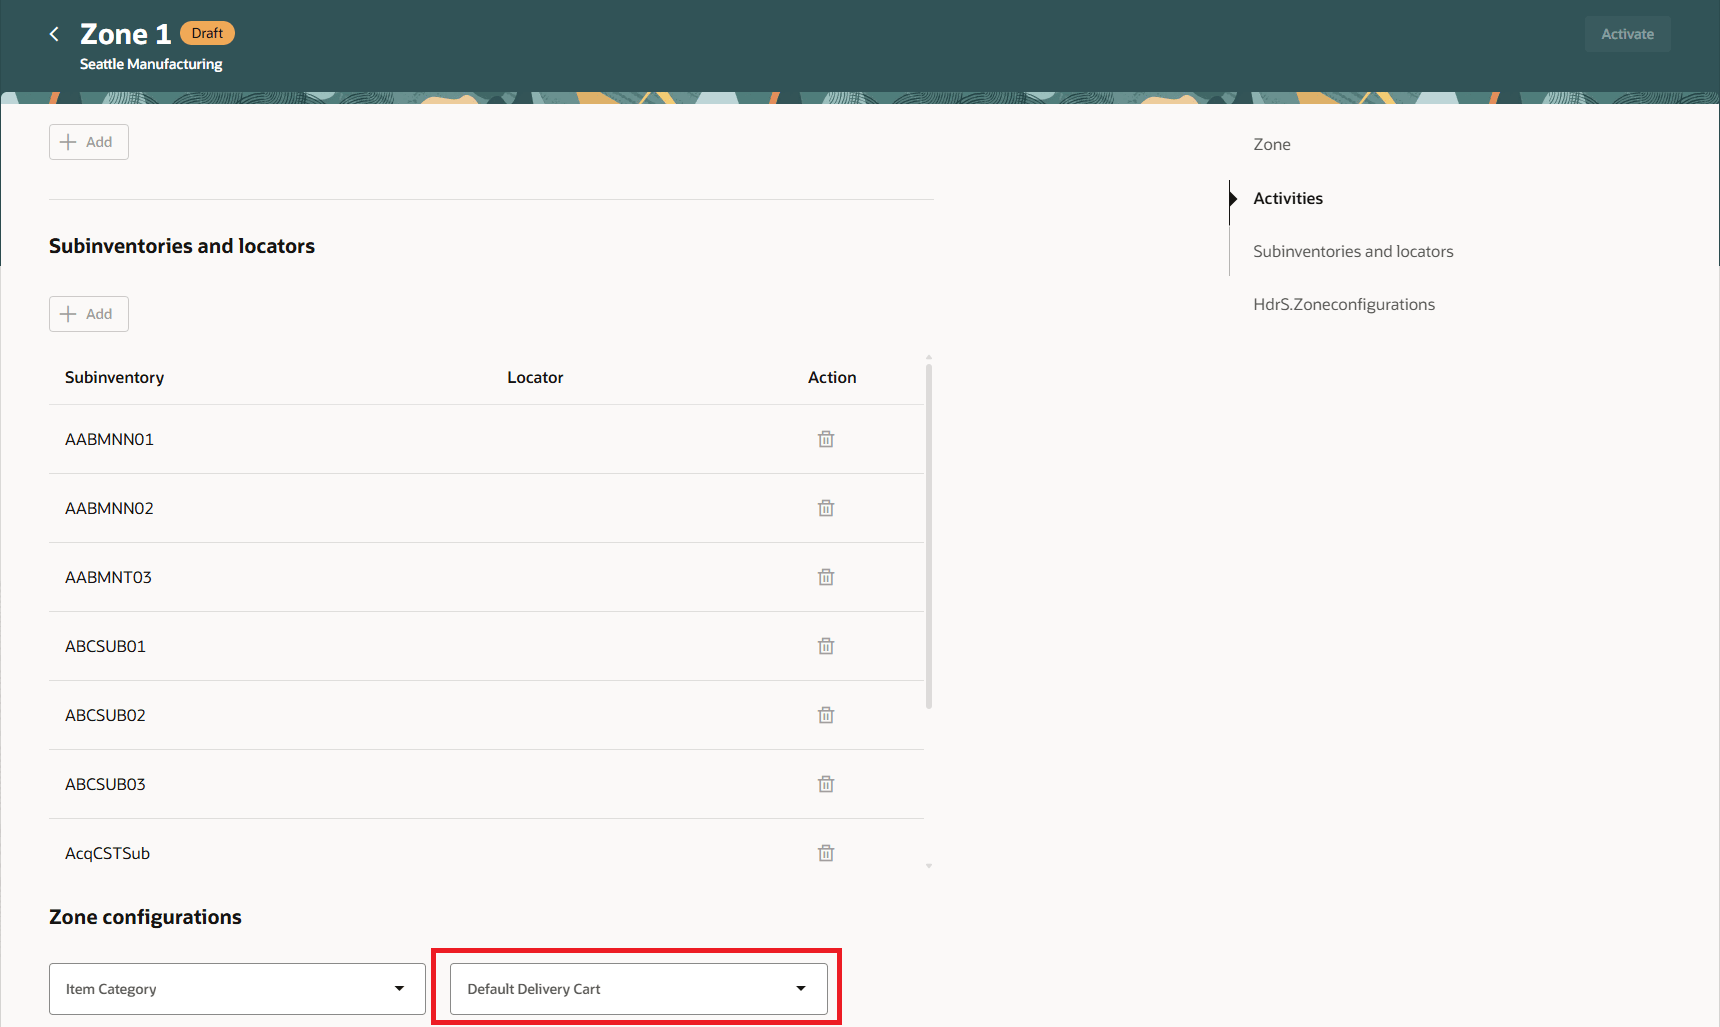
Inventory Zones Task
b) Receiving Parameters
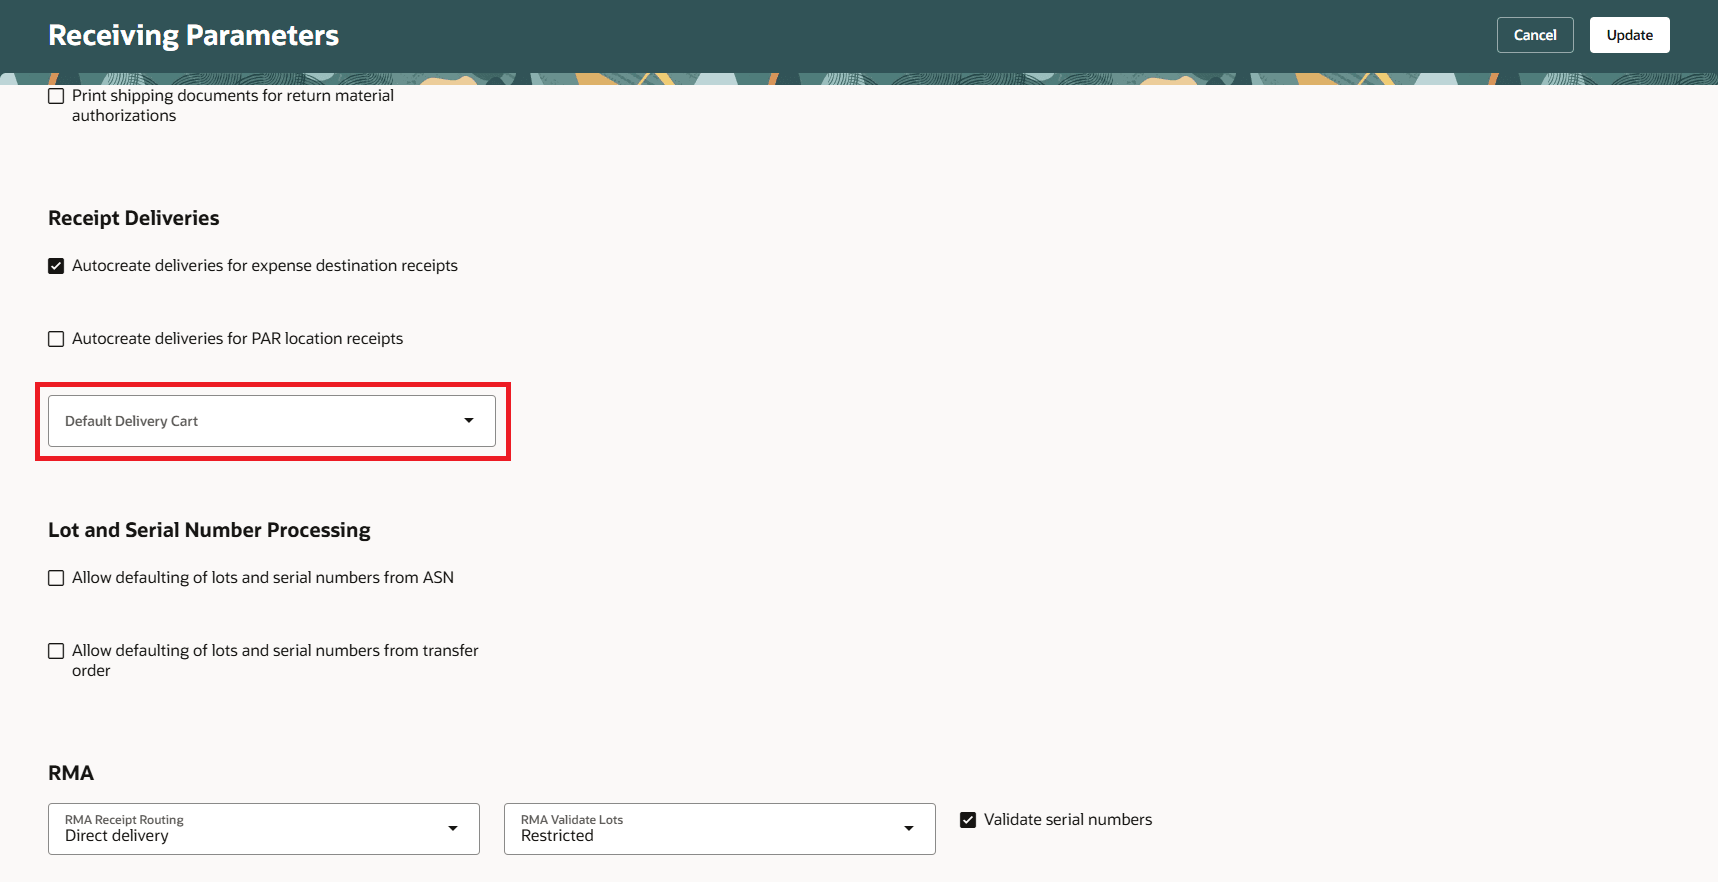
Receiving Parameters Task
Logic to identify a default delivery cart for a delivery:
- If a default delivery cart is specified in the Inventory Zones task, deliveries for subinventories within that zone are automatically assigned to the designated cart.
- If no default cart is found through the Inventory Zones task for a given delivery, it will be assigned to the cart defined in the Receiving Parameters task.
- If a default delivery cart cannot be identified from either source, the delivery will remain in Open status and will not be assigned to any cart.
To enable notifications for delivery status change, navigate to the Nudge Plans page by selecting the Nudge Configuration task from the quick actions.
Create a New Nudge Plan
- On the Nudge Plans page, click Create to add a new plan.
- On the New Nudge Plan page, enter the new nudge plan details and click Create Draft.
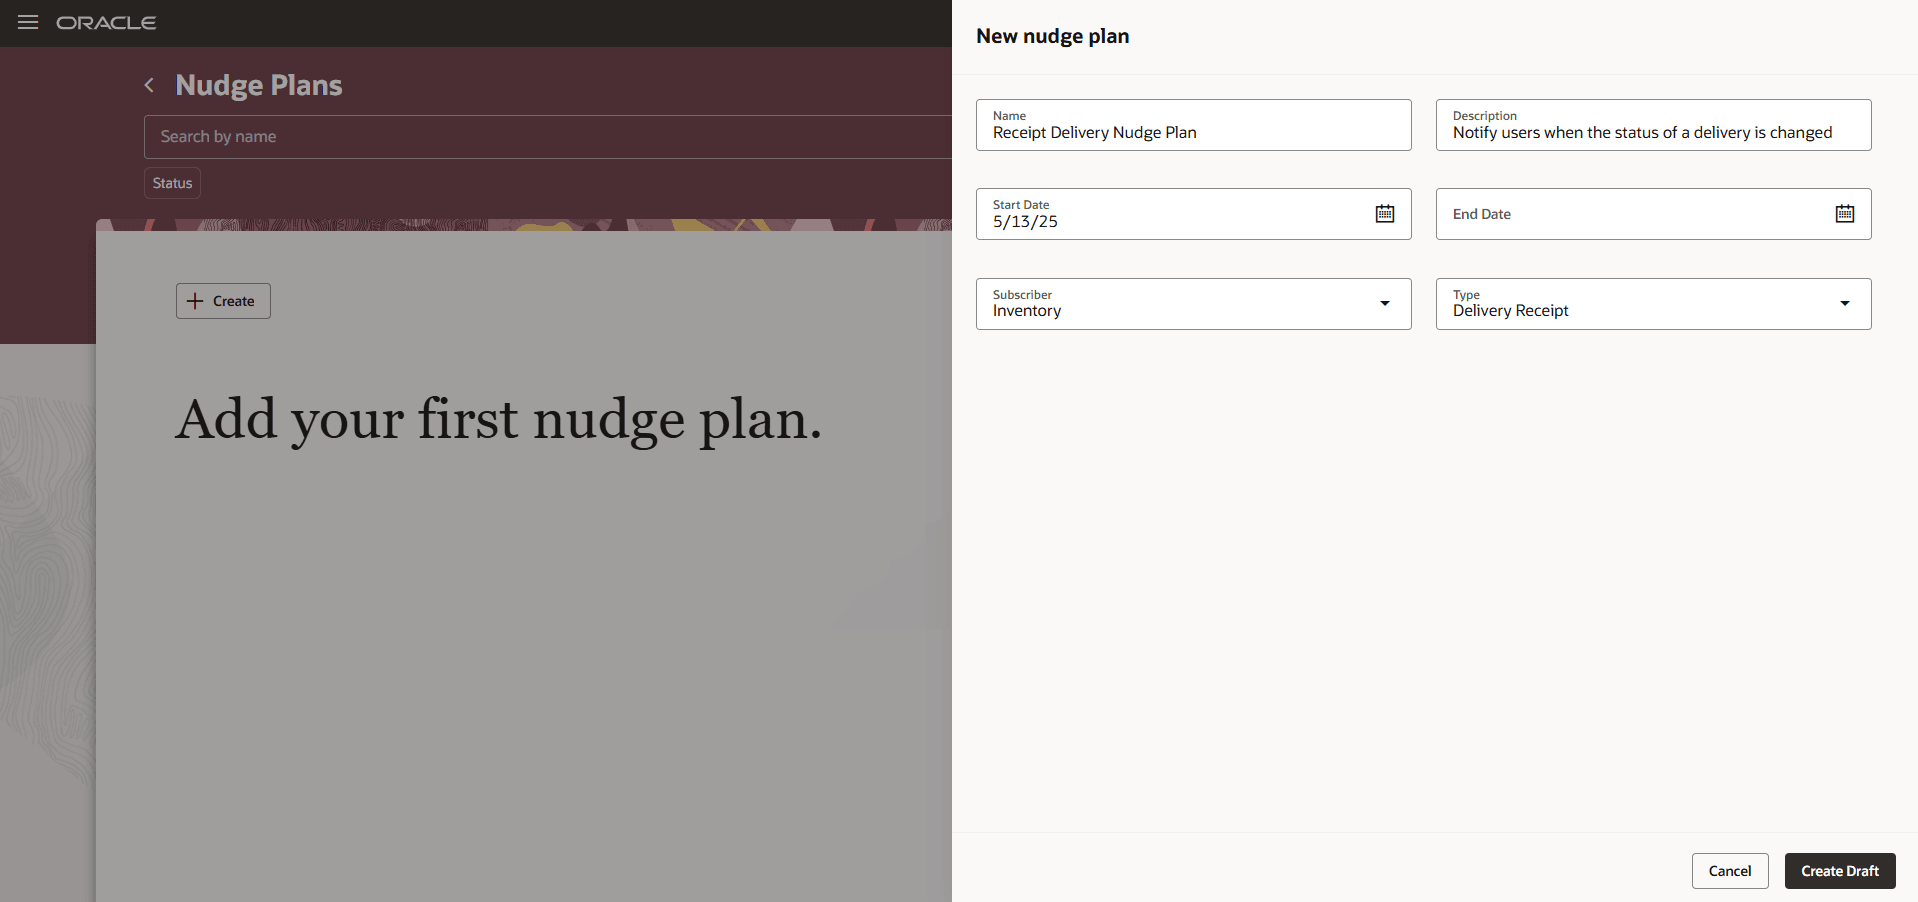
Add Nudge Plan
Add Nudges
- In the Nudges section, click Add to define a new nudge.
- On the New Nudge page, select Module and Reason.
Valid values for reason are:- Nudge when item delivery is complete.
- Nudge when the item is out for delivery.
- Optionally, specify the relevant organization, catalog, category, or item for the nudge.
- Click Save.
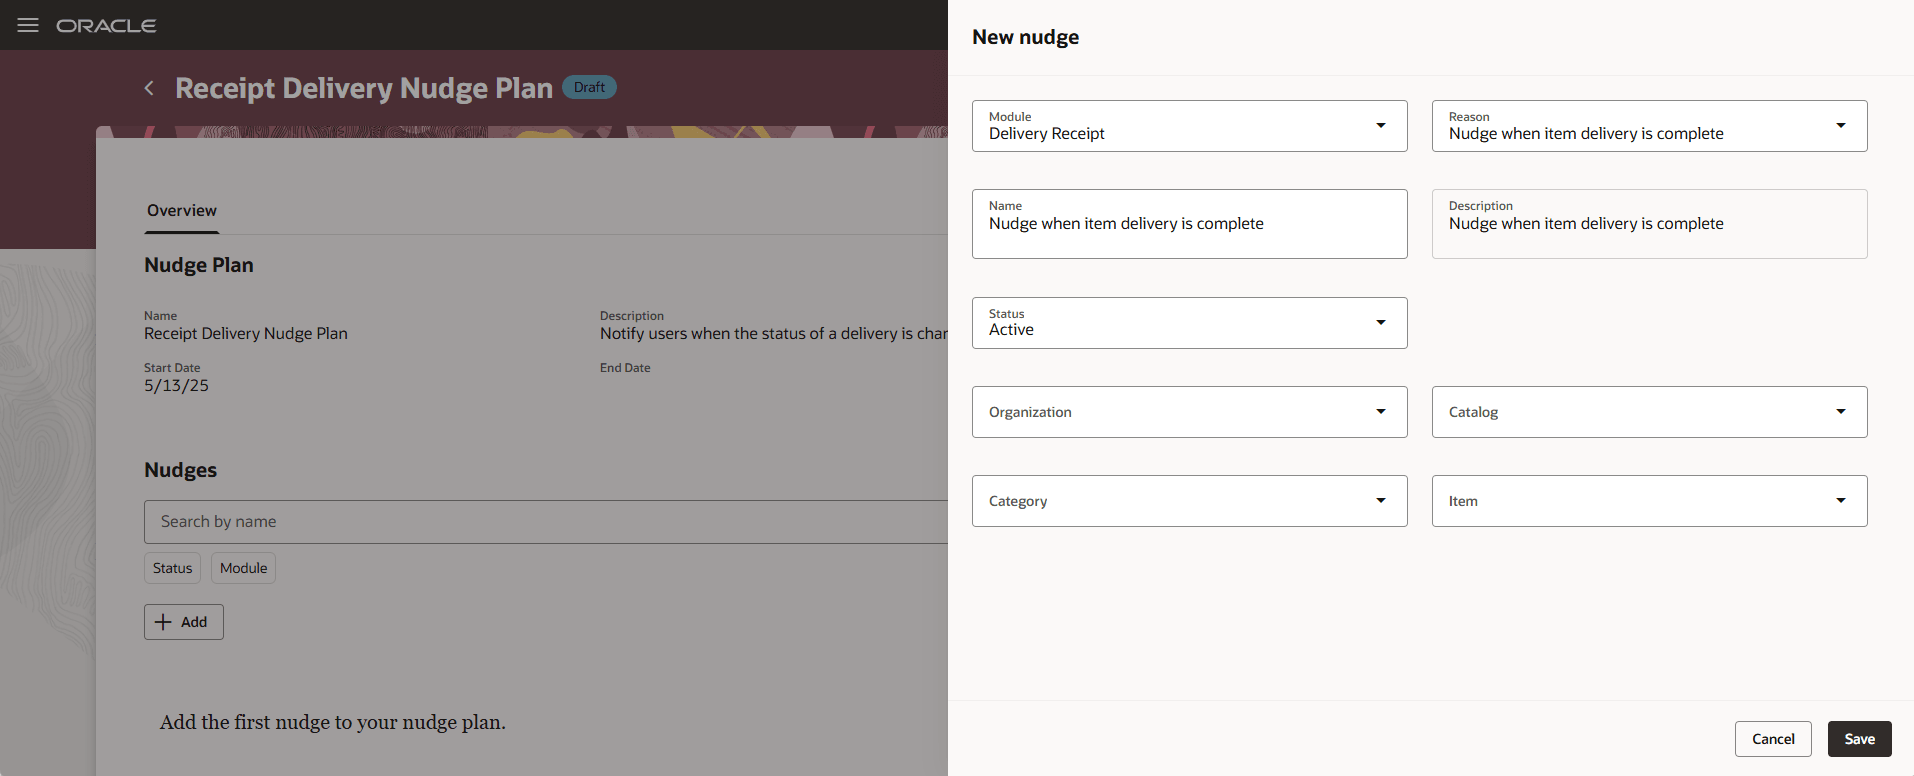
Add Nudges
Configure Notification Channel and Recipient
- On the Nudge Plan page, click the link on the nudge name to open its details.
- In the Channels section, click Add to create a new channel.
- On the New Channel page, choose whether to send notifications through email or SMS. To send both, add two channels, one for email and one for SMS.
- For these notifications, you can personalize the subject and body as per your requirement.
- Click Save.
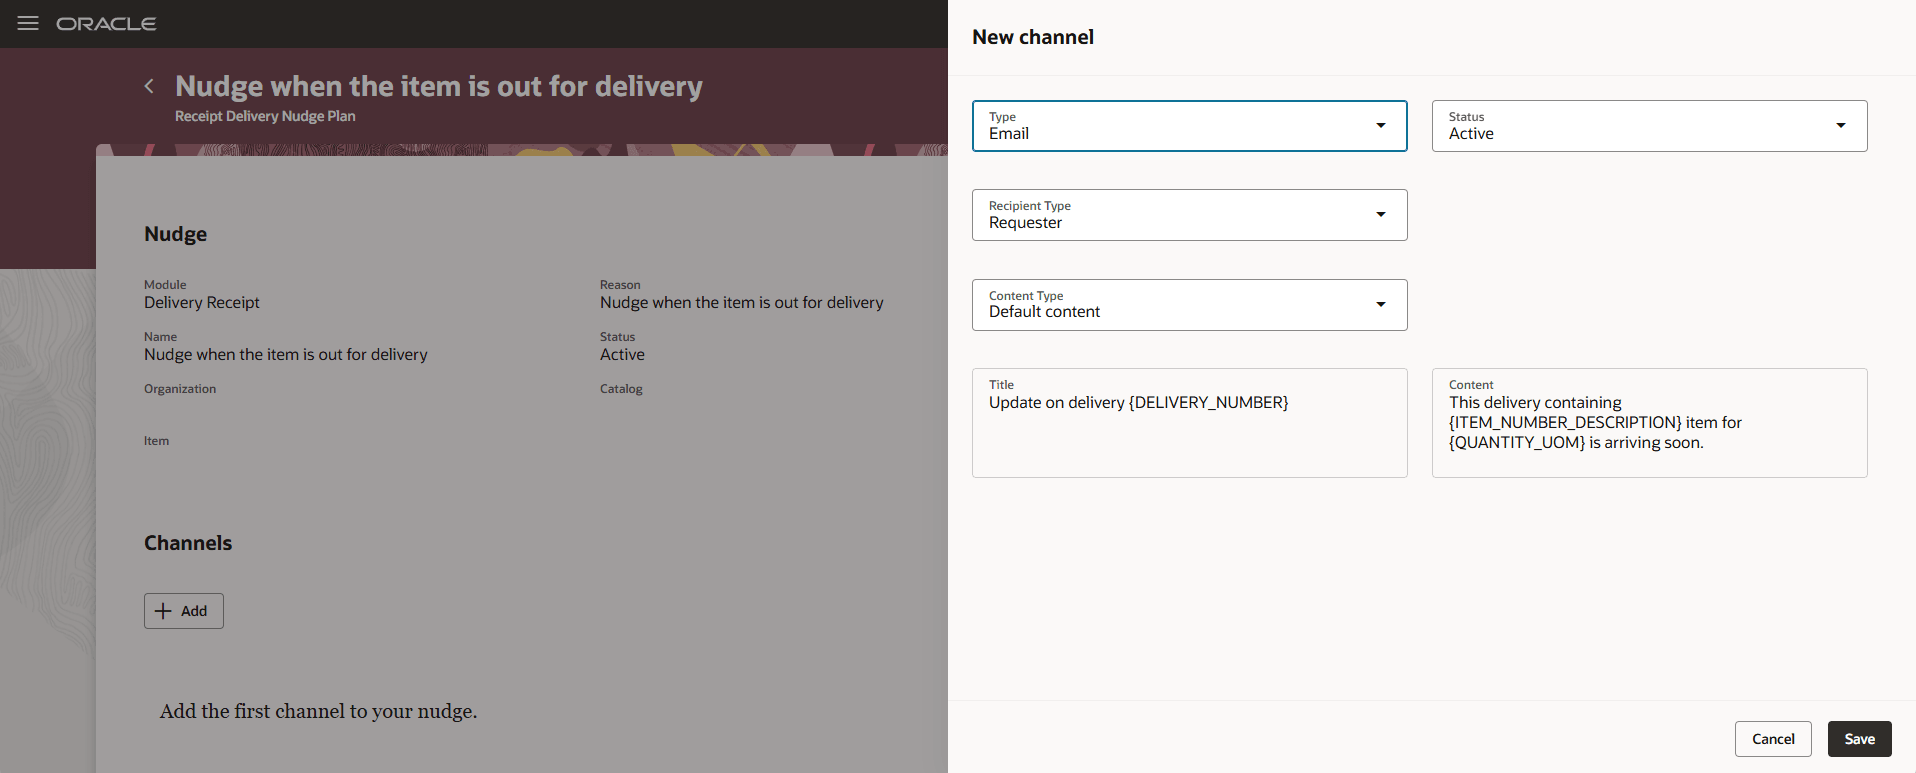
Add Nudge Channel
Tips and considerations
Emails and SMS notifications will be sent to the work email address and mobile phone number listed in the user's person record.
Key resources
- Oracle Fusion Cloud SCM: Using Inventory Management guide, available on the Oracle Help Center.
Access requirements
Users who are assigned a configured job role that contains this duty role can access this feature:
- Deliver Goods Using Responsive Receiving Duty (ORA_RCV_DELIVER_GOODS_PWA_DUTY)
This duty role was available prior to this update.