Redwood: Allocate Picks to License Plate Numbers
As warehouses manage high volume operations, efficient inventory management and order fulfillment is essential for their operational success. Using License Plate Numbers (LPNs) to store goods in standard order quantities streamline consolidation for shipping and replenishment tasks. The pick wave process should automatically allocate picks to specific LPNs, and then enable operators to quickly locate, retrieve, and transfer goods throughout the picking operation rather than selecting LPNs manually or to calculate how many LPNs are needed for a given order.
Now, the pick wave process can allocate picks directly to designated LPNs instead of individual items to simplify and accelerate warehouse operations.
Allocate LPN
A new flag Allocate LPNs is added in the Picking Rule setup. When this flag is enabled and the allocation is from an LPN-enabled location, the system automatically stamps the LPN on the picking line during allocation. By assigning picking rules through Picking Rule Assignment, you can define specific conditions under which LPN allocation is enforced. For example, by item, source subinventory, transaction type, source type, and so on.
During allocation, the system:
- Honors all existing reservations, including location, lot, and serial details from the reservation.
- Applies the configured sort criteria to determine the preferred location and LPN for picking.
- Supports allocation from both LPN-enabled and non-LPN locations based on the defined sort priority.
- Allows an LPN to be fully or partially allocated to a picking line, depending on the requested quantity and the quantity available in the LPN.
- Marks an LPN as fully allocated after it’s fully allocated and restricts it from other transactions to maintain allocation integrity.
- Allocates from a subinventory or locator, configured for full-LPN transactions only when a complete LPN is available.
- Allocates one LPN per picking line. If the requested quantity exceeds the quantity available in a single LPN, the picking line is split into multiple lines, with each line allocated to a different LPN.
An additional flag Allocate from LPN enabled locations only is available to restrict allocation exclusively to LPN-enabled locations. This can be used independently or together by using the Allocate LPNs option.
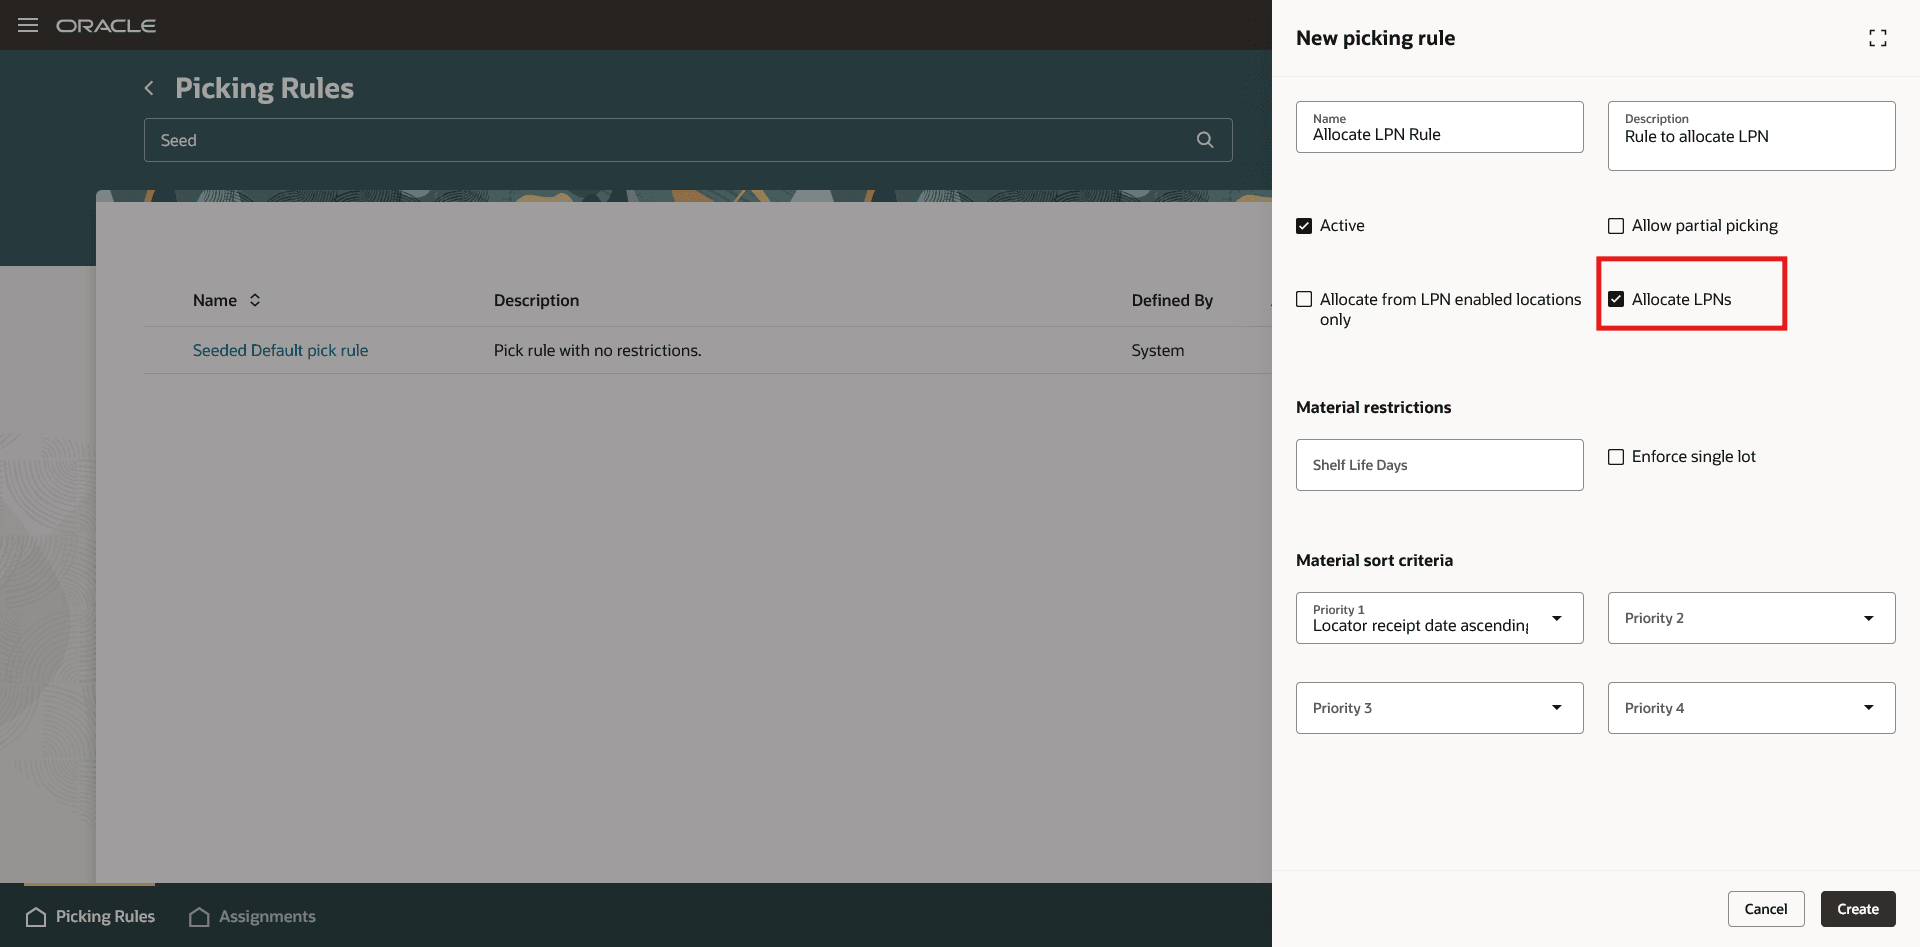
Picking Rule - Allocate LPNs
Sort Criteria
Here are the sort criteria to provide control over allocation sequencing and to prioritize locations and LPNs.
- LPN enabled location first – Prioritizes allocation from LPN-enabled locations.
- LPN enabled location last – Prioritizes allocation from non-LPN (loose) locations.
- LPN receipt date ascending – Allocates the oldest LPNs first (FIFO).
- LPN receipt date descending – Allocates the newest LPNs first (LIFO).
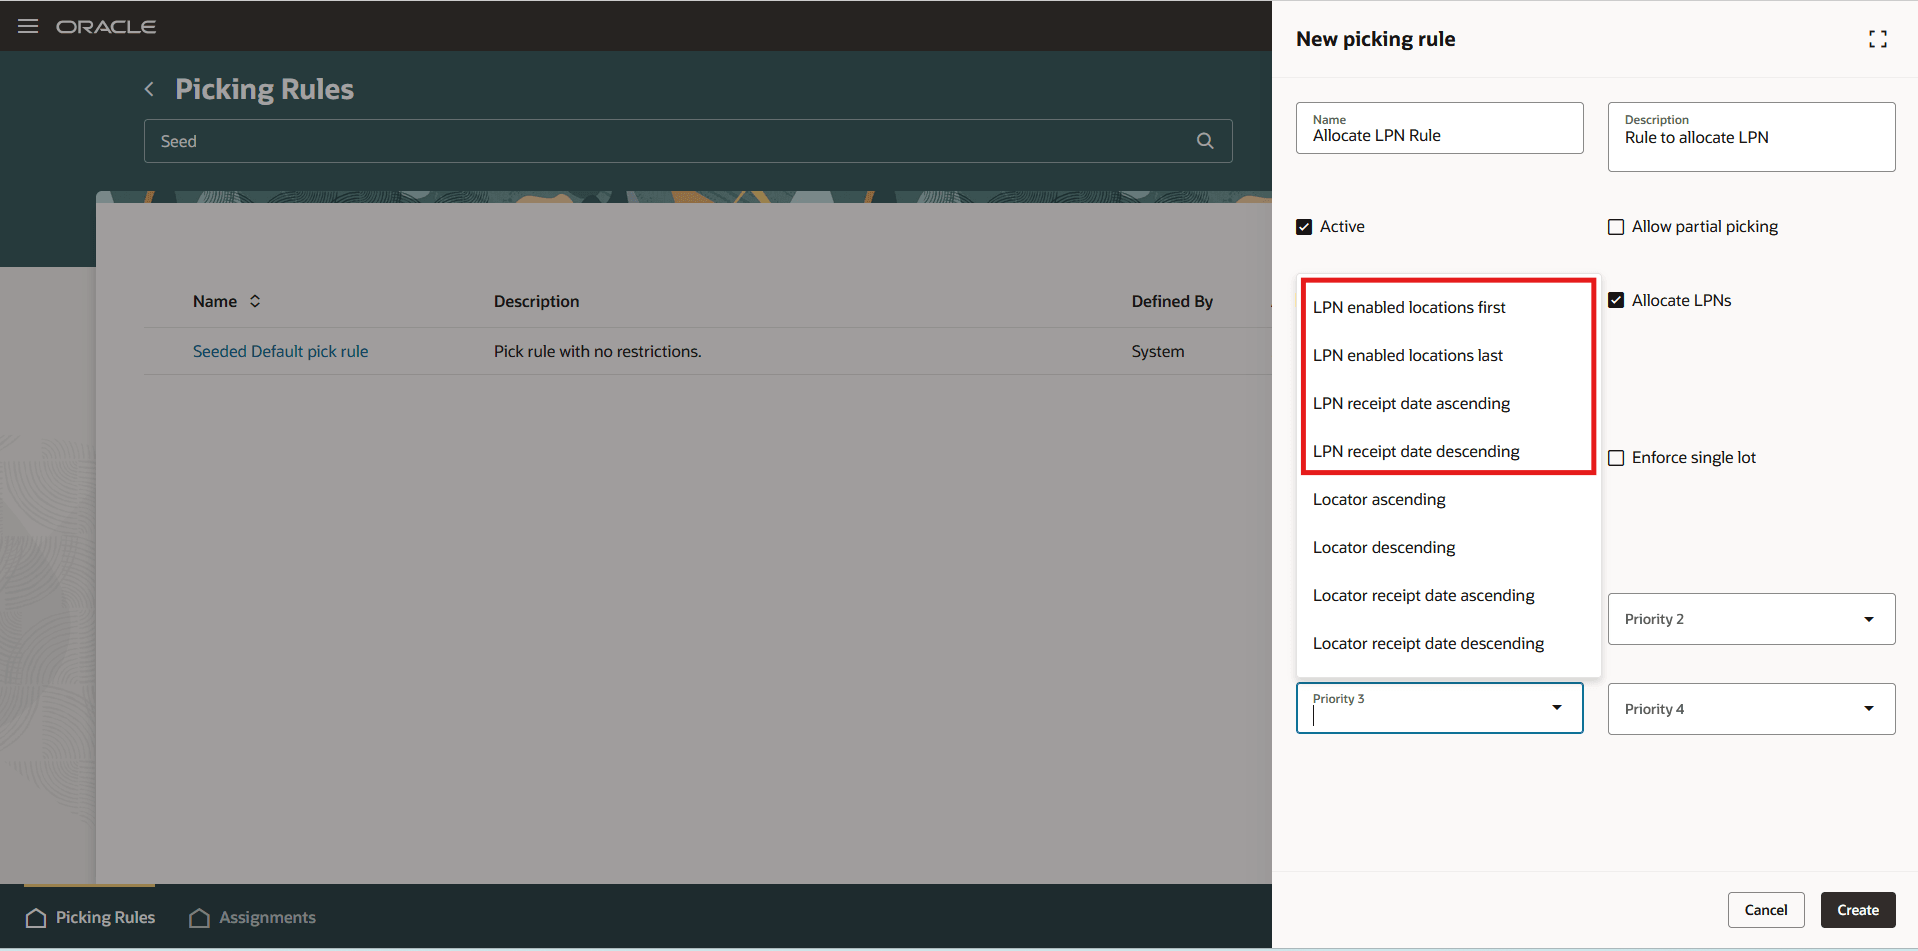
Picking Rule - Material Sort Criteria
When multiple LPNs satisfy the same conditions:
- The LPN with the smallest quantity is selected first to maximize full-LPN picks.
- Homogeneous LPNs are prioritized over heterogeneous ones.
- If an LPN contains multiple lots or on-hand records with different sort order but the pick request can consume the entire contents, the system allocates the entire LPN to reduce partial picks.
For example, if the pick request quantity is 10:
LPN A contains:
- Item A – Qty 5, Receipt Date: 07/10
- Item A – Qty 5, Receipt Date: 07/12
LPN B contains:
- Item A – Qty 5, Receipt Date: 07/11
Based on FIFO, the sorted order of on-hand records would be:
- LPN A – Item A, Qty 5 (07/10)
- LPN B – Item A, Qty 5 (07/11)
- LPN A – Item A, Qty 5 (07/12)
Even though only part of the inventory in LPN A is the oldest, the system allocates the entire LPN A because it contains enough quantity (10) to fulfill the pick request that minimizes partial LPN picks and improve efficiency.
The LPN field is added to the Picks Redwood page and allows you to manually create or update pick details with the LPN that should be picked for the line.

Pick Details Redwood Page
Picking Allocated LPNs
When an LPN is allocated, the mobile pick confirm page displays LPN cards in the pick list.
- You can scan the LPN in the barcode field or select it from the list of values at the top of the page. Selecting an LPN this way automatically defaults the LPN in the picking line drawer, where pick details are entered.
- If you open the picking line drawer by selecting an LPN card, you’ll need to scan the LPN to proceed.
- When an entire LPN is allocated to a picking line:
- You can perform picking using only the LPN, without manually entering lot, serial, country of origin, project, or task details.
- The contents can be transferred to another To LPN during picking.
- When a partial LPN is allocated, the picker must capture detailed information, such as lot, serial, country of origin, project, and task.

Confirm Pick
During overpick and move operation, when an LPN is moved to an intermediate location, all picking lines associated with the LPN are automatically updated with the new location.
- If the LPN is moved to a non-LPN-controlled location, its allocation is removed from all associated lines.
- A partially allocated LPN cannot be moved to a location, enabled for full-LPN transactions.
Allocated LPNs are also available in the Pick Slip Report data model, allowing them to be printed on pick documents.
Auto Pick Confirm is supported when:
- The entire LPN is allocated, or
- The destination subinventory is non-LPN-control and detailed allocation is available.
This feature minimizes errors and supports efficient warehouse operations by directly allocating requested quantities to specific LPNs in the picking process.
Steps to enable and configure
- In the Setup and Maintenance work area, use the Picking Rules task to set up your picking rules.
- Select the Allocate LPNs checkbox. This option is available only if at least one organization is LPN-enabled in the Advanced Inventory Parameters setup. It is also available only on the Picking Rules Redwood page.
- To allocate only from LPN-enabled locations, select the Allocate from LPN-enabled locations only checkbox.
- To define specific sort criteria, use the Priority 1, Priority 2, Priority 3, and Priority 4 fields in a desired order.
- In the Setup and Maintenance work area, use the Picking Rule Assignments task to define the organization, sequence, and the set of criteria that determine when a rule should be applied.
Key resources
- Oracle Fusion Cloud SCM: Using Inventory Management guide, available on the Oracle Help Center.
- Oracle Fusion Cloud SCM: Implementing Manufacturing and Supply Chain Materials Management guide, available on the Oracle Help Center.
Access requirements
To access Advanced Inventory Parameters, you'll need a configured job role that contains this duty role, which is not assigned to any predefined job roles:
- Advanced Inventory Management Administration Duty (ORA_INV_ADVANCED_INVENTORY_MANAGEMENT_ADMINISTRATION_DUTY)
This duty role was available prior to this update.
To access Picking Rules and Picking Rule Assignments, you'll need a configured job role that contains these privileges:
- Manage Picking Rule (INV_MANAGE_PICKING_RULE_PRIV)
- Manage Picking Rule Assignments (INV_MANAGE_PICKING_RULE_ASSIGNMENTS_PRIV)
These privileges were available prior to this update.