Redwood: Create Common Structures in Bulk Using Guided Tasks
You can create a common item structure across multiple organizations by using guided tasks available through Product Management > View All Actions > Search for Guided Tasks.
You can select and start one of the guided tasks for common structures configured by your administrator.
Guided Task Named Create Item Structure from Common
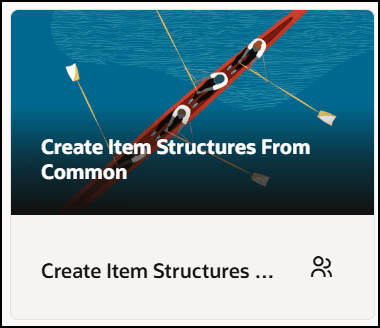
Here’s a guided task that allows you to create common item structures.
To begin, select the journey card for creating a common structure, then click Start Guided Task. Use the following steps:
Step 1: Search for and select one or more items you want to make common.
Step 2: Select the target organizations, structure names, and levels you want to make common.
Step 3: Review and submit the task for creating common structures.
Step 4: View the status of the task.
Depending on the configuration of the guided task, once you've made your selections, the changes will be applied directly to the selected structures of the items in selected targeted organizations, structure names, and levels or added as affected items to the change order through the scheduled process for engineering and commercial item structures.
Consider a scenario where you’re creating a common structure for laptops across organizations. Here are the laptop details, followed by information for each step.
- Laptop2050 belongs to organization V1 and includes structures Primary and EBOM_KM.
- Laptop2051 belongs to organization V1 and has only a Primary structure.
- Target organization is M1 and all levels must be common.
Step 1: Search for and select one or more items you want to make common.
- In this step you can select one or more items belonging to the organizations configured by your administrator.
- If Item has multiple item structure names such as Primary and Planning, then all those structures will be part of a common structure on target items.
Here’s the screenshot showing Laptop 2050 (V1) and Laptop 2051(V1) selected.

Select Items You Want to Make Common
Step 2: Select target organizations, structure names, and levels you want to make common.
- Select one or all organizations configured by your administrator, followed by the levels you want to make common.
- Administrators can configure three levels: All Levels, One Level or Specified Levels.
- In the scenario related to laptops, select the target organization as M1 and structure names as Primary and EBOM_KM. Structure levels will be defaulted as configured by your administrator.
- Both Primary and EBOM_KM structures of Laptop2050 (V1) will become common for Laptop2050 (M1).
- Only primary structure will become common for Laptop2051 (M1).
- You can create common structures across multiple organizations.
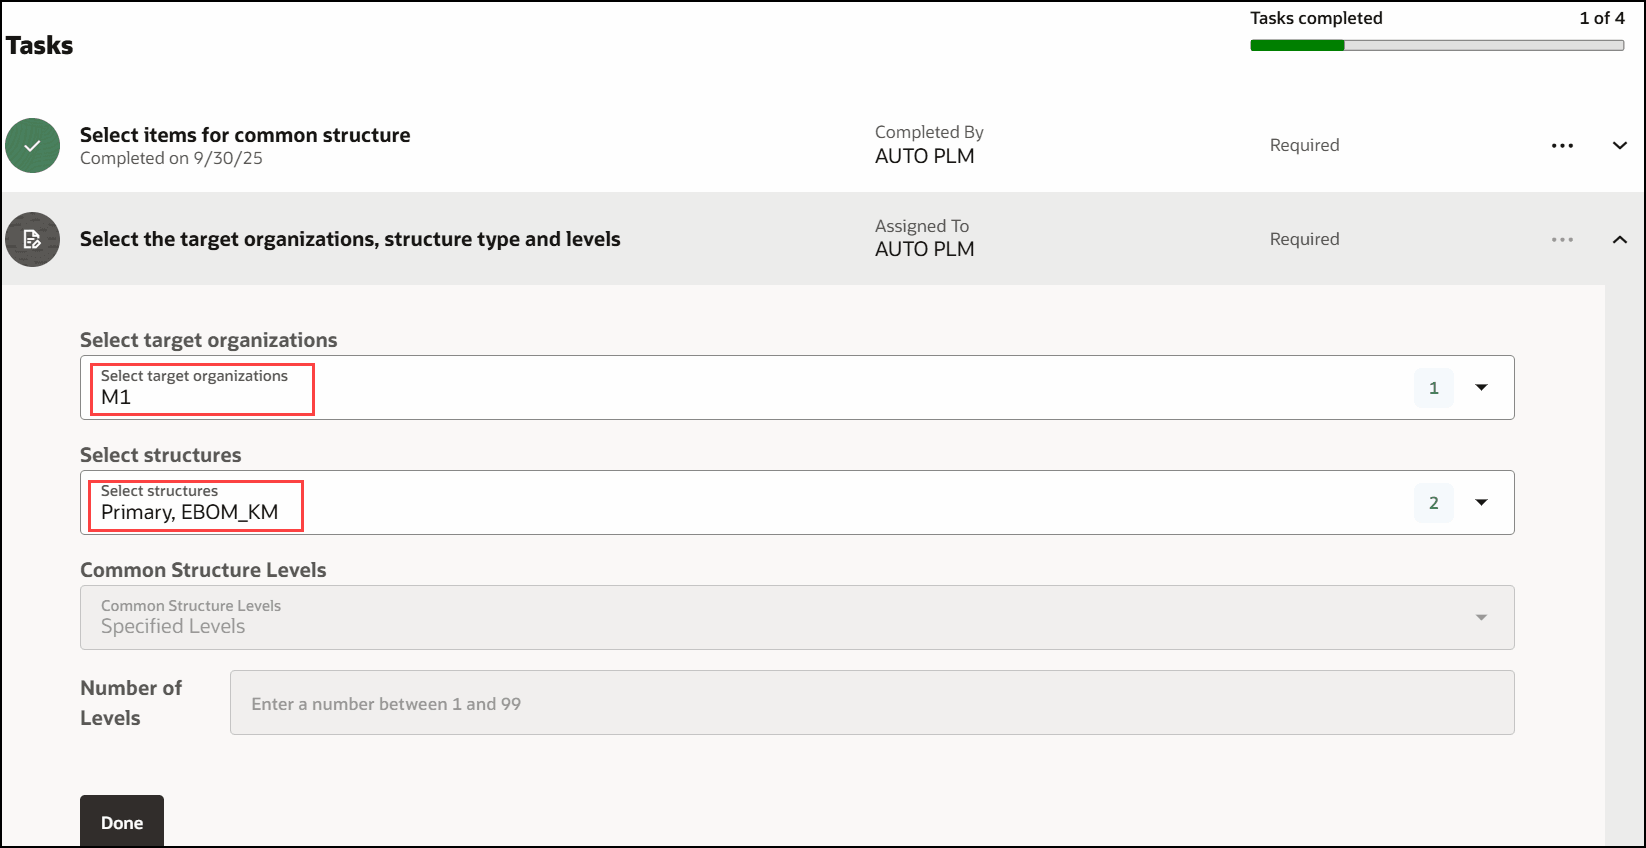
Select Target and Structure Name You Want to Make Common
Step 3: Review and submit the task for creating common structures.
You can view the summary of the selections from your previous tasks.
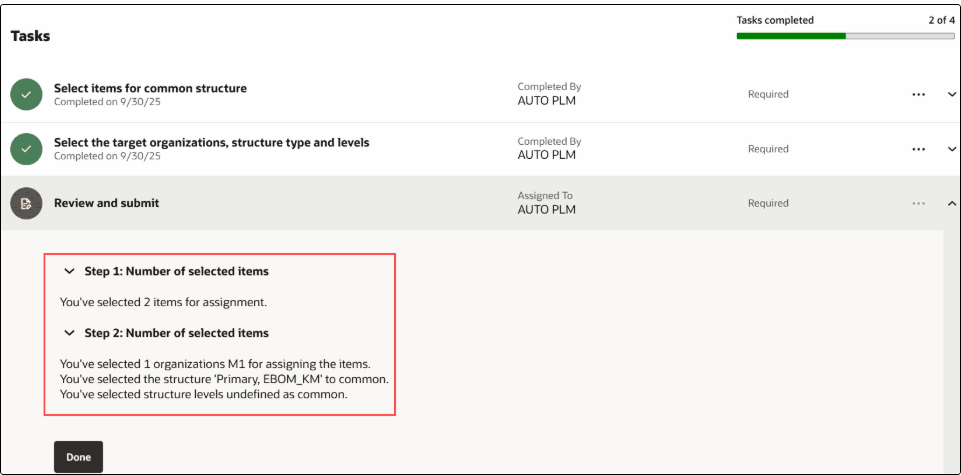
Review Selection Made for Common Structures
You can view the following:
- Item structure from the source organization being created as a common structure across the selected target organizations.
- Structure names in which the item structure is being created as a common structure.
- Number of structure levels being created as common: All, or Single Level, or Specified levels. For example 1, 2, or 5.
When you click the Done button, a scheduled process will be submitted to create common item structures.
Step 4: View the item batch status.
You can monitor the progress of the scheduled process in this step.
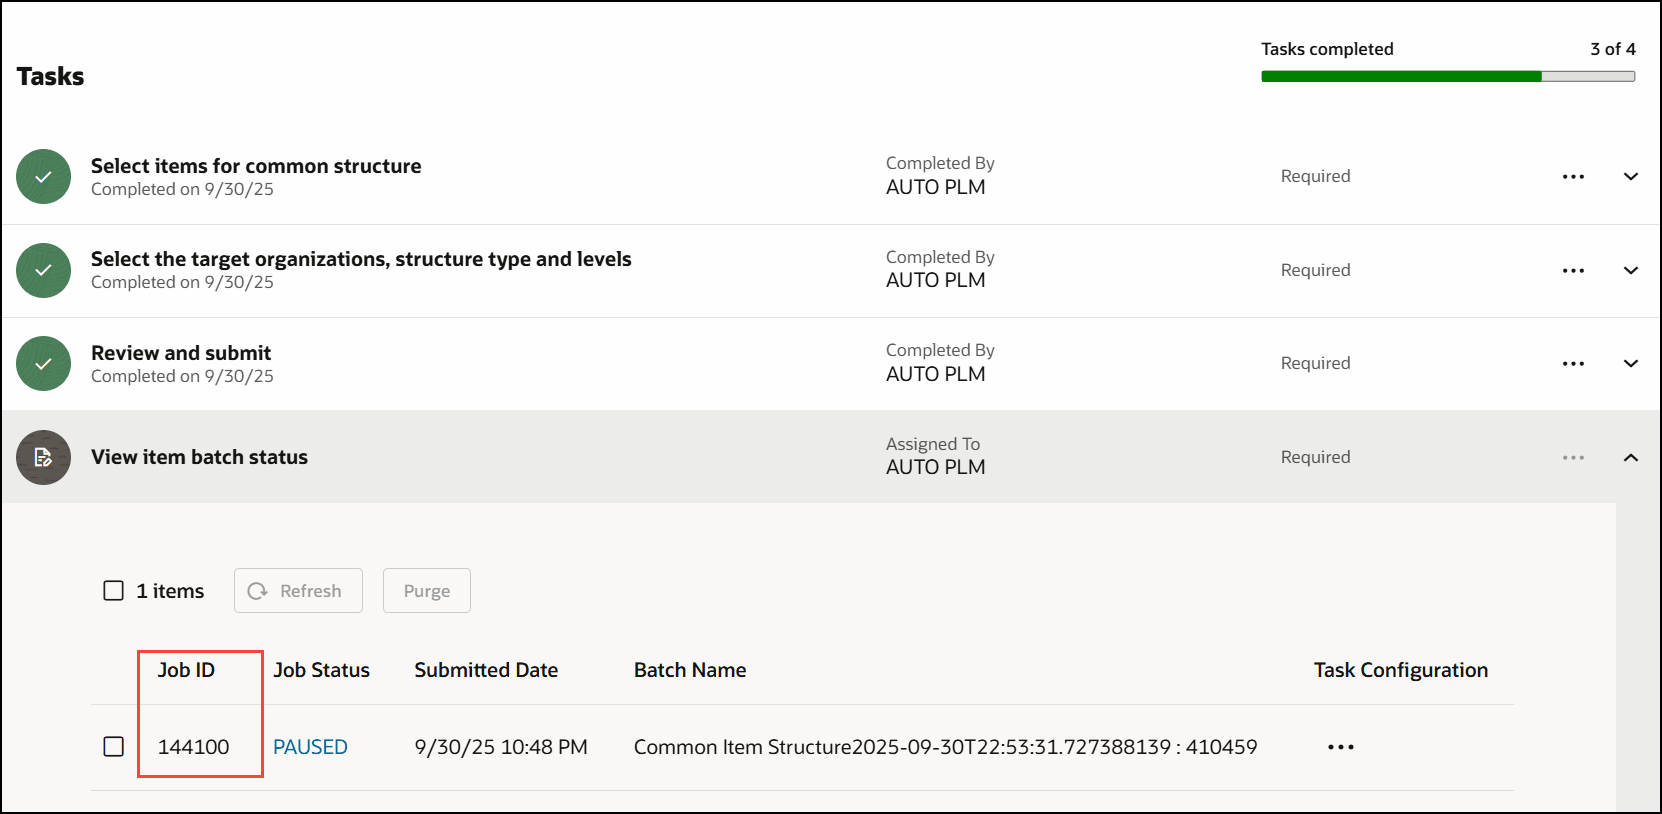
Job ID Corresponding to the Batch for Common Structures.
This feature benefits your business by providing a centralized workspace to select, view and execute all steps for creating common structures and submitted jobs in one place. It also benefits your business by guiding users through the process in a clear, step-by-step manner with built-in guardrails, allowing administrators to predefine target organizations, permitted common levels, and preselected structure types, ensuring consistency, efficiency, and data governance throughout the process.
Steps to enable and configure
Configure the Profile Options
-
Use the Manage Administrator Profile Values task in the Setup and Maintenance work area to review and configure the profile options provided in the following table.
Administrator Profile Options
HRC_ELASTIC_SEARCH_ENABLED
HRC: Enable Elastic Search
Enable elastic search-based search engine for Oracle Fusion Cloud HCM objects search.
Site
Y
ORA_FND_SEARCH_EXT_ENABLED
Enable/Disable Search Ext Framework
Check if search extension is enabled.
Site
Y
ORA_PER_CHK_ORACLE_SEARCH_DIRECT_INGEST_ENABLED
Direct Uptake of Data for Oracle Search in Journeys Enabled
Enable direct uptake of data for Oracle Search in Journeys. This profile option enables direct ingestion during UI operations instead of the default near real time ingestion. This only affects incremental ingestion during any updates happening in the UI. The ingestion bypasses the queue and is directly done on the index which guarantees the elastic-based journeys UI to show latest data immediately.
Site
Y
ORA_PER_CHK_ORACLE_SEARCH_INDEX_ENABLED
Oracle Search Index for Journeys Enabled
Enable Oracle search index for journeys. This needs to be set before doing the initial ingest or any incremental ingestion. If this isn't enabled, elastic ingestion won't happen.
Site
Y
ORA_PER_CHK_ORACLE_SEARCH_UI_ENABLED
Oracle Search for Journeys Enabled
Enable Oracle Search for Journeys for My Journeys, Team Journeys, and Organization Journeys pages.
Enabling this profile option will display Team Journeys and Organization Journeys tabs instead of the existing Assigned Journeys tab.
Site
Y
ORA_PER_JOURNEYS_ENABLED
Journeys UI Enabled
If you set this site-level option to Y, you can use Journeys to manage all journey categories (predefined or user-defined) from a single location. When you enable Journeys, the Onboarding and Checklists Tasks apps aren't available.
Site
Y
PER_SEARCH_LOGIN_EVENT_PUB
PER: User Login Event Publication for Search
Method to publish user login events for HCM objects search purpose.
Site
ATOM
-
Run the scheduled process job to create index definition and perform initial ingest to OSCS with the Index Name to Reingest parameter set to the appropriate index for the feature. Run this process for the following indexes:
- fa-hcm-workerjourney
- fa-hcm-workerjourneytask
- fa-hcm-acl
You must rerun this process after production to test environment.
Configure Distinct Guided Task Flows
Optionally, as an administrator you can create distinct guided task flows by copying and editing the predefined tasks to create your own task. To do this:
Navigate to Product Management > View All Actions > Guided Tasks Configuration.
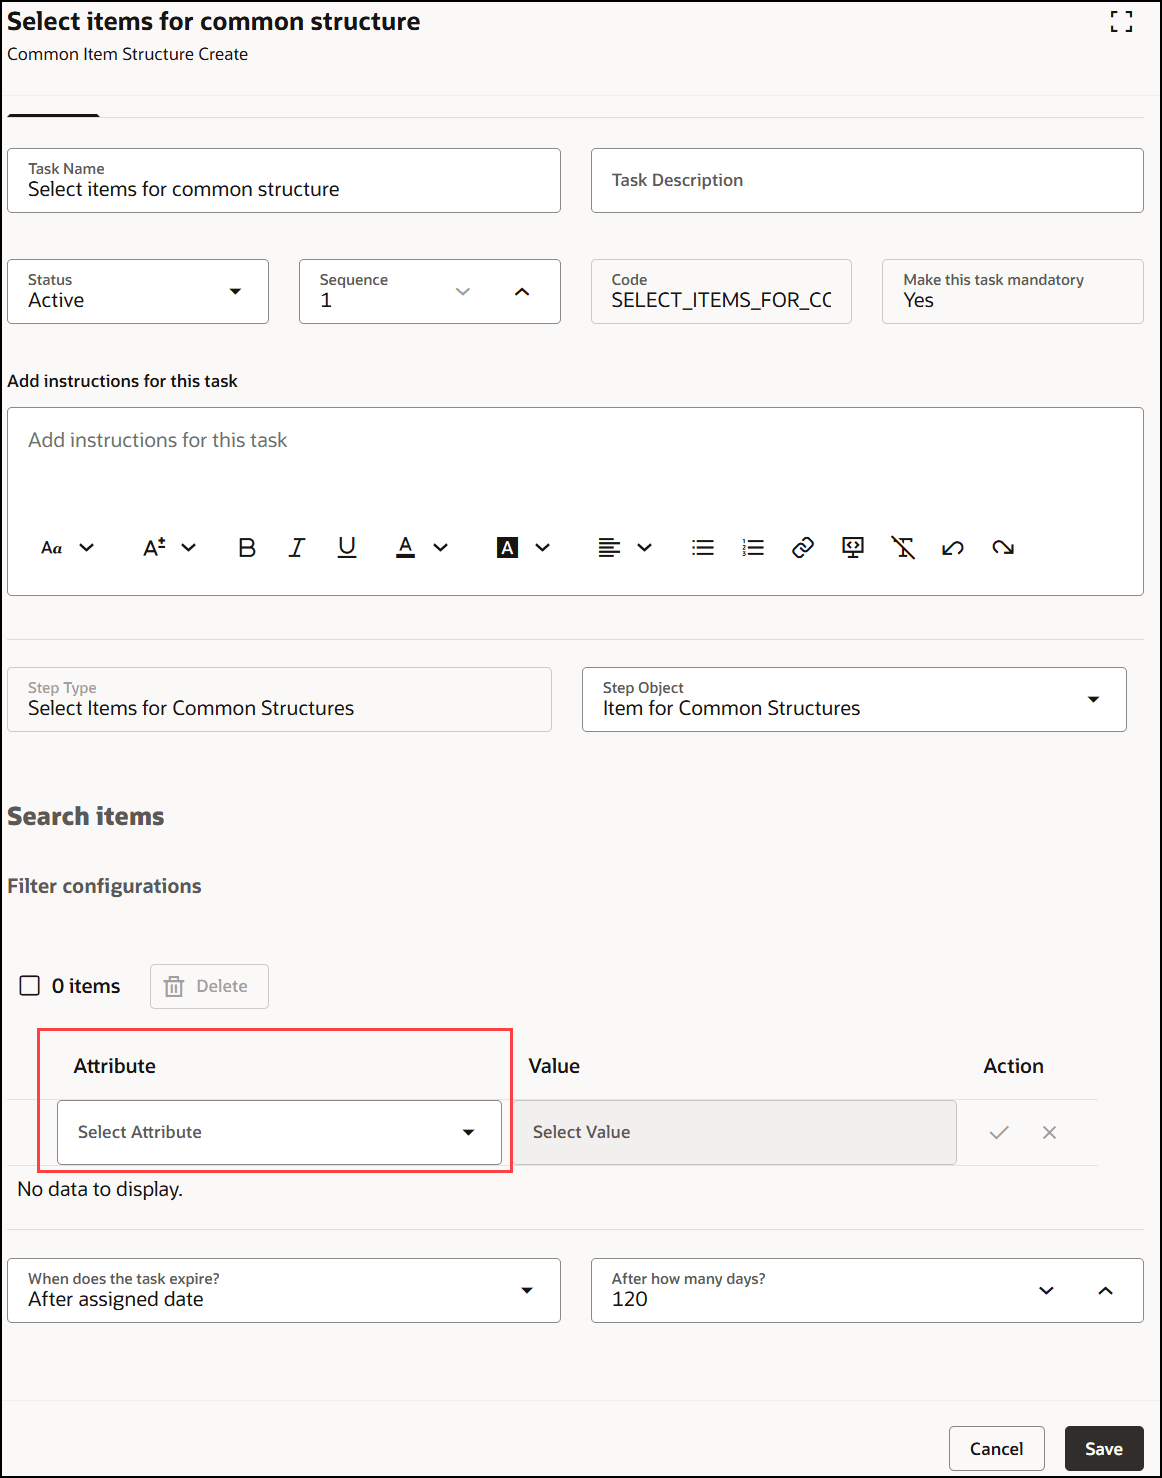
You can configure the organization for the source item:
Configure the Organization the Source Item
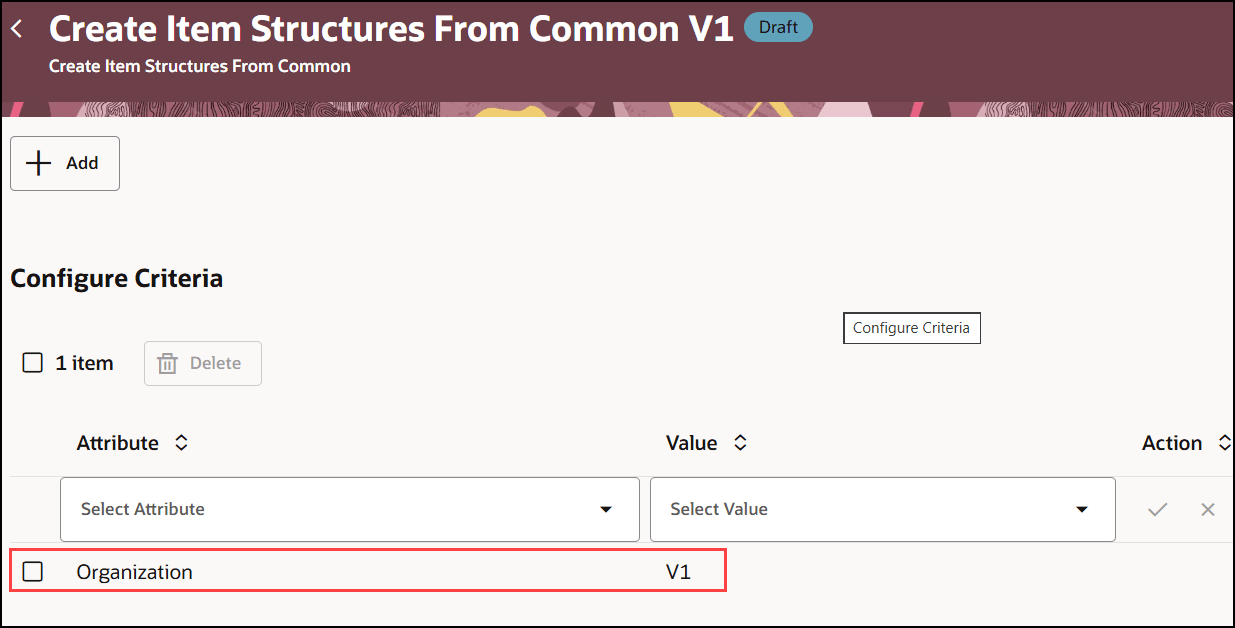
In step 1, you can optionally create a criteria based on the item Attribute value.
Configure Item Attribute Value as Criteria
In step 2, you can also configure the default target organizations, structure names, and levels you want to make common. Users can override the same and choose a different target organization.
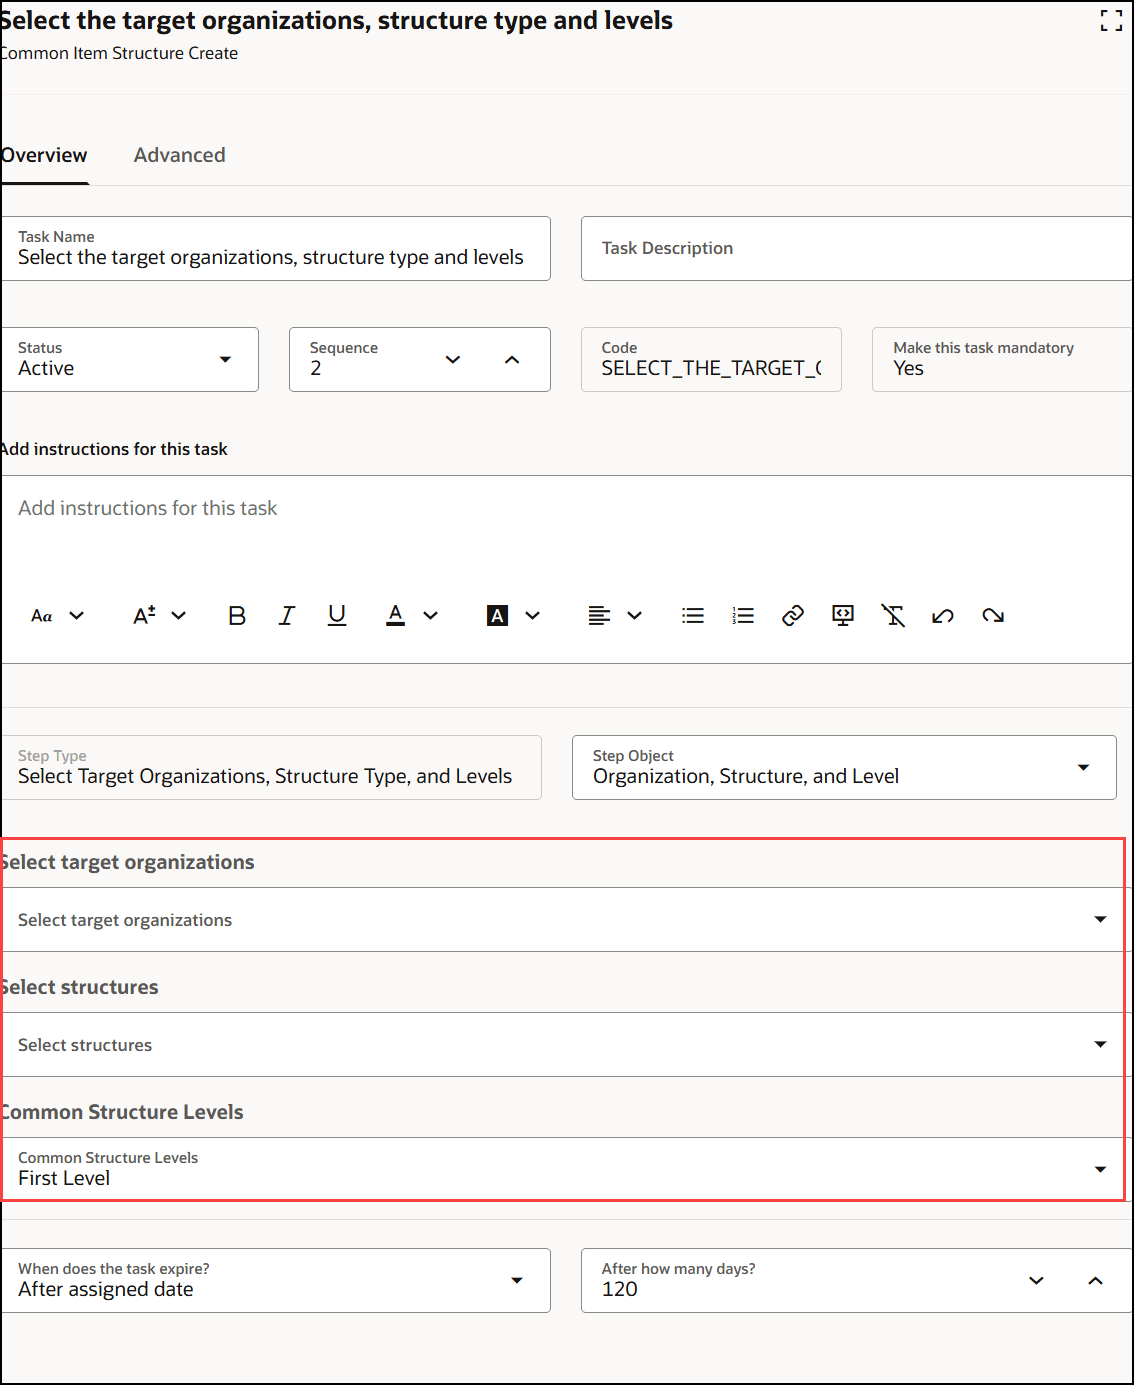
Configure Target Organization, Structure Name, and Common Levels
Tips and considerations
-
In step 1 (in which you search for and select one or more items you want to make common), items will be filtered based on the organization selected in the configuration. For example, if you have authored your structure in Product Development, you can select the master organization for the common structure.
-
In step 2 (in which you select the target organizations, structure names, and levels you want to make common), the items will be filtered based on the configured target organizations, structure name, and structure levels. Users can override the configured target organizations and choose other target organizations.
Key resources
- Oracle Supply Chain Management Cloud Using Product Master Data Management guide, available on the Oracle Help Center.
- Oracle Supply Chain Management Cloud Implementing Product Master Data Management guide, available on the Oracle Help Center.
Access requirements
Users who are assigned a configured job role that contains these duty roles and privileges can execute the guided task flow:
Configure Guided Tasks
- Guided Task Builder (ORA_EGI_GUIDED_TASKS_BUILDER_DUTY)
- Guided Task Builder (ORA_EGI_GUIDED_TASKS_BUILDER_DUTY_HCM)
- Manage Guided Task Builder (EGP_MANAGE_GUIDED_TASK_BUILDER_PRIV)
- Manage Product Management Guided Task Categories (PER_SCM_MANAGE_PRODUCT_MANAGEMENT_GUIDED_TASK_CATEGORIES_PRIV)
- Explore Product Management Guided Tasks (PER_SCM_EXPLORE_PRODUCT_MANAGEMENT_GUIDED_TASKS_PRIV)
- Create Item Structure (EGP_CREATE_ITEM_STRUCTURE_PRIV)
- Manage Item Redwood Structures (EGP_MANAGE_REDWOOD_ITEM_STRUCTURE_PRIV)
Perform Guided Tasks
- Guided Tasks Run Time (ORA_EGI_GUIDED_TASKS_RUN_TIME_DUTY)
- Guided Tasks Run Time (ORA_EGI_GUIDED_TASKS_RUN_TIME_DUTY_HCM)
- Run Guided Tasks (EGP_RUN_GUIDED_TASKS_PRIV)
- Manage Item (EGP_MANAGE_ITEM_PRIV)
View Guided Tasks
- Guided Tasks View (ORA_EGI_GUIDED_TASKS_VIEW_DUTY)
- Guided Tasks View (ORA_EGI_GUIDED_TASKS_VIEW_DUTY_HCM)
Other Privileges and Duties
These privileges are necessary to execute the guided task flow. The user will need these privileges along with the security permissions needed for each task.
- Access Change Types Using a REST Service (EGO_GET_CHANGE_TYPES_REST_PRIV)
- Access FSCM Integration Rest Service (FUN_FSCM_REST_SERVICE_ACCESS_INTEGRATION_PRIV)
- Access HCM Common Components (HRC_ACCESS_HCM_COMMON_COMPONENTS_PRIV)
- Access My Product Management Guided Tasks (PER_SCM_ACCESS_MY_PRODUCT_MANAGEMENT_GUIDED_TASKS_PRIV)
- Explore Journeys (PER_EXPLORE_JOURNEYS_PRIV)
- Access Product Management Landing Page (EGP_ACCESS_LANDING_PAGE_PRIV)
- Access Product Development Configurations Using a REST Service (ACA_GET_PD_CONFIGURATIONS_REST_PRIV)
- GET Product Management Index REST (EGP_GET_PM_INDEX_REST_PRIV)
- Get Item Batch Rest (EGI_GET_ITEM_BATCH_REST_PRIV)
- Manage Item Grouping (EGP_MANAGE_ITEM_GROUPING_PRIV)
- Get View Available Attribute REST (EGP_VIEW_AVAIL_ATTR_REST_PRIV)
- Manage Product Management Index REST (EGP_MANAGE_PM_INDEX_REST_PRIV)
- Manage Search View REST (EGP_MANAGE_SEARCH_VIEW_REST_PRIV)
- Manage Landing Page Layout (EGP_MANAGE_LANDING_PAGE_LAYOUT_PRIV)
- View Inventory Organizations List of Values by Web Service (RCS_VIEW_INV_ORG_LOV_WEB_SERVICE_PRIV)
- View Product Management Search (EGP_VIEW_PRODUCT_MGT_SEARCH_PRIV)