Redwood: Create and Manage Import Maps
You can now use the new Redwood user interface to manage Import Maps and define the mapping between a source system (external source) and item master attributes. Use the Item Import Maps task on the Product Management home page to search, create, edit, delete, or duplicate import maps.
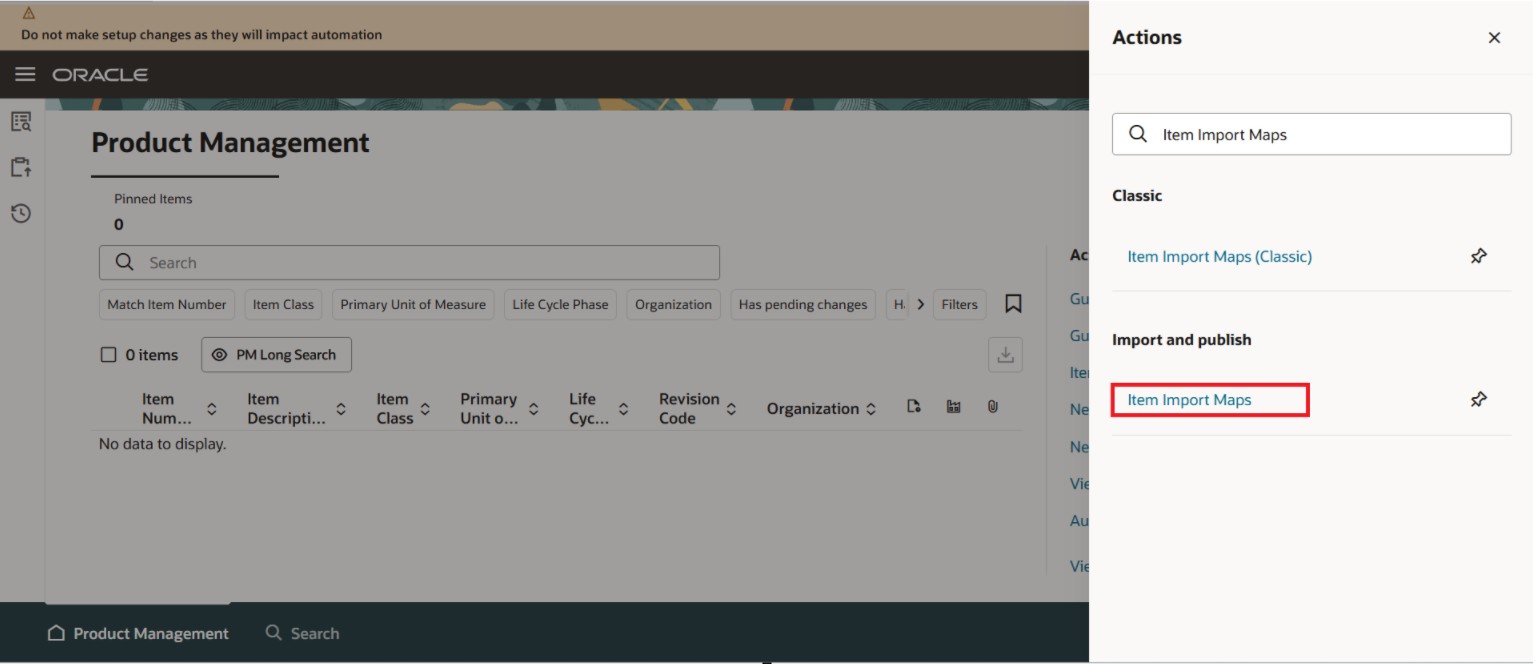
Item Import Maps Task
The following screenshot shows the Manage Import Maps page that displays the existing import maps.
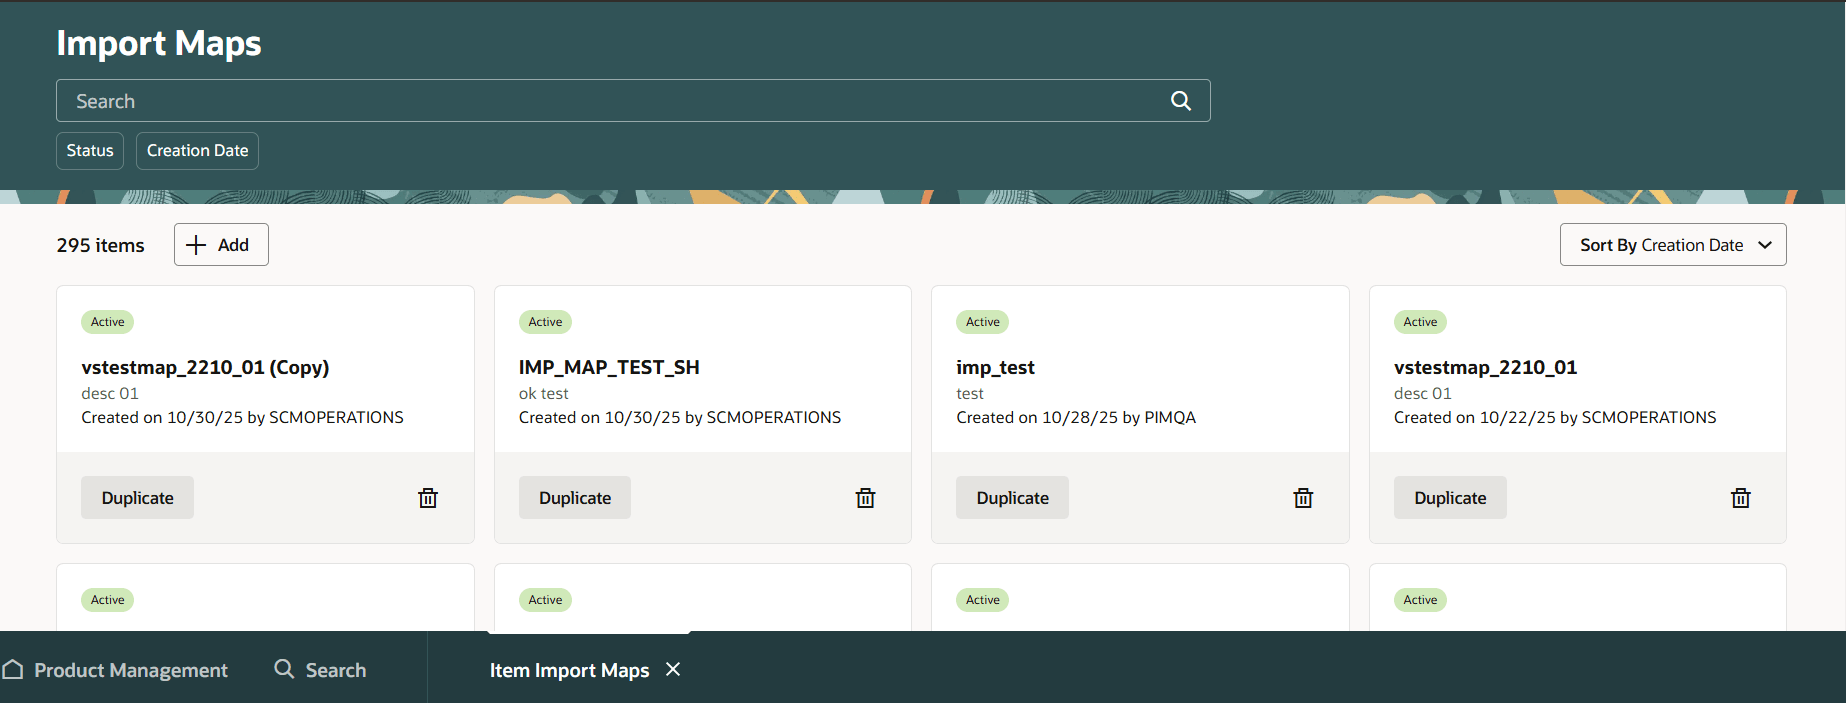
Import Maps Page
To create a new import map, click Add. The New import map drawer appears on the right side where you can specify the name, description, input file type, delimiter, encoding type, date and timestamp format of the import map, and upload a file that contains the source columns. Click Create to create the import map and open it in Edit mode.
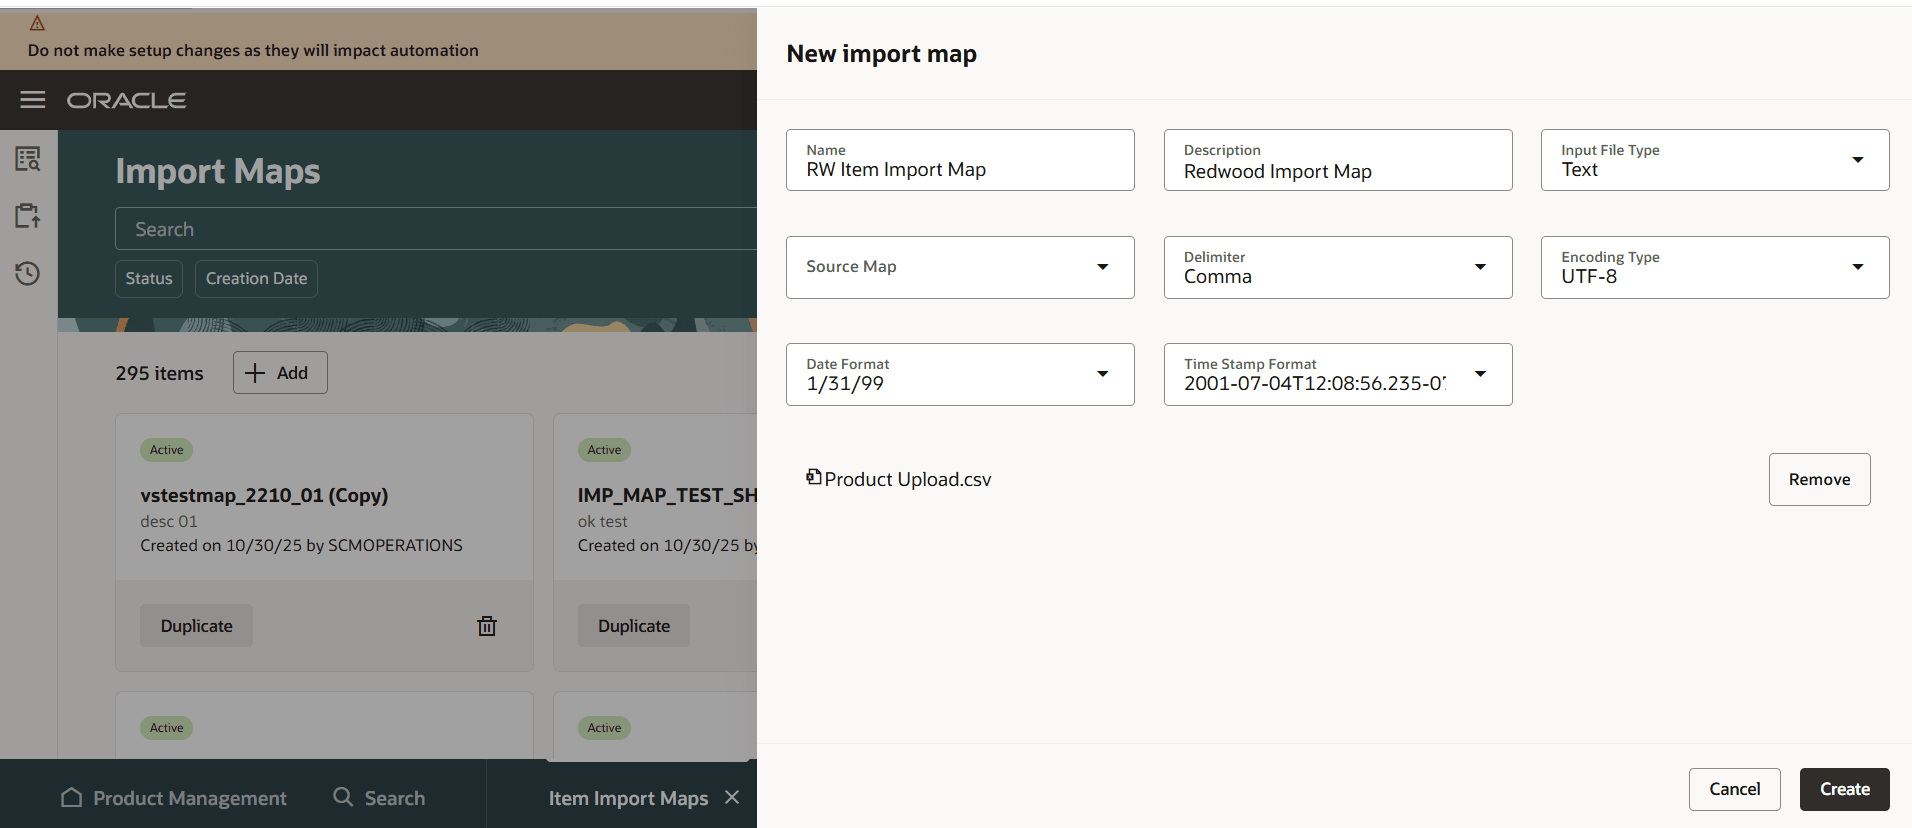
New Import Map Drawer
On this page, you can specify the mapping between the source and the master data columns. You can also modify the import map description, date and timestamp format, and status. Whether or not a file is added during creation, you can always manually add the source columns when editing the import map.
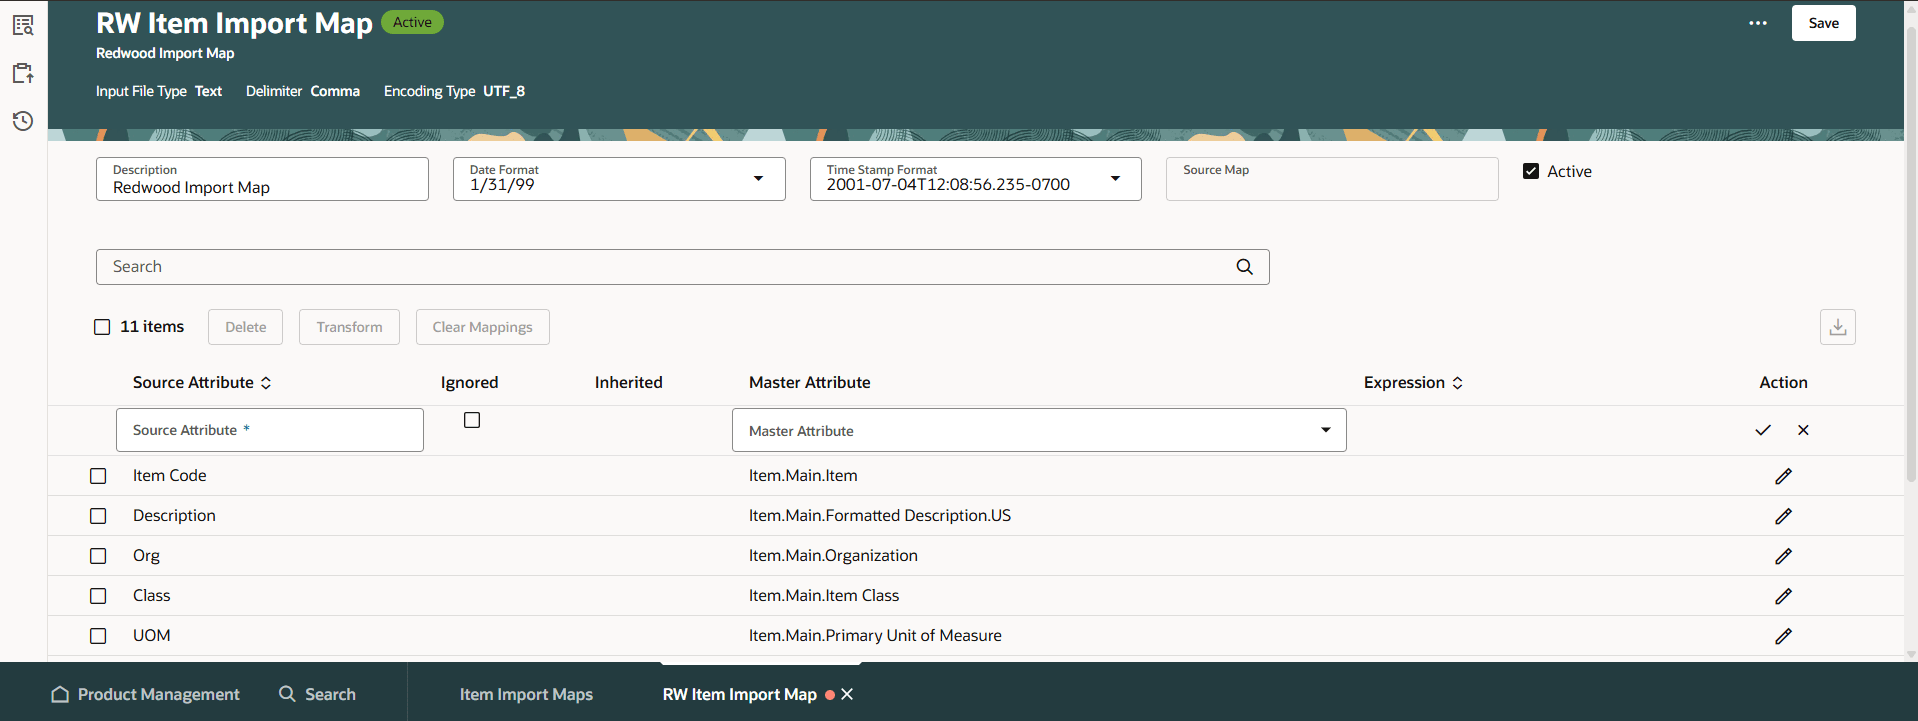
Edit Import Maps Page
To generate a new template, from the More Actions menu, click Import Map Templates.

Import Map Templates Action
The Import map templates drawer displays existing templates, if any. To generate a new import map template, click the Generate Templates icon as shown in the following screenshot.
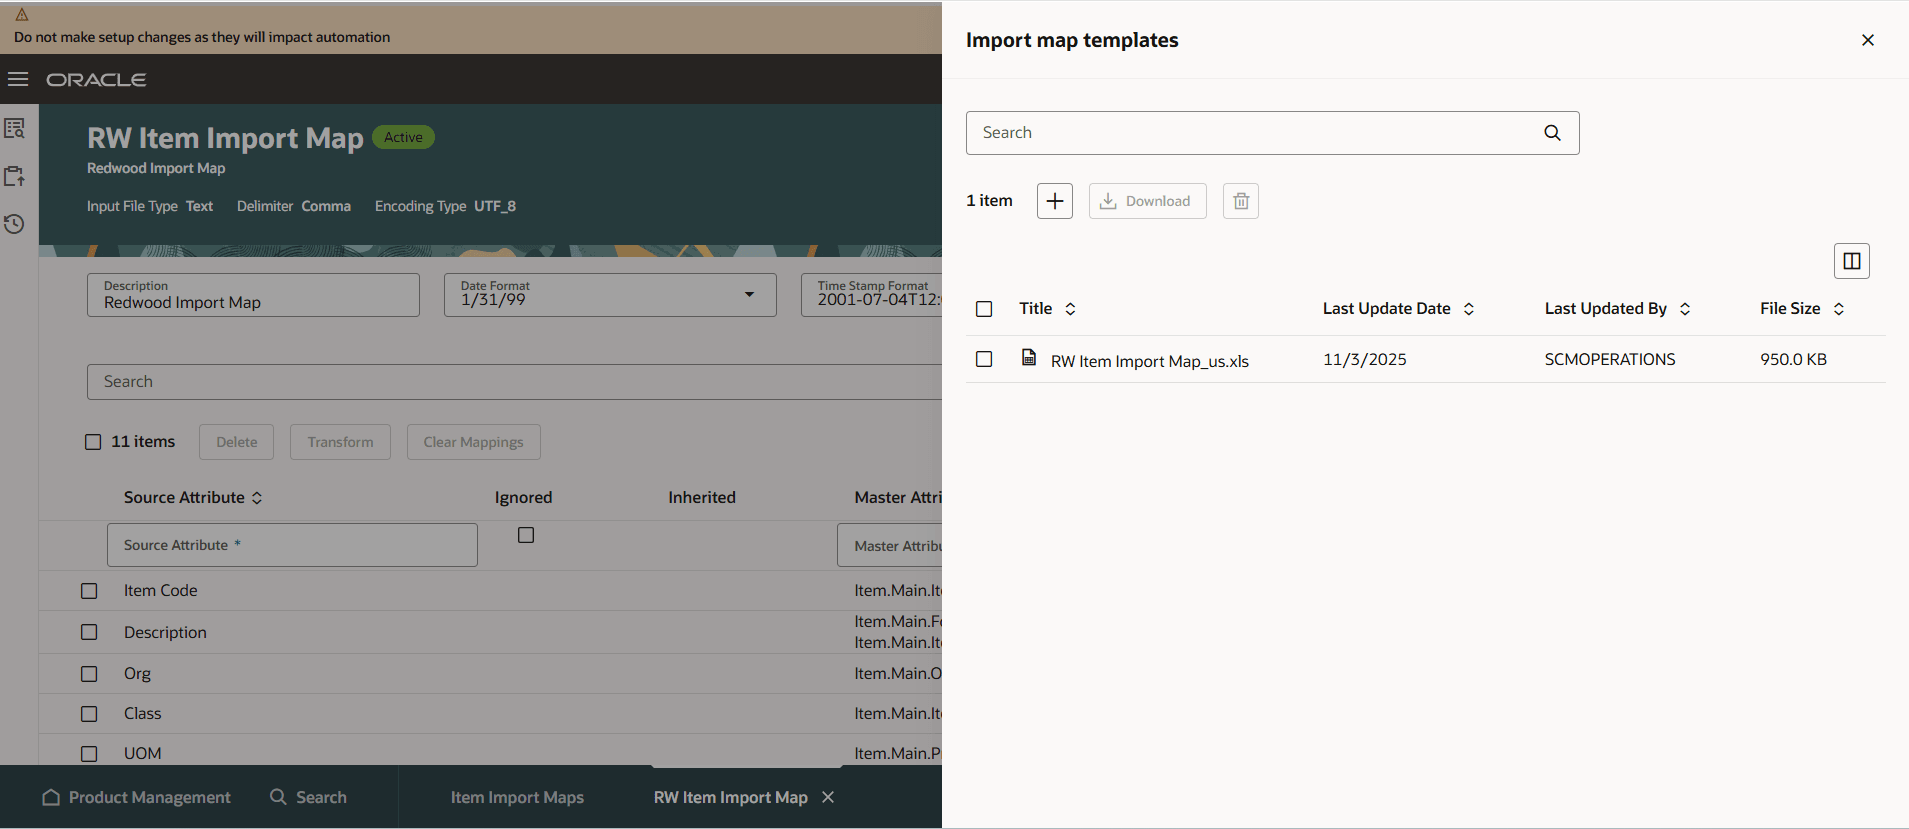
Import Map Templates Drawer
The Generate templates drawer is displayed. Select the language(s) in which you want to generate the import map template and click Generate.
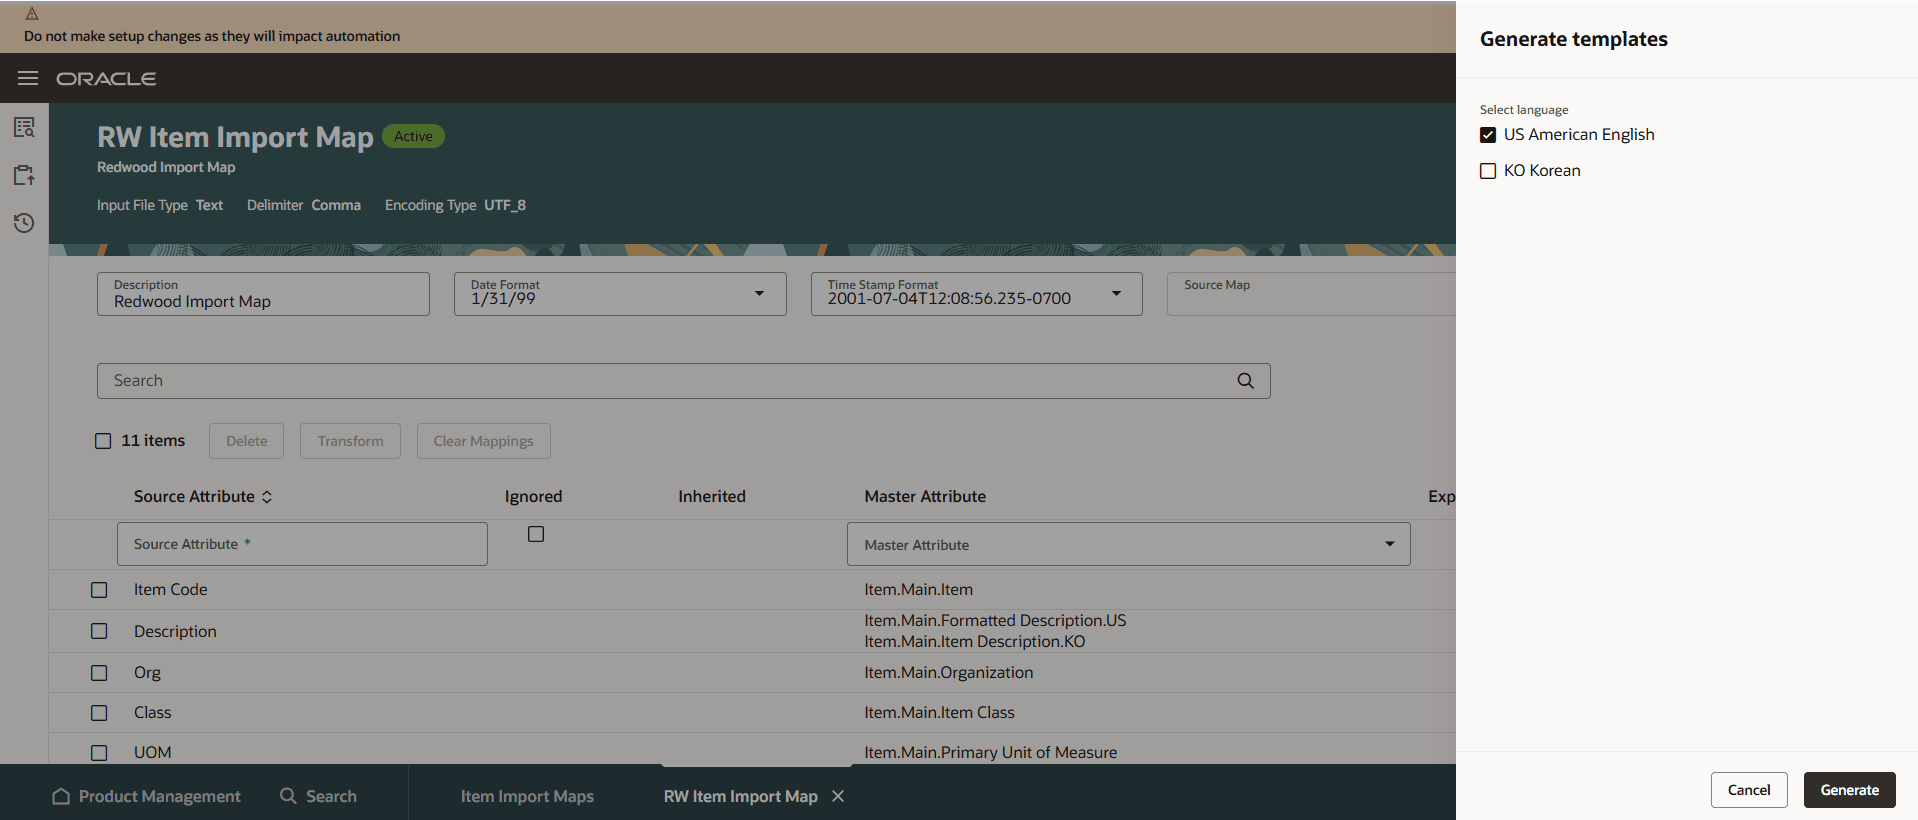
Generate Templates Drawer - Select Language
On the Import Maps page, you can also use transformation functions to transform the data before importing it to a master data attribute. Select a mapping and click Transform to open the Transform source attributes drawer, where you can add and validate transformation expressions using functions as shown in the following screenshot.
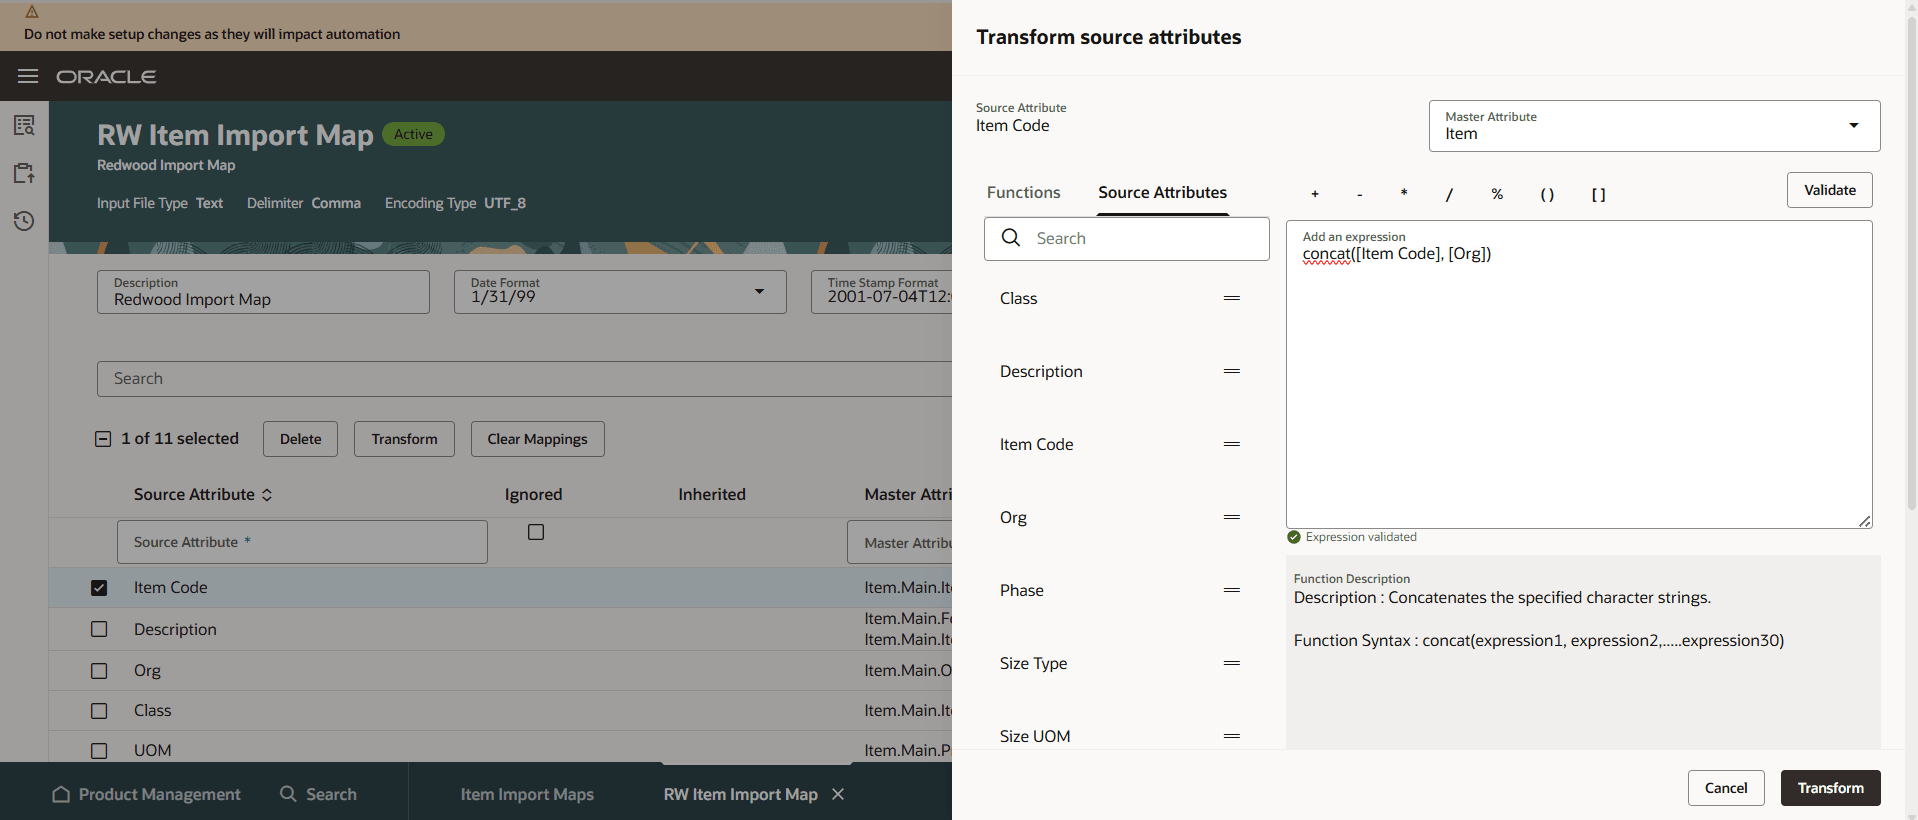
Transform Source Attributes Drawer
The validated expression(s) appears in the Expressions column for the mapping in the mapping table.
The New import map drawer, Edit Import Map page, and Import map templates drawer are enabled to support extensibility through business rules. For details on how to configure business rules, see the links mentioned in the Key Resources section.
This feature benefits your business by importing data in a more streamlined and efficient manner using a dynamic user interface. You can add source columns, build mappings in real time, and establish rules to govern the display of the page.
Here's the demo of these capabilities:
Steps to enable and configure
Follow these steps to enable or disable this feature:
- In the Setup and Maintenance work area, search for and select the Manage Administrator Profile Values task.
- On the Manage Administrator Profile Values page, search for and select the ORA_EGI_IMPORT_MAPS_REDWOOD_PAGES_ENABLED profile option code.
- In the Profile Values section, set the Site level to Yes or No. The default value is No.
- Yes = display the Item Import Maps task
- No = hide the Item Import Maps task
- Click Save and Close. Changes in the profile value will affect users the next time they sign in.
Tips and considerations
- You can map a source column to more than one master data columns, but the reverse isn't possible.
- Any source to master data column mappings added or modified, must be saved before generating a template.
- If you create or edit any transformation expressions for a mapping, save the import map and then generate the template.
- To edit a transformation expression, click on the expression hyperlink and edit the expression in the drawer.
- You can populate the source map only on the New import map drawer and you can't edit this again later.
- To create a duplicate map, you can use the Duplicate action for an import map on the Manage Import Maps page.
- When editing an import map, click Download to export all or the selected mappings to an Excel file.
- To clear all or the selected mappings at once, click Clear Mappings.
Key resources
- The Import Items Using Import Maps section in the Oracle Fusion Cloud SCM: Using Product Master Data Management guide, available on the Oracle Help Center.
- Extend SCM Redwood Application Pages Using Visual Builder Studio What's New documentation, available on the Oracle Help Center.
- Watch the Create and Manage Import Maps video.
Access requirements
Users who are assigned a configured job role that contains the following privilege can access this feature:
- Manage Redwood Import Map (EGI_RW_MANAGE_ITEM_IMPORT_MAP_PRIV)
This privilege is new in this update.