Responsive Sizing In Analytics and Dashboards
To create or edit a table with responsive sizing you provide the view and container dimensions. The dimensions can't be blank.
These are the component levels to set for analytics sizing:
-
Level 1 -View container (Set in BI)
-
Level 2 - View (Set in BI)
For dashboards, four levels of layout sizing are needed:
-
Level 1 - Dashboard container (Set in dashboard)
-
Level 2 - Dashboard section (Set in dashboard)
-
Level 3 - View container (Set in BI)
-
Level 4 - View (Set in BI)
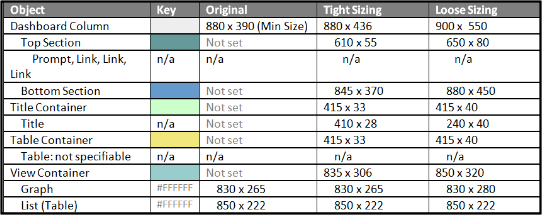
These are the browser and related container sizes.
|
Browser (variable sizes) |
Content container (fixed sized) |
|---|---|
|
1094 x 939 |
933 x 737 |
|
1302 x 939 |
1192 x 737 |
|
1468 x 939 |
1350 x 737 |
|
1790 x 939 |
1509 x 737 |
Set View Dimensions
-
In the results view of your analytic, click View Properties.
This shows the View Properties selection for an analytic. 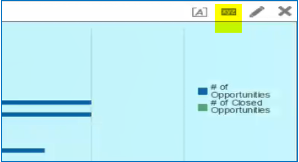
-
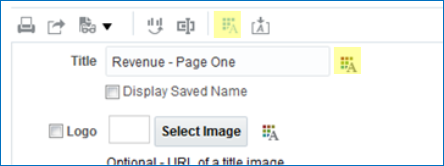
Choose the General tab.
-
Set the height, and width of the analytic canvas. You must define the size of the analytic to fit the size you have available in the container that holds the analytic. It doesn't matter which device you use to view the analytic, as long as you have set the size of the analytic in your window in BI to maximize the space available in the container. Setting the height and width ensures that the view of this analytic is responsive on all devices. The default is set to not define a size. You need to define a size for responsive sizing to be set.
This shows the General tab for graph properties, and the canvas width and height options. 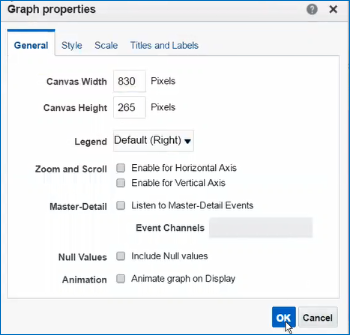
Set Analytic View Container Dimensions
-
In the results view of your analytic click Format Container.
-
Adjust the sizing to make sure the container is larger than the canvas. Since we previously set canvas size to 830 and 265, we set the container to a larger size at 835 and 270. Note that if you also add title containers, the size needs to match the size set for the analytic container.
This shows the Width and Height options for the Format Container dialog. 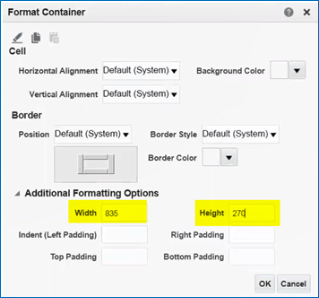
Set the Dashboard Container Dimensions
If your analytic is in a dashboard you set the dashboard for responsive sizing. For BI dashboards that hold analytics you set each container component on a dashboard to be responsive.
Set the properties for width and height for the container components to be larger than the properties set for your analytic. In this case, since we previously set our analytic container to 830 and 265, we set our dashboard container to a size larger than the dimensions set for the analytic container.
To set the dashboard container dimensions:
-
Select the container. Click Column Properties.
This shows the Column Properties option for a dashboard container. 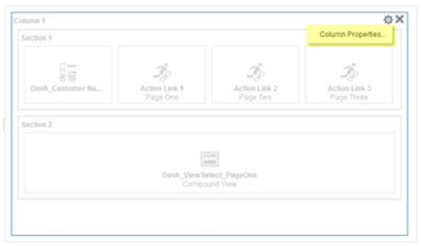
-
Select the column. Click Format Section.
This shows the Format Section option for a container in a dashboard. 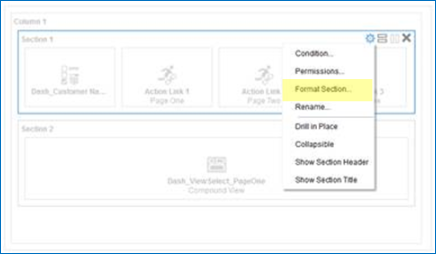
This shows the Height and Width options for Column Properties of a dashboard. 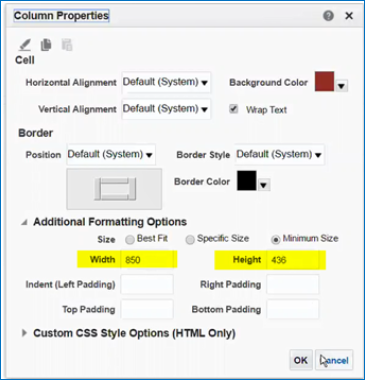
Compound View and View Editors
Compound views are also available for setting up responsive sizing.
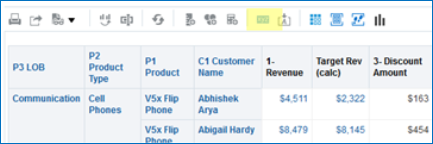
For tables, set the following:
-
Select "Fixed headers with scrolling content" to add sizing values.
-
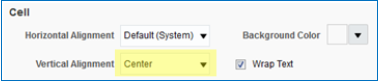
Set Vertical Alignment = "Center" in the Table's view container if you want the table to float vertically in the middle of the resized container.
For pivot tables select "Fixed headers with scrolling content" to add sizing values.