Add Panels and Subviews to Standard Sales Objects
You can add panels and their subviews to the detail pages of standard objects such as accounts, opportunities and contacts. You can add both custom and standard objects as child objects. You can use CX Extension Generator to generate the UIs and smart actions and then add these to a custom layout for the object in Visual Builder Studio (VBS).
Create Panels, Subviews, and Smart Actions in CX Extension Generator
- Create and enter a sandbox with Application Composer as a tool.
- Open Application Composer.
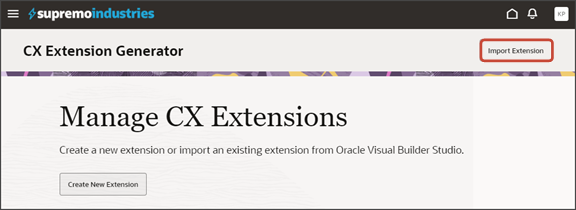
- Click CX Extension Generator.
-
If you've already configured your application in Visual Builder Studio for this environment, then you must import the configuration you exported from Visual Builder Studio.
-
Click Import Extension.
In the Import Extension drawer, drag and drop your .zip file and click Import.
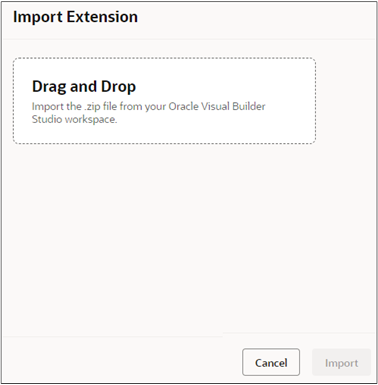
The existing objects in your application are now visible in the CX Extension Generator.
-
-
If this is the first time you're configuring the application, then click Create New Extension.
Caution: You can use the Create New Extension button only the first time you configure your application in the environment. If you use the CX Extension Generator to make further changes after your initial upload to VBS, then you must import the files back from VBS using the Import Extension button before you start. If you create a new extension using the Create New Extension button and import your changes to VBS, then your upload will overwrite all your previous changes. - On the Add Objects drawer, select the object you're adding panels and subviews to.
- Click Add.
-
On the CX Extension Generator page, click the object name link to add panels and subviews.
Note: The Extension Generator doesn't display any of the existing panels. It displays only the panels you add. -
To add a panel:
-
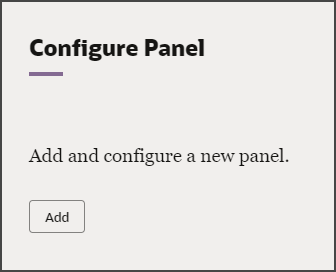
On the default Configure Panel, click Add.
-
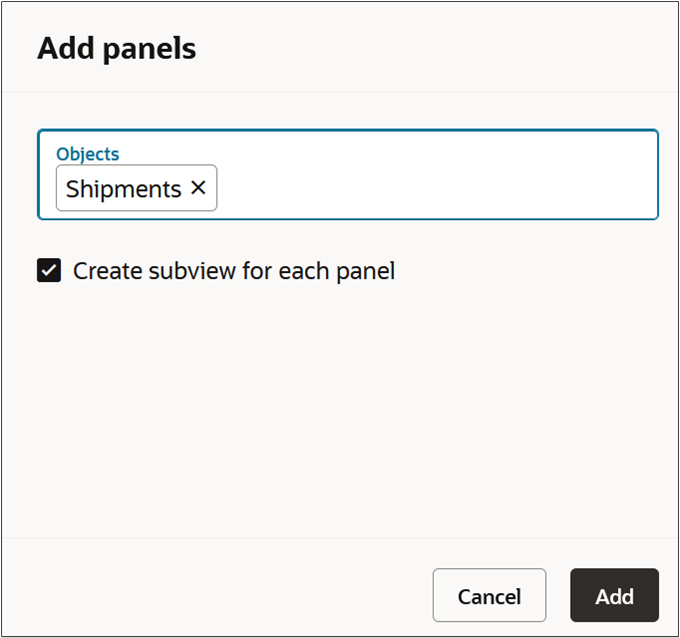
In the Add Panels drawer, select the objects that you want to create the panels and subviews for. You can select standard or custom objects with 1:M, M:M, or child relationships.
For example, if you're adding a panel to Account for the custom object Shipment, then add Shipments.
-
Select the Create subview for each panel checkbox to automatically create a subview along with each panel.
Note:If you don't select this checkbox, then you can add subviews later.
-
Click Add.
-
-
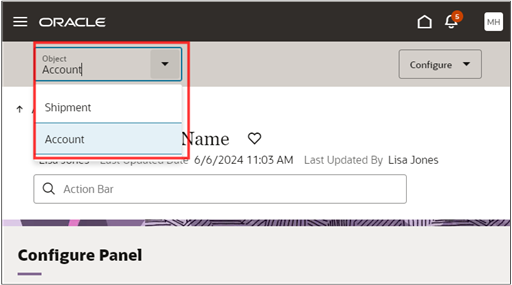
Optionally, click Configure and select Smart Actions or Subviews to review the smart actions and subviews that the Extension Generator will automatically create for the objects that you selected.
If you're adding a panel for a custom object and you haven't yet configured the panels and subview for it, then switch to that object by making a selection in the Object drop-down field.
- After you've completed adding the panels, click the All Objects link.
-
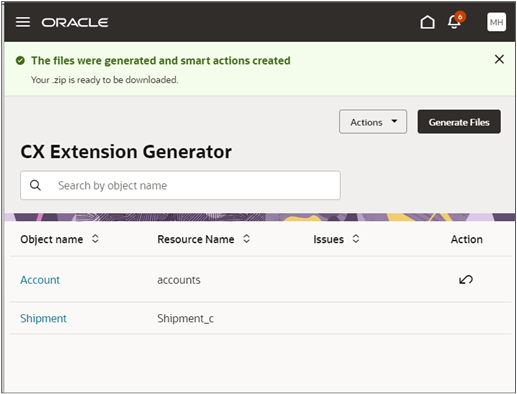
Click Generate Files. The process can take a couple of minutes to complete.
When you see the The files were generated and smart actions created message, then your file is already downloaded. Check your downloads directory for the Custom.zip file.
Import the .Zip File into Visual Builder Studio
Import the .zip file created by the CX Extension Generator into Visual Builder Studio.
-
Use the Navigator to navigate to Visual Builder Studio: .
-
In Visual Builder Studio, create a new workspace if you haven't already.
Important:The workspace Extension ID must be site_cxsales_Extension. For information on how to change the extension, see How can I change my project's Extension ID?.
To create a workspace, see Before You Create an Application Extension. Be sure to follow the instructions for updating the extension ID for your workspace.
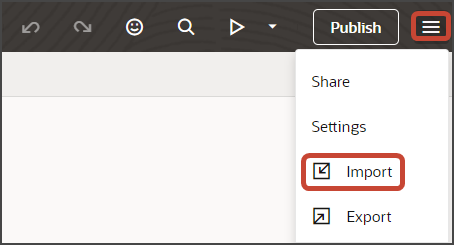
Click the Menu icon at the of the page, then click Import.
-
In the Import Resources dialog, add your .zip file and click Import.
Leave the Delete existing files and resources option unselected.
Create a Custom Panel Container for the Standard Object and Add the Imported Panels
Because you're adding panels and their subviews to an object provided by Oracle, you can't edit the object directly. You must create a copy and add configure the copy.
-
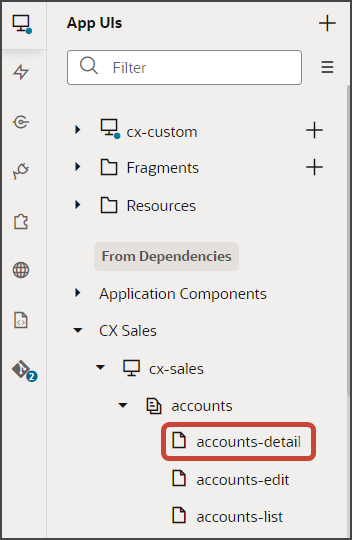
In Visual Builder Studio, click the Page Designer tab on the accounts-detail page.
You can get to the accounts-detail page either by navigating to Visual Builder Studio from the Account detail page in the application, or by navigating to the accounts-detail node on the App UIs tab in Visual Builder Studio.
-
Click the Design button.
- Duplicate the Panel Container Layout and add the panels
to it:
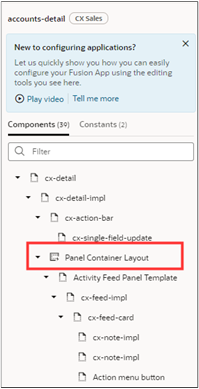
On the Structure panel, click the Panel Container Layout node.
On the Properties pane, next to Case 1, click the Duplicate icon.
The container layout can include different variations of the layout that display to different audiences. For Accounts, there's a different layout for sales administrators, for sales managers, and sales representatives. You can duplicate any of these layouts, or the Case 1 layout we're duplicating here.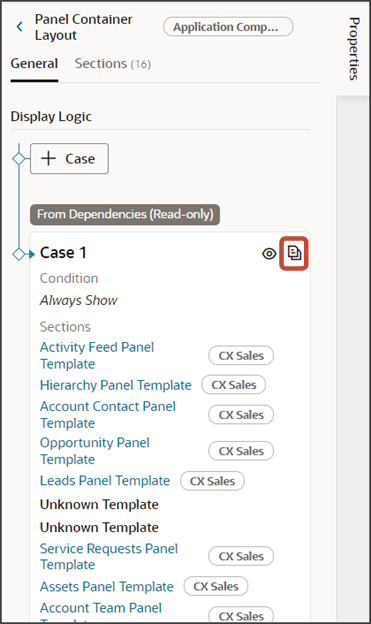
In the Case 1 (Copy), click Add Panel (the plus icon next to the Sections heading highlighted in the screenshot).
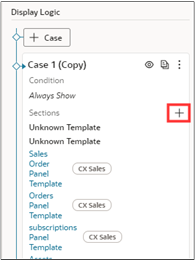
- Click the panel template for the object you've added. In the example, that's the Shipment Panel Template.
Now repeat the same process for the Subview Container Layout.

-
On the Structure panel, click the Subview Container Layout node.
-
On the Properties pane, next to Case 1, click the Duplicate icon.
-
In the Case 1 (Copy), click Add Panel (the plus icon next to the Sections heading ..
- Click the panel template for the object you've added. In the example, that's the Shipment Subview Template.
-
- You can preview your configuration.
- Publish the sandbox to enable the Smart Actions that were created in the CX Extension Generator.