Create an Application Access Policy for Microsoft Teams Web Conference Integration
You must set up the application access policy for the application you created for this integration, and then grant the policy to each of the Microsoft users who need access to this integration.
Here’s an overview of the setup steps:
- Create a mail-enabled security group in the Microsoft Exchange admin center.
- Create an application access policy in Microsoft PowerShell for the security group you created.
Create a Mail-Enabled Security Group
Here are the steps to set up a mail-enabled security group.
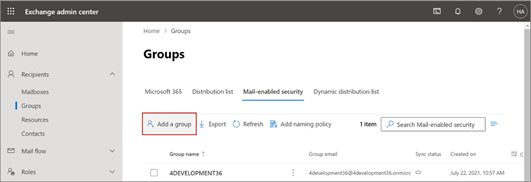
- Sign in to the Exchange Admin Center at
https://admin.exchange.microsoft.com/#/. - Navigate to .
- Click Add a group as shown.
- In the Group type section, select Mail-enabled
security and click Next, as
shown:

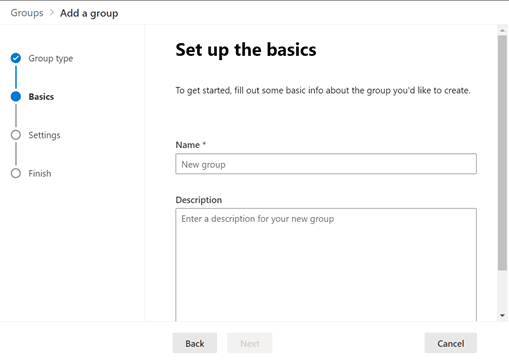
- In the Set up the basics section, enter a name and
description, and click Next as shown:
- In the Settings section, enter the group email address,
and configure the following:
- Communication: Don't select the checkbox.
- Approval: Select the Require owner approval to join the group checkbox.
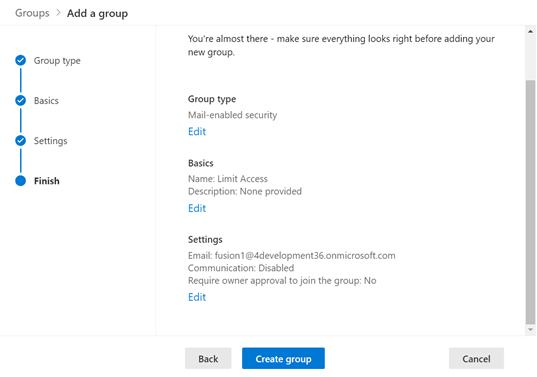
- In the Finish section, verify all the details and click
Create group as shown:
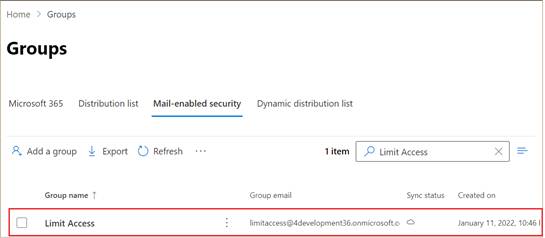
- The mail-enabled security group you created shows up in the Groups list as
shown:
- Next, you need to assign owners and add members to the group. To do that, click the group name.
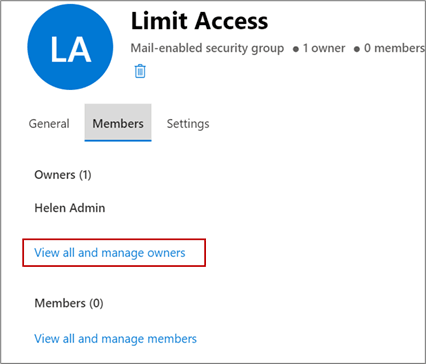
- On the Group Details window, click the Members tab.
- You're the owner of the group you created. To add more owners, click
View all and manage owners. For example, the
following image shows the Limit Access window with the Members tab
highlighted, along with the View and manage all owners link.
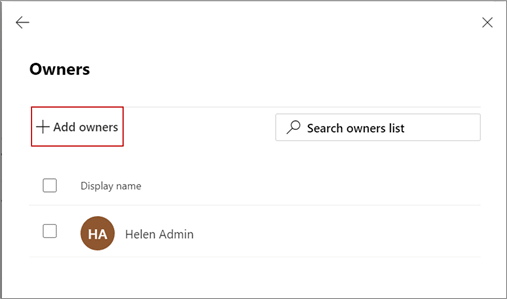
- On the Owners page, click Add owners as
shown:
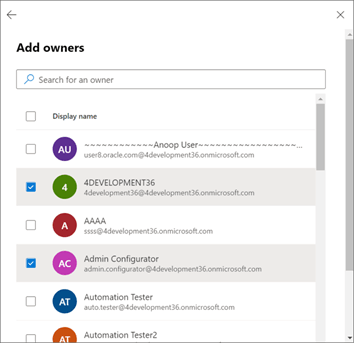
- Select the group owners from the list and click
Add as shown:
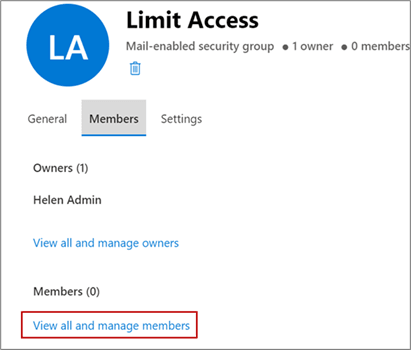
- Click the back arrow to go back to the Members tab and click
View all and manage members to add users you
want to give seamless access to as shown:
- On the Members page, click Add members.
- Select the members from the list and click Add.
- Click the back arrow to go back to the Members tab
- You're the owner of the group you created. To add more owners, click
View all and manage owners. For example, the
following image shows the Limit Access window with the Members tab
highlighted, along with the View and manage all owners link.
- Close the group.
Create an Application Access Policy
- Open Windows PowerShell.
- Run the following commands in Windows PowerShell.
Install-Module -Name MicrosoftTeamsConnect-MicrosoftTeamsIf you haven’t authenticated yet, Windows PowerShell will prompt you to sign in with your Microsoft Azure Administrator credentials.
-
Once authenticated, go back to Windows PowerShell and create an application access policy by running the following command and replacing AppId:
New-CsApplicationAccessPolicy -Identity XXXXXXXXXXXX -AppIds "XXXXXXXXXXXX" -Description "XXXXXXXXXXXX"AppIDrepresents the application (client) ID of the registered Azure App for this integration.Identityrepresents the name of the policy andDescriptionis the optional policy description. - Once the policy is created, grant the policy to the Microsoft security group
by running the following command and replacing the arguments for the
PolicyName and groupID.
Grant-CsApplicationAccessPolicy -PolicyName XXXXXXXXXXXX -Group "groupID”PolicyNamerepresents the name of the policy to be assigned andgroupIDspecifies the group used for the group policy assignment.Note: To retrievegroupIDof the Microsoft security group created for this integration, run the following command in Windows PowerShell:Get-MgGroup -Search "displayName:name" -ConsistencyLevel eventualReplace the attribute for
displayNamewith the full or partial name of your mail-enabled security group (you can use a keyword to search).It might take about 30 minutes for your changes to be reflected.