Add a Mashup to a Page
For any Redwood Sales object, standard or custom, you can configure its detail page to include a mashup that references a publicly available URL. You create the mashup in Oracle Visual Builder Studio.
For example, you can add a Wikipedia page to a payment's detail page. At runtime, when the user views a payment, the user can enter Show Wikipedia into the Action Bar. The Show Wikipedia action lets the user view a related Wikipedia page without having to leave the payment record.
Add a Mashup to a Detail Page
Let's walk through an example of adding a mashup. In this example, we'll add a mashup to a payment's detail page.
-
In Visual Builder Studio, click the App UIs tab.
-
Expand cx-custom > payment_c, then click the payment_c-detail node.
-
On the payment_c-detail tab, click the Page Designer subtab.
-
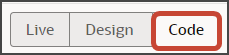
Click the Code button.
-
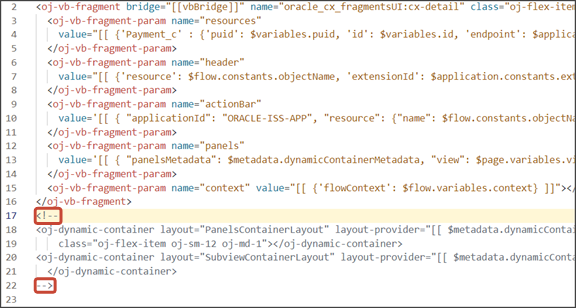
Confirm that you are viewing the page in Page Designer.

Remove the comment tags for the dynamic container components that contain the panels and subviews.
-
Highlight the
<oj-dynamic-container>tags for the subviews.
-
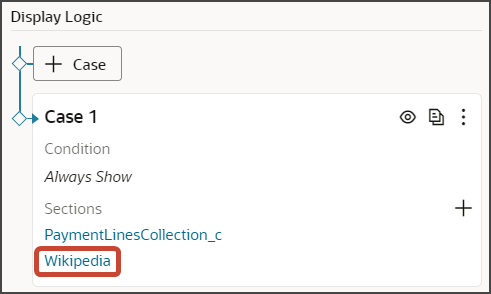
On the Properties pane, in the Case 1 region, click the Add Section icon, and then click New Section.
-
In the Title field, enter a title for the section, such as
Wikipedia. -
In the ID field, change the value to
Wikipedia. -
Click OK.
-
Manually update the template's JSON with the correct subview name.
-
On the payment_c-detail tab, click the JSON subtab.
-
In the section for the SubviewContainerLayout section template layout, replace the
sectionTemplateMapanddisplayPropertiesvalues to match the subview's ID name,Wikipedia.In our example, this is what the SubviewContainerLayout
sectionTemplateMapanddisplayPropertiesshould look like: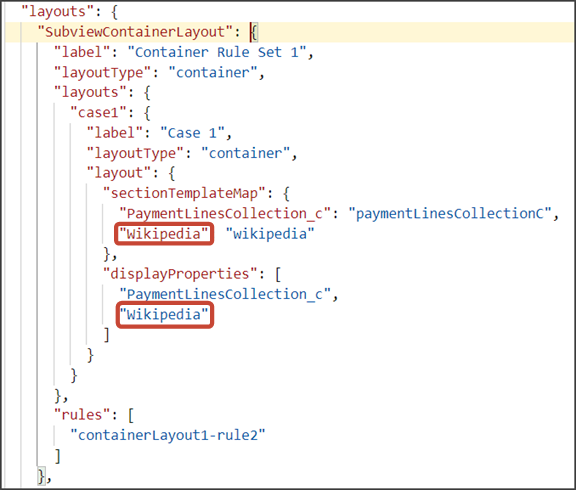
-
-
Still on the payment_c-detail tab, click the Page Designer tab.
-
On the Properties pane, click the Wikipedia section that you just added.
Page Designer navigates you to the template editor, still on the payment_c-detail tab, where you can design the mashup template.
-
Click the Code button.
-
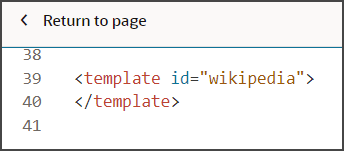
In the template editor, find the mashup template tags.
-
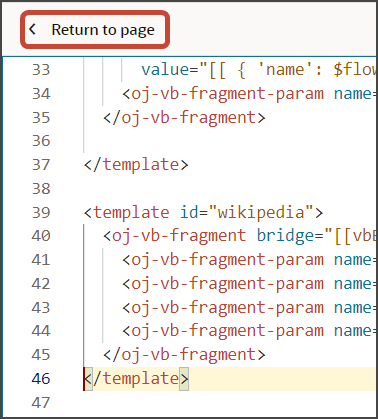
Add the following parameters to the fragment code so that the code looks like the below sample. Be sure to update the values for the
titleandurlparameters as needed.<template id="wikipedia"> <oj-vb-fragment bridge="[[vbBridge]]" name="oracle_cx_fragmentsUI:cx-url"> <oj-vb-fragment-param name="dynamicLayoutContext" value="{}"></oj-vb-fragment-param> <oj-vb-fragment-param name="mode" value="embedded"></oj-vb-fragment-param> <oj-vb-fragment-param name="title" value="Wikipedia"></oj-vb-fragment-param> <oj-vb-fragment-param name="url" value="https://en.wikipedia.org/wiki/"></oj-vb-fragment-param> </oj-vb-fragment> </template>This table describes the parameters that you can provide for a mashup:
Parameters for Mashup
Parameter Name Description title
Enter the title of the mashup, which displays in the subview UI.
url
Enter the mashup's URL.
-
Comment out the dynamic container component from the payment_c-detail page.
-
Click < Return to page.
-
Click the Code button.
Comment out the dynamic container components that contain the panels and subviews.
Note:To add more subviews, you must first un-comment the dynamic container component so that you can add a new section for each desired subview.
-
From the payment_c-list page, click the Preview button to see your changes in your runtime test environment.

-
The resulting preview link will be:
https://<servername>/fscmUI/redwood/cx-custom/payment_c/payment_c-list -
Change the preview link as follows:
https://<servername>/fscmUI/redwood/cx-custom/application/container/payment_c/payment_c-listNote:You must add
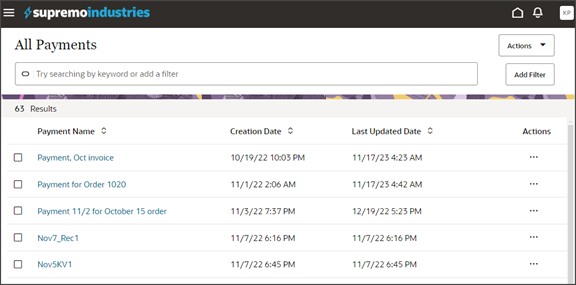
/application/containerto the preview link.The screenshot below illustrates what the list page looks like with data.
-
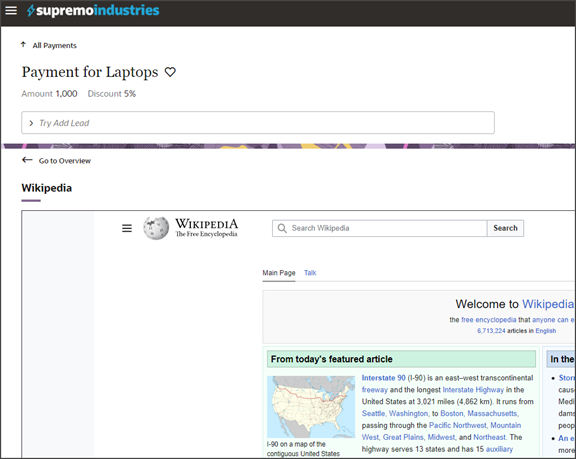
If data exists, you can click any record on the list page to drill down to the detail page. The detail page, including header region and panels, should display.
-
In the Action Bar, enter
Show Wikipedia.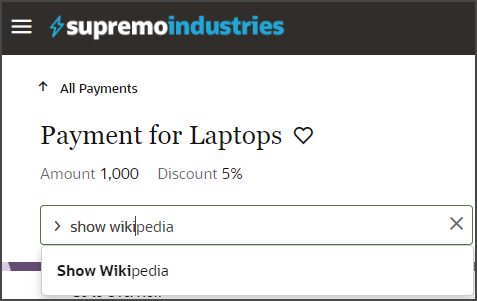
-
Click Show Wikipedia.
The Wikipedia mashup displays:
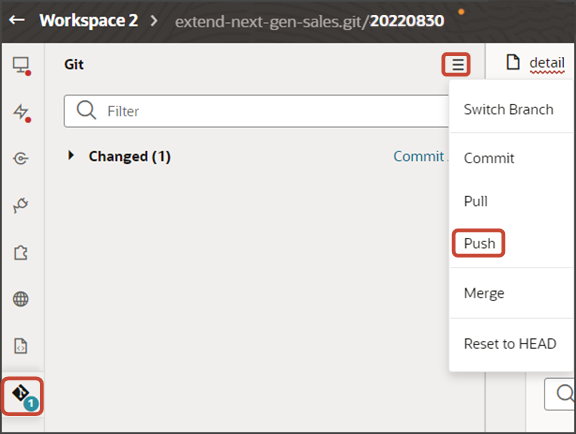
Save your work by using the Push Git command.
Navigate to the Git tab, review your changes, and do a Git push (which does both a commit and a push to the Git repository).