Display a Panel and Subview Based on a Field Value
You can display different sets of panels (and their corresponding subviews) based on the value of a field.
To do this, create a panel layout or subview layout, and then add a field value condition. If a record's field matches the specified value, then the associated layout displays. If not, then a different layout displays.
This topic illustrates how an account's type, either Customer or Prospect, changes the panel and subview layout on an account detail page.
Prerequisite
To create a layout condition that references a field value, you must first enable this feature so that panels and subviews are loaded to the page only after evaluating the header.
-
In Visual Builder Studio, click the App UIs side tab.
-
Navigate .
-
On the accounts-detail page, click the Variables subtab.
-
In the Constants region, click the deferRelatedDataLoad constant.
-
On the Properties pane, in the Default Value field, select True.
If you want to add a field value condition to panel and subview container layouts, then you must set this value to true.
Create a New Panel Layout
Once you have enabled the feature, you can now add a field value condition to a panel layout. Let's add a condition to the account detail page.
-
Navigate to Visual Builder Studio from an account record.
-
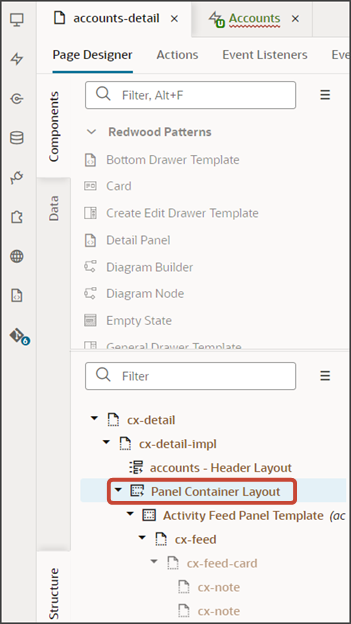
On the accounts-detail page, click the Page Designer subtab.
-
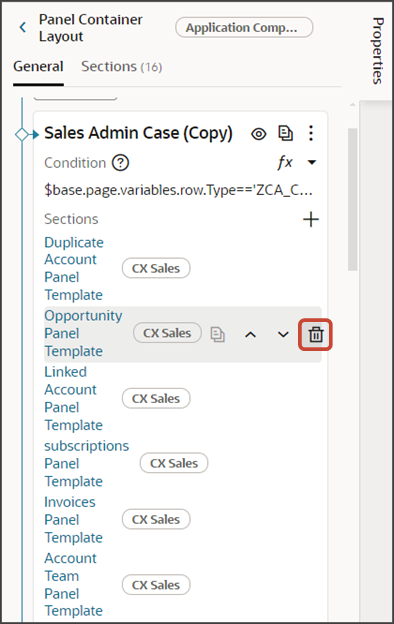
On the Structure panel, click the Panel Container Layout node.
-
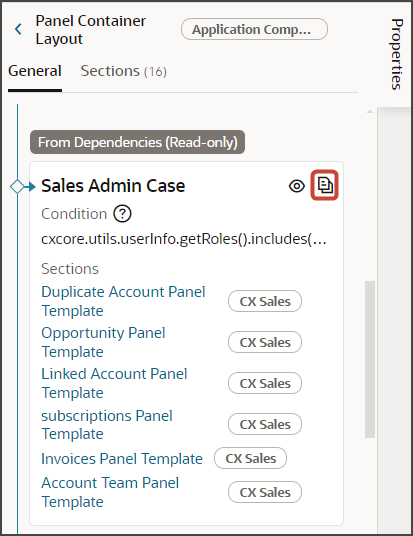
On the Properties pane, next to Sales Admin Case, click the Duplicate icon.
-
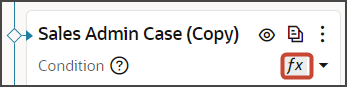
Next to the Sales Admin Case (Copy) panel layout's condition, click the Expression Editor icon.
-
In the Expression Editor dialog, replace the existing expression with this new one, just for testing:
$base.page.variables.row.Type=='ZCA_CUSTOMER' -
Click Save.
-
Delete the Opportunity Panel Template.
With the field condition specified above, this means that accounts of type Customer won't see the Opportunities panel on the account detail page.
From the accounts-list page, click the Preview button to see your changes in your runtime test environment.

-
On the My Team's Accounts page, click any account.
-
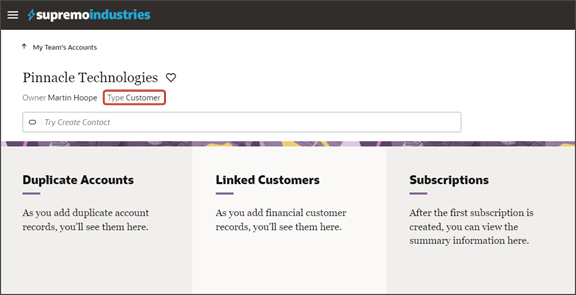
If the account is of type Customer, then you won't see the Opportunities panel.
-
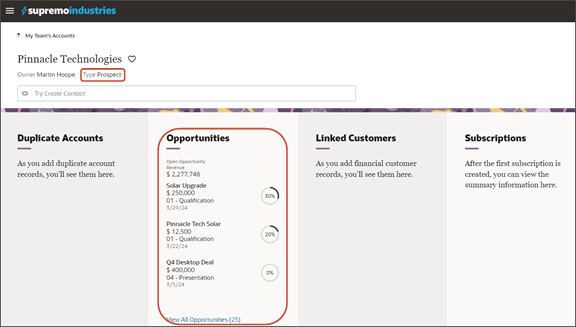
If the account is of type Prospect, then the Opportunities panel does display.
-
Create a New Subview Layout
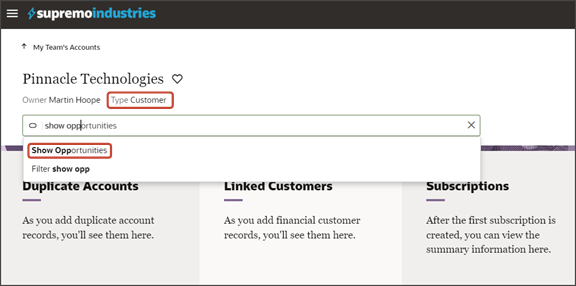
Next, add the field condition to the subview layout, as well. It's important to add the field condition to the subview layout. Otherwise, the Show Opportunities smart action is still available from the Action Bar even when the account is a customer.
-
Navigate to Visual Builder Studio from any subview page, which you can navigate to from any panel on an account record.
-
On the accounts-detail page, click the Page Designer subtab.
-
On the Structure panel, click the Subview Container Layout node.
-
On the Properties pane, next to Subview Container Layout, click the Duplicate icon.
-
Next to the Subview Container Layout (Copy) subview layout's condition, click the Expression Editor icon.
-
In the Expression Editor dialog, add this expression:
$base.page.variables.row.Type=='ZCA_CUSTOMER' -
Click Save.
-
Delete the Opportunity Subview Template.
With the field condition specified above, this means that accounts of type Customer won't see the Show Opportunities smart action on the account detail page.
From the accounts-list page, click the Preview button to see your changes in your runtime test environment.
-
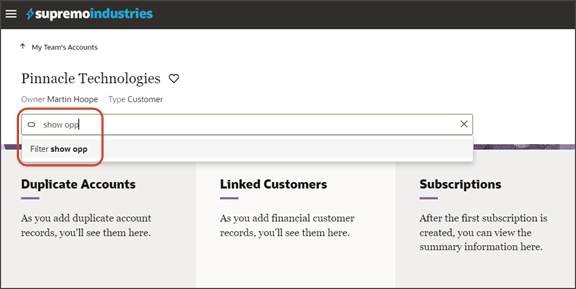
On the My Team's Accounts page, click any account and make sure that the account is of type Customer. The Opportunities panel shouldn't display.
-
Test the field condition on the subview layout by checking to see if the Show Opportunities smart action is still available from the Action Bar. It shouldn't be visible anymore if the account is a customer.