11Printer and Page Setting Guidelines
Printer and Page Setting Guidelines
- You should leave a margin of 0.25 inches on the sides and top and bottom of a page due to physical printer limitations.
- Most printers default to a mode that can only print on a portion of 8.5 x 11 paper. Your printer for example, may only be able to "address" an 8.0 x 10.7 inch portion of the paper.
- The print head must have enough time to accelerate for example and get up to a constant speed before spraying ink and must decelerate at the opposite side of the page, creating the left/right borders. The paper itself must be able to load and be moved accurately by the rollers, which creates the top/bottom borders. These limitations mean that there is a "printable area" on the page that is smaller than the paper itself, and that this printable area is an area inside which the printer can operate optimally to produce the highest quality prints. There are often driver options that can affect these limitations.
Labels in Additional Languages
You may need to install additional fonts for languages other than English. See Fonts for Zebra Printers for information about additional fonts. You can also contact Zebra support.
Note for Arabic Labels: In order to print Arabic Labels, you need to install the Swiss 721 font into your Zebra printer in one of the following memory locations:
- A, B, or E.
E is probably the best memory location to install this font into, but you should review your printer to determine the best memory location.
Refer to the following Zebra link for the Swiss 721 font:
You will need to select the Arabic font in the text element where you want the arabic text and select the Arabic font for the memory location you installed the font in your printer.
Multi-Page Printing
Multi-Page printing allows you to print across multiple labels, documents, or .pdf files. To set up Multi-Page printing for your label or document, you need to set up dynamic repeating fields that are linked together in a table of values. Height needs to match item table.
- From the User Defined Templates drop-down, select the label you would like to edit.
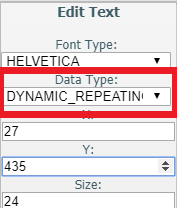
- Click Text to edit text settings. You can click on each element in your page to specify and save different settings if you like.
- For the Data Type, select Dynamic_Repeating.
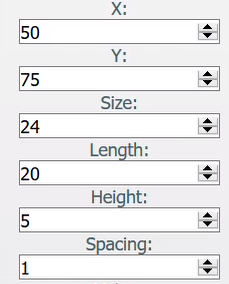
- Next, specify your settings for X, Y, size, length, height, and spacing. It is not recommended to set the height for dynamic repeating fields as 1 as this will create unneccesary wasted paper during printing.
Note: It is important that all length and height settings for columns that are next to one another in a table line up for precise formatting and printing. For every multi-template page you have, you have to have the same field settings for each table such as height, spacing, column name, and table name to prevent errors.
- Specify a column name.

- Enter the table name you want your page fields associated with.
The system will automatically associate the fields with the table. Also, once field specifications are aligned, they will associate with the same fields on middle and last pages until it moves to the next template.Note: It is important that for the first page, the settings (for example, height/length/spacing) align with the table settings. If they do not match, you will receive an error.
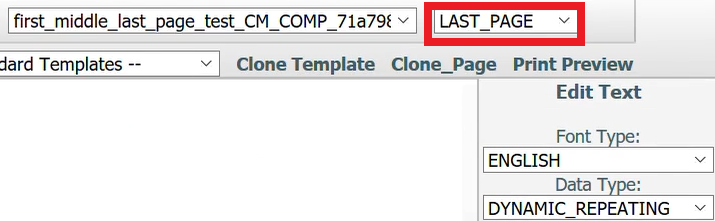
- From the Pages drop-down, update your settings for your first, middle, and last page templates.
Keep in mind that text may need to wrap within columns, which can affect how many lines are printed in each column.
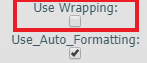
- Select Use Wrapping and Use_Auto_Formatting for Dynamic Repeating pages.
Use Wrapping keeps the text wrapping consistent throughout your pages. Use Auto Formatting automatically cleanses the data so that your formatting remains consistent for printing multiple lines and pages.